Showing posts with label Pinflair Kit. Show all posts

Monday, 9 May 2016

Design team make...Pinflair Kit


Hello everyone..Genny here. I must apologise..this weeks make should have been last weeks but BT decided that the village could do without internet for the most of 3 days and have given us an intermittent service since. It drives us all crazy..they know our service is going off but never think to let anyone know. Anyway here I am, catching up. For my design team make I have been lucky enough to work with this fabulous kit from Pinflair. All instructions are included. You will need to add your own choice of material, book binding glue. I also used some sellotape to hold things in place when I had run out of the paper. I have to say that was my own fault for not paying attention to what I was doing..as a cat fight set off. So I took everything apart and did it properly using my sellotape. I should have taken my own previous advice and shut the cats out of the room..lol.


 When you come to hold the drawer together...I added some sellotape to the outside..just to hold it together while it dried.


I didn't have a suitable handle for the box and due to the way I'm having trouble with my hands..I really needed something I could get hold of...so I fiddled about and made one. I had a lonely large button in my stash which I have always loved the look of. I took some of my jewellery wire and threaded it through the button and then added some beads..so it went button, bead, box drawer and then I secured the wire on the inside of the drawer. It has worked very well and has given me something substantial to hold on to.


And here it is finished..I have been looking for something to hold all my pearls from my stash and this is perfect. Everything that you need is available from Julie here at JB-Crafting Supplies. The range of fabric that she stocks is delicious..there is no other word to describe the patterns and colours that she has in stock. Well worth a look. So until next week..take care and happy crafting.


Monday, 11 April 2016

Design team make...Pinflair Kit


Hello everyone...Genny here. For todays design team make,I was lucky enough to work with this Pinflair Tissue Box cover. This is the third Pinflair kit I have made recently and I have to say that I love them. Julie, here at JB-Crafting Supplies has all the kits available, as well as a fantastic rangeof material...you're sure to find one that one that will fit in with your personal taste. I have chosen to work with this material that is covered in strawberries.

The kit itself comes with full instructions but I did notice one thing that wasn't mentioned and I have tosay that because it wasn't made clear, I ended up taking it to pieces and starting again.

To ensure that the top fits correctly on top..you need to ensure that the short endsare attached to the inside of the long lengths..hopefully the pictures above and below make this clear.If you don't do this..the top will not fit neatly


When they are in place properly... the lid part of the box fits perfectly. Because I had to take it apart again..I had run out of the gummed paper..so I used cellotape and it was fine. I added quite a bit of sellotape to fix everything securely.


Then I covered the top with a piece of the material. It is best to take your time gluing around the hole at the top. I cut through the material and made little cuts around the inside edge to ensure that I could get a smooth finish around the hole.One thing that I did think was that if I was making this as a gift, I would line the inside of the top..just to make it extra tidy. And thinking on this, I would use the top as a template and fix that in place to hide the stickings from the top. It doesn't need to be done but that's just a personal touch I would add if it was going to be a gift. And as far as I can tell..it would take just a little extra fabric. If you were using the Pinflair fabric as I did..there is more than enough spare to do it. In fact I have a little piece left..which I will be working with in the next couple of weeks to match in with the tissue box.


And here is the finished item. I am so pleased with it and hope you will take a look at all the wonderful kits that Julie has available. They can easily be made in an afternoon and are a pleasure to make.

Well that's it for me for this week.Next week I will be sharing some cards with you featuring some Hobby Art stamps.For all your cardmaking and sewing needs or wants..Julie can supply them. So until next week...take care and happy crafting.

Monday, 14 March 2016

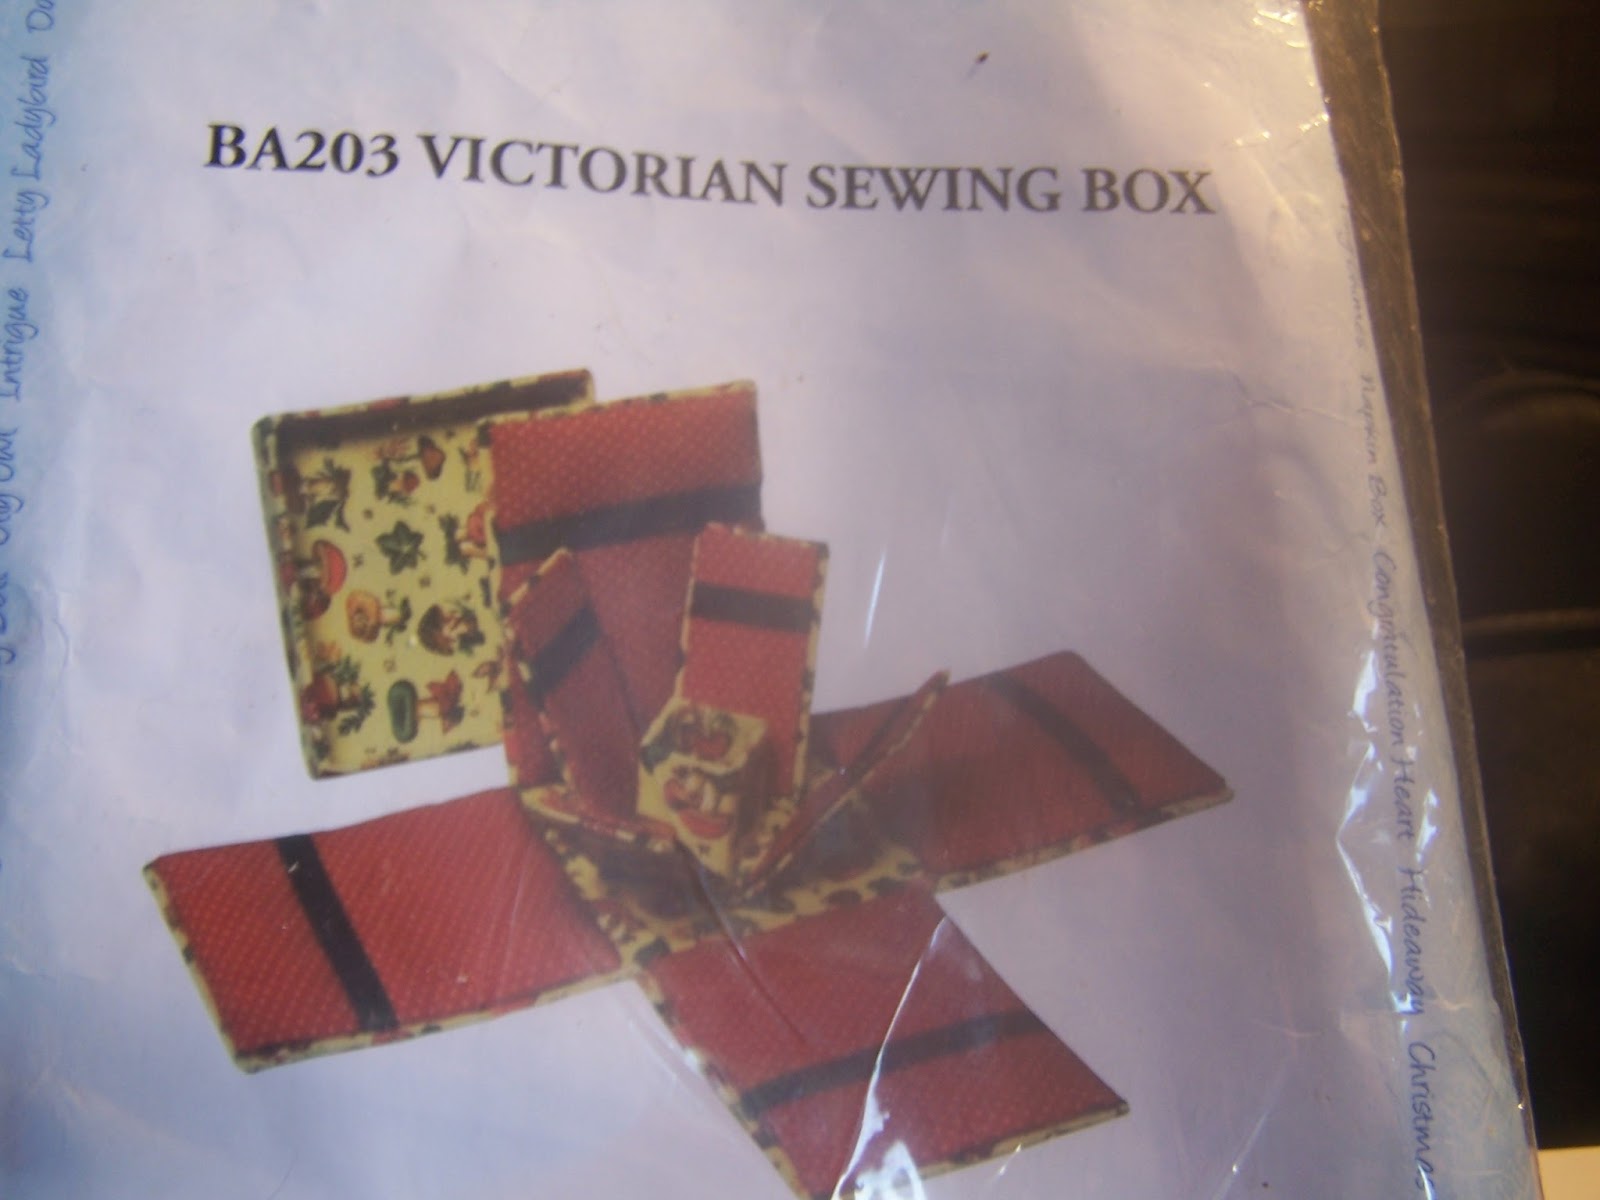
Design team make......Victorian Sewing Box


Hello everyone...Genny here. Well I had it all planned to share a patchwork block with you all today..and then real life came into plan and I had to change my thoughts. I was all set to do some sewing and then I wasn't very well..so I decided to make this Victorian sewing box, as it meant I could sit in my chair with my legs up. That's one of the things that I love about crafting..if you can't do one thing because of the way you feel...there is always something else you can do.

I had been sent this fabulous kit by Julie here at JB-Crafting Supplies..so I decided to give it a go...and I loved it. To make it you will need the kit, material of your choice, bookbinding glue, some ribbon to match and some wadding if you choose to use it.


 The material that I've used is available from Julie. I had some green ribbon in my stash and I had some bookbinding glue left from the last kit I made..The box with 1001 uses...which is now in my bedroom keeping my rings safe from the cats..lol..and I have to say it's working really well and looks delightful.

 There are full instructions in the kit. I would recommend reading through them a couple of times and getting to know which pieces are to be put together.

 On the pieces that hold the ribbon, I have used some wadding.
On the lid, I have put double wadding, so the top can be used as a pincushion.In fact I have had a couple of requests for one of these boxes already. I think it so handy, having one of these..you can keep everything in here to do a quick repair. A couple of small reels of thread..perhaps black and white, a small pair of scissors,some needles, a thimble..all will fit in..oh and a couple of safety pins..so handy..and you can never find one when you need one..lol
I am so happy with the way that it turned out. I'm thinking that I may make a couple of these for presents..it's so nice the way that it all closes into a neat box.And of course, you can make it using whatever material you think that the recipient would like..Julie has a fabulous range.

So hopefully next week I will get to share my patchwork block with you all.So until then..take care and happy crafting

Monday, 7 March 2016

Design team make...Box for 1001 Things


Hello everyone...Genny here. For today's project, I have worked with this fantastic kit from    Pinflair, with is available to buy from Julie here at JB-Crafting Supplies. To go with this kit, you need to buy your chosen material..mine came from Julie...she has a wonderful variety available..you're sure to find one that you love. You will also need some of the bookbinding glue. I would also advise to have either a ruler or measuring tape that covers centimetres. I also used a glue spreader, as I found it a lot easier to apply the glue. My first advice would be..if you have any cats...put them out of the room..lol..my tribe thought it was great fun to fiddle about once the tub of wet glue was unlidded..it was a very nerve wrecking time. Below are the photographs following my progress


One of the things that I did differently was to add the bottom lining of the fabric to the draw before I taped the sides up...it seemed to give me a neater finish..but that is just a personal preference.
On the instructions it gives you the size to cut the fabric in readiness for covering the drawer...40cms x 8cms. I think that if I made another one, I would have cut it to 40cms x 9cms..just to give me a bit more wiggle room..and you cut any excess off anyway

Below are pictures of the finished project. I am so pleased with it. I'm going to use it to keep my ring collection in. At the moment all my rings are in a bowl on my dressing table..the kittens seem to think that they are there to play with..lol. Well with this box..once you but the lid on..everything is safely closed away.


This was great fun to make and I completed it in an afternoon...despite the feline help. It would make a great present..just think who you could make it for and what colours they would like.

For next weeks project, I will be sharing one of my favourite quilt blocks. So until then...take care and happy crafting.