Showing posts with label dt. Show all posts

Monday, 3 August 2015

Design team make...Another Tag..Another Tale


 Hello everyone...Genny here again.For this weeks make I decided to make another tag. This one continues the story of my Grandmother. I so enjoyed making last weeks, that I decided to do another. I began by covering the tag itself with some more of the beautiful paper from the set brought to us by Craftwork cards..the shabby vintage range. Both the tags and the papers are available from Julie here at JB crafting Supplies. To to be the basis of the tag I stamped this old english prayer which was from my stash but very much was the way that my Grandmother lived her life. No matter how busy she was, she always made time for her friends.

I can always remember when they got together to put the world to rights..lol. I remember the scents that they wore and their pretty dresses. Quite often when they got together they brought their sewing along and you would see their needles flashing as they chattered and laughed. That gave me the idea of the pansies. They are from a rubber stamp set by Joanna Sheen called embroidered flowers. The whole sheet of stamps reminds me of all the table cloths,chair backs and tray cloths that they spent many hours on. I am lucky enough to have many of the pieces myself and have sewn some myself to add to the collection. So in thinking of these, I stamped out the pansies and the leaves and coloured them with my promarkers, cut them out and used them to edge the prayer. For the base of the tag I used some lace stamps from my stash, then coloured them to match and then added them to the tag. Finally I added a bow and a butterfly and dragonfly.

Now as I look at the tag, I see the ladies with their sewing in my minds eye, their sewing on their laps, the laughter of their stories and as fanciful as it may seem, am transported back to a happy place. This is one of the fantastic things about tag art..it doesn't too long and you can build your own story or a simple memory...whatever you like. I even fancy having a go at one featuring one of my cats..I may do that one over the next couple of weeks.


Next week I will be working with another wonderful stamp from the Stampendous range. Julie has a wonderful collection of stamps in the range of crafting goodies she has instore.If you ever have any questions about anything that I have made..please just get in touch via Julies facebook page and I will be more than happy to get back to you. So until next week...take care and happy crafting.

Monday, 27 July 2015

Design Team make..The Tag with a Tale to Tell


As it says in the title..this is a tag with a tale to tell. Tag art has really taken off in the crafting world and I have to say I love it. Many people would love to try scrap booking but are daunted by the size of the blank pages. If you fancy having a go..why not try telling a story on a tag.My tag is one that I put together in memory of my Grandmother and I began by going through my stash and finding things that reminded of her. I first covered the tag with a sheet of paper from the Craftworkcards..Shabby Vintage paper pads which is available from Julie here at JB Crafting-Supplies. I have two of the packs..one is pink shades and the other is blue and there are 12 papers in the pack. The one that I chose to work with is covered with sewing related pictures. As my Grandmother was an avid seamstress, I thought it would be a perfect start. There are many items on the tag which relate to her life..buttons,and lace because her sewing room always had them. I remember reels of lace and her button box. The button box was a treasure trove to me as a little girl and in fact I still have it. I only have to open the lid and am transported back to being a little girl. I put the banner on because my Grandmother was always involved with the carnival and everyone would gather at the farm to make the float. The saying always reminds me of her and her advice to trust in what you were doing and it would always be okay. I have added roses to represent her rose garden which she tended with great love but also a daisy to highlight her love of nature. She taught me to recognise all the wild flowers. I added a gardening glove and fork to tell of her time spent gardening. The two final items are the butterflies and the pearl strand. She loved butterflies and moths and I have her collection of reference books. And finally is the strand of pearls..she always wore a set no matter what she was doing..from digging in her gardens, working with the animals or cooking. They sit on my dressing table as a daily reminder of her love.
I know you may find it odd for me to write about all these memories on my design team make but I wanted to share with you my thought process while I was creating this tag. I intend to frame it alongside a photo of my Grandmother, And then I intend to work with the blue papers and make one for my Grandfather. I thought that they would look good together as a pair. Why not have a go yourself..you could do one for your grandchildren, your pets, your house or your hobbies. Tags also make great books. Cutting hols in the side and using some rings, you could add as many tags as you need.
Well I hope that you made sense of it all. When I make the one for my Grandfather, I will share it with you. For all your crafting needs please take a look at Julies shop. As I always say it is an Aladdins cave of crafting goodies. So until next week..take care and happy crafting.

Monday, 22 June 2015

Design team makes featuring Brambly Hedge


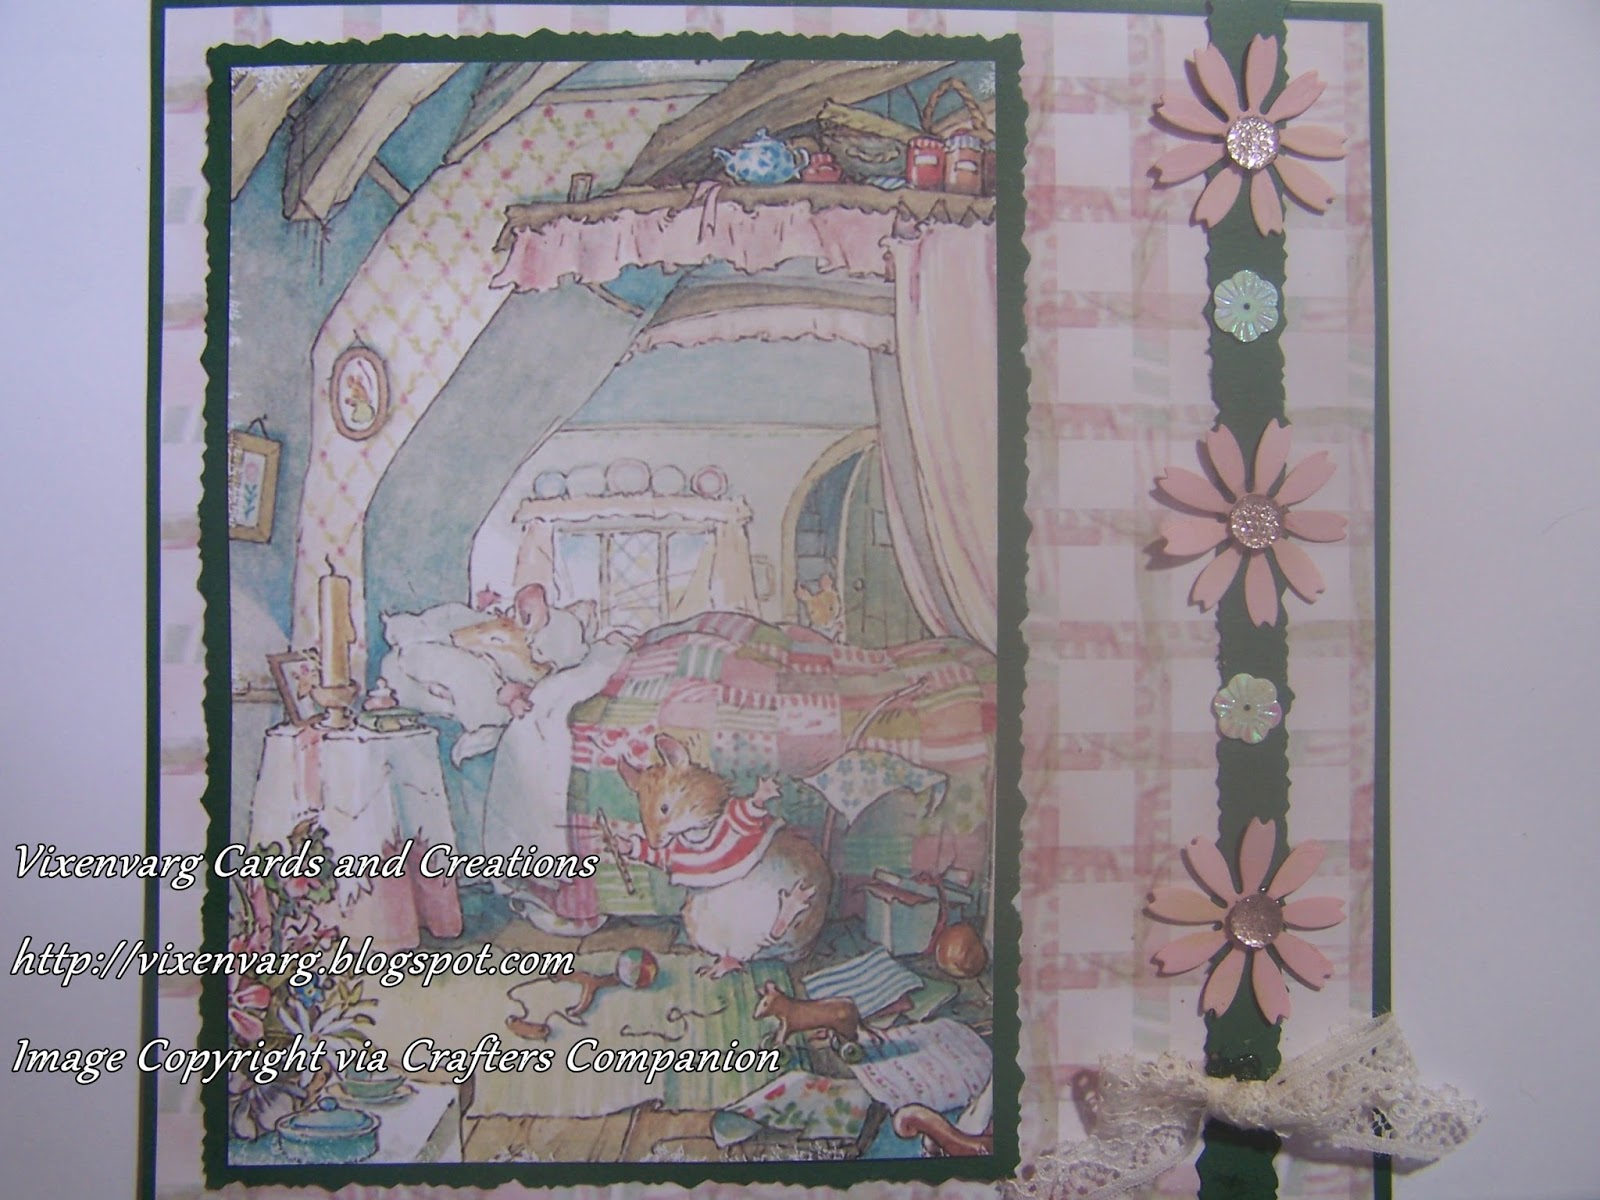
Hello everyone...Genny here. For this weeks design team makes, I am working with the wonderful triple cdrom of Brambly Hedge. This cdrom has been brought to us crafters by Crafters Companion.There is nothing that I just don't love about this cd and find myself using it for lots of different occasions. It features the timeless artwork of Jill Barklem. I always loved the artwork of the Brambly Hedge books, purely for all the detail in every painting. When Henry was little we would spend hours just looking at the artwork and trying to spot all the little items in the picture.

The first card that I made uses the picture of the bedroom. Now who wouldn't want to sleep in that bed. The only embellishments that I have added are some diecut flowers which I coloured with my promarkers and added a gem to every centre. The gems are available to buy from Julie and are just so fabulous to use. They add so much sparkle.

The second card I thought would be a great card to make for friends who are avid home bakers...I love the idea of a large pantry. I die cut some kitchen items to carry on the cooking theme. I tend to cut my die cuts in white, then I can colour them to fit in with whatever colours I'm using. It is so much easier than trying to find a piece of card exactly the colour you need.

It is a fabulous cdrom, packed with the artwork,borders,toppers and doilies to name but a few. There are 3 discs, with discs 1 and 2 separated into spring and summer, autumn and winter. Disc 3 features 12 step by step projects and bonus papers. In the whole set there is an extraordinary amount of backing papers..just beautiful and suitable for use in all your crafting creations.

I hope that the weather is being kind to you and that you had a lovely weekend. I have so enjoyed working with this cd and hope that you will consider adding it to your collection. For anything you need...just ask Julie..as I've said she has an Aladdin's cave of crafting goodies. I know I always look to her as an amazing source of both crafting items and inspiration. So until next week..take care and happy crafting.

Tuesday, 26 May 2015

Design team makes using a Nellie Snellen stamp


Hello every one Genny here. Today for my design team makes, I'm working again with this fabulous stamp by Nellie Snellen. This is called 'frog on flower'. I just adore these stamps and could find endless ways to create with them. I love changing the colourways and seeing where I can go with them. I have also used the cherry cupcake paper pad. Both the stamps and the paper pad are available from Julie here at JB-Crafting Supplies. She also has an amazing variety of gemstones,ribbons and other embellishments. Always worth a look. And the fabulous fabrics that she has in stock..I'm always amazed by how much she can fit into the space..lol. Thanks to Julie, I'm already planning some sewing..something that I haven't done in years.


I hope that you all had a great bank holiday. The weather here in the mountains has been lovely. So until next week..take care and happy crafting.


Monday, 18 May 2015

Design team make using the Cherry Cupcake Paperpad


Hello everyone...Genny here. For today's design team makes I have been using the wonderful little paper pad from The Wild Rose Studio called The Cherry Cupcake . There are just so many beautiful patterned sheets in this collection. For today's card I would use 2 of the papers.On the first I used this green/blue paper. I decided to use one of my large stamps from my stash, stamped it and coloured it with my promarkers.I then made a trail of black pearls, leading from the black peel off greeting. To my mind, both the cards are very simple but there are many times when you just need a card..and quickly..lol

For the second card I asked a friend what sort of card he liked to buy. And he said that he liked to buy a 'happy' looking card. I then asked him which paper in the pad was the happiest...and he picked this paper with the little birds in the trees. So working on that..I thought that it may be nice to use a backing paper as the main focus for a change. I had a rummage in my stash and found the stamp with this poem on it. I have a feeling that it is based on an old irish prayer...I shall have to check it out. I added a feather and some jewels and I think that it would be great to use as a notelet or just a card to send to say hello and raise a smile.It's always surprising just how much a simple card can mean to people. I know when I've received a card out of the blue. for no other reason than they were thinking of me..it really can make my day.


I hope that you are all well and that the weather is being kind to you. Here in the Welsh mountains, it's raining but we are used to it..lol..it must be time for some sunshine I think. Next week I will be revisiting the fairy stamps again...there is just so many ways to use them. So until then...take care and happy crafting.

Monday, 27 April 2015

Design team make using a stampendous stamp


Hello everyone...Genny here. For todays card I have again used this wonderful stamp from the Stampendous range. I have also used this amazing embossing folder created by Xcut. I just love the cog design and I can see me use it so many times on cards for men. Anything using machinery and this embossing folder would work so well. I have a gentleman that orders a lot of cards with steam trains on and this would also work well on those cards.

For this card I have stamped the image using a distress ink called faded jeans. I then coloured the image using the same ink pad. I cut an oval out of white card and coloured that with the same. I embossed some blue pearl with the embossing folder. I mounted everything onto some blue mirri which I then mounted onto the a card.In my stash I have a set of dies which cut out cogs in various sizes, which are a perfect embellishment. I have cut the cogs out using some silver holographic card.

I can't quite believe just how quickly that this year is flying by. Next weeks design team makes will be using some really pretty stamps by a range that I have never used before..so I'm really looking forward to sharing my discoveries with you. It's a lovely day here in the mountains today....I hope that the weather is being kind to you, wherever you are. So until next week...take care and happy crafting.

Sunday, 1 March 2015

DT Post


Hi everyone Bev here with another DT make. Hope you have had a good week & weekend.
I have just discovered this new shaped card - tepee card, so thought I would have a go. I was surprised how easy it was & loved the finished result.
I started by picking which sheets I wanted to use from the Forever in Time paper pad - Elderberry, that Julie sent me.
To make the basic card you need 3 squares of card. The sheets from the paper pad measure 6", so I made the base squares 63/4" from cream card. These squares are creased diagonally, then glued together to make the tepee shape.
The patterned paper is also creased diagonally, but these are cut along the diagonal. These are used to decorate the card.

Here are a few pics to show the stages (sorry about the quality but it was really dull today).

The squares of cut card with the diagonal creases:


How to arrange the squares ready for gluing together:


The patterned paper cut on the diagonal ready for gluing onto the card:


The patterned paper glued onto the card:


Now the card is all ready to decorate - you can really go to town on this part, using all your bits of paper up. I made some flowers using the papers from the paper pad using a Marianne Creatables Die - English Rose.
The sentiments are die cut using Tonic dies - everyday sentiments.
I arranged the flowers & sentiments onto the card, added some bling around the bottom. A little Stickles glitter on my roses.
The last thing, to make the card stand properly, is to add some hook & loop at the point where the two sides overlap.
I can see me making this shape card for Christmas cards!
Here are a few more pics.
You can just see the tab of velcro above the roses on the left hand side of the card.


All finished:


I hope you have been inspired to try this shaped card - it looks really good when it's all decorated & stands really well. Also it folds flat for posting.
Thanks for stopping by.
Hugs,
Bev xx