Showing posts with label rubber Stamping. Show all posts

Tuesday, 30 August 2016

Design team makes.....1 stamp..3 cards


Hello everyone...Genny here. I hope that you all had a fantastic bank holiday.I have to admit that having a bank holiday always confuses me..I won't know what day it is all the rest of the week..lol. I spent my whole weekend stamping and had a glorious time. I wanted to share the end results with you and take you through my stamping process. It all began with a flower stamp..now I have to be honest here I don't know who produced this stamp set because it was from a bundle of stamps that were given to me by a friend. I've had a look through lots of manufacturers and there are alot out there that are similar. Dreamees, Stamps by Chloe and Lellibot have similar ones. The stamp features the same flower in different sizes. For my cards I stamped the three largest stamps and some of the leaves. I wanted to layer them and use some kraft card as the background. The only thing that I have left to do is to decide what ribbon to add..I'm thinking either a red gingham or a red spot. The only difference between the three cards is the colour that I've used. The top one is coloured with my promarkers, the second with my watercolour pencils and the blue card is also done with watercolours.


I hope that you like them. I find it fascinating that just changing the colour medium can make such a difference. It all depends what you are looking for. It has amazed me just how popular kraft card has become and I think that it does give the cards a country feel. I used some stickles to finish off the middles of the flowers.

The cards below are just an extra to share with you. I needed to make some thankyou cards in a hurry and thought that I would use my watercolours as they were already out.


I first took some watercolour card and scribbled some colour on into 3 blocks..I only used 3 colours,  a red,orange and yellow. I added some water and blended then together. Then I stamped the two flower images using my Versafine and coloured them with my water colours. I had also stamped the images onto watercolour card. I finally mounted both items onto some black card, stamped a thank you at the bottom and added then to a 6x6 card.
Even though they are both using the same colours, they have turned out quite different. But it's so nice to have everything to hand to be able to make a quick card that looks a little special. I also added some stickles to these cards as the box was also out..lol.  Now if there is anything you need..stamps, inks, watercolours, card or paper or even stickles..just get in touch with Julie here at JB-Crafting Supplies.
Next week I should be doing some heat embossing.. I have had a message from a lady who is new to stamping and wants to do heat embossing. Because I've been crafting for so long, I tend to forget that some people are just beginning and some things I say must sound like a foreign language..lol. So next week I hope to go through heat embossing..so until then..take care and happy crafting.

Monday, 18 July 2016

Design team make.....Birthday Teatime


Hello everyone...Genny here.For todays design team make I have used a stamp set from Hobby Art stamps called Teatime. It is a great stamp to create your own tea table. As everyone has seen lately..tea, china and old fashioned cloths have made a great comeback. For this card I stamped the cloth edging, teapot,jug,cups and cake stand with my Versafine inkpad. I then used my lyra watercolours to paint them. I also watercoloured the large cake and a collection of little cakes. The background was created by doing a watercolour wash onto a piece of watercolour paper. I mounted this onto a piece of pink backing card. Also from Hobby Art I used the verse and mounted that onto the same pink card. I finally added the two pieces of bunting which are from a Joanna Sheen Signature Die.

Following on from last weeks paper cutting make..I decided to do some thing different. I am lucky enough to be on the design team for Jiggery Makery. This is the team belonging to Adele, Julie's daughter. I decided to use one of her fabulous pin up digis and to create a piece of papercutting. I took the shape of the skirt and drew a design. I then cut it out and mounted it onto a piece of red paper.


I really enjoyed making both these cards and after all, this is why we all craft. Nothing makes me relax more than to work on a card or canvas project. Any thing that you need craft wise..please get in touch with Julie..here at JB-Crafting Supplies.

I hope that the weather is being kind to you, wherever you are. The sun is shining here in the mountains, so I can craft in peace because all my cats are outside, sunning themselves. Usually when I get my crafting goodies, they all arrive, wanting to help..lol. Well until next week..take care and happy crafting.

Monday, 16 May 2016

Design team makes...Stamp Board and Silhouettes


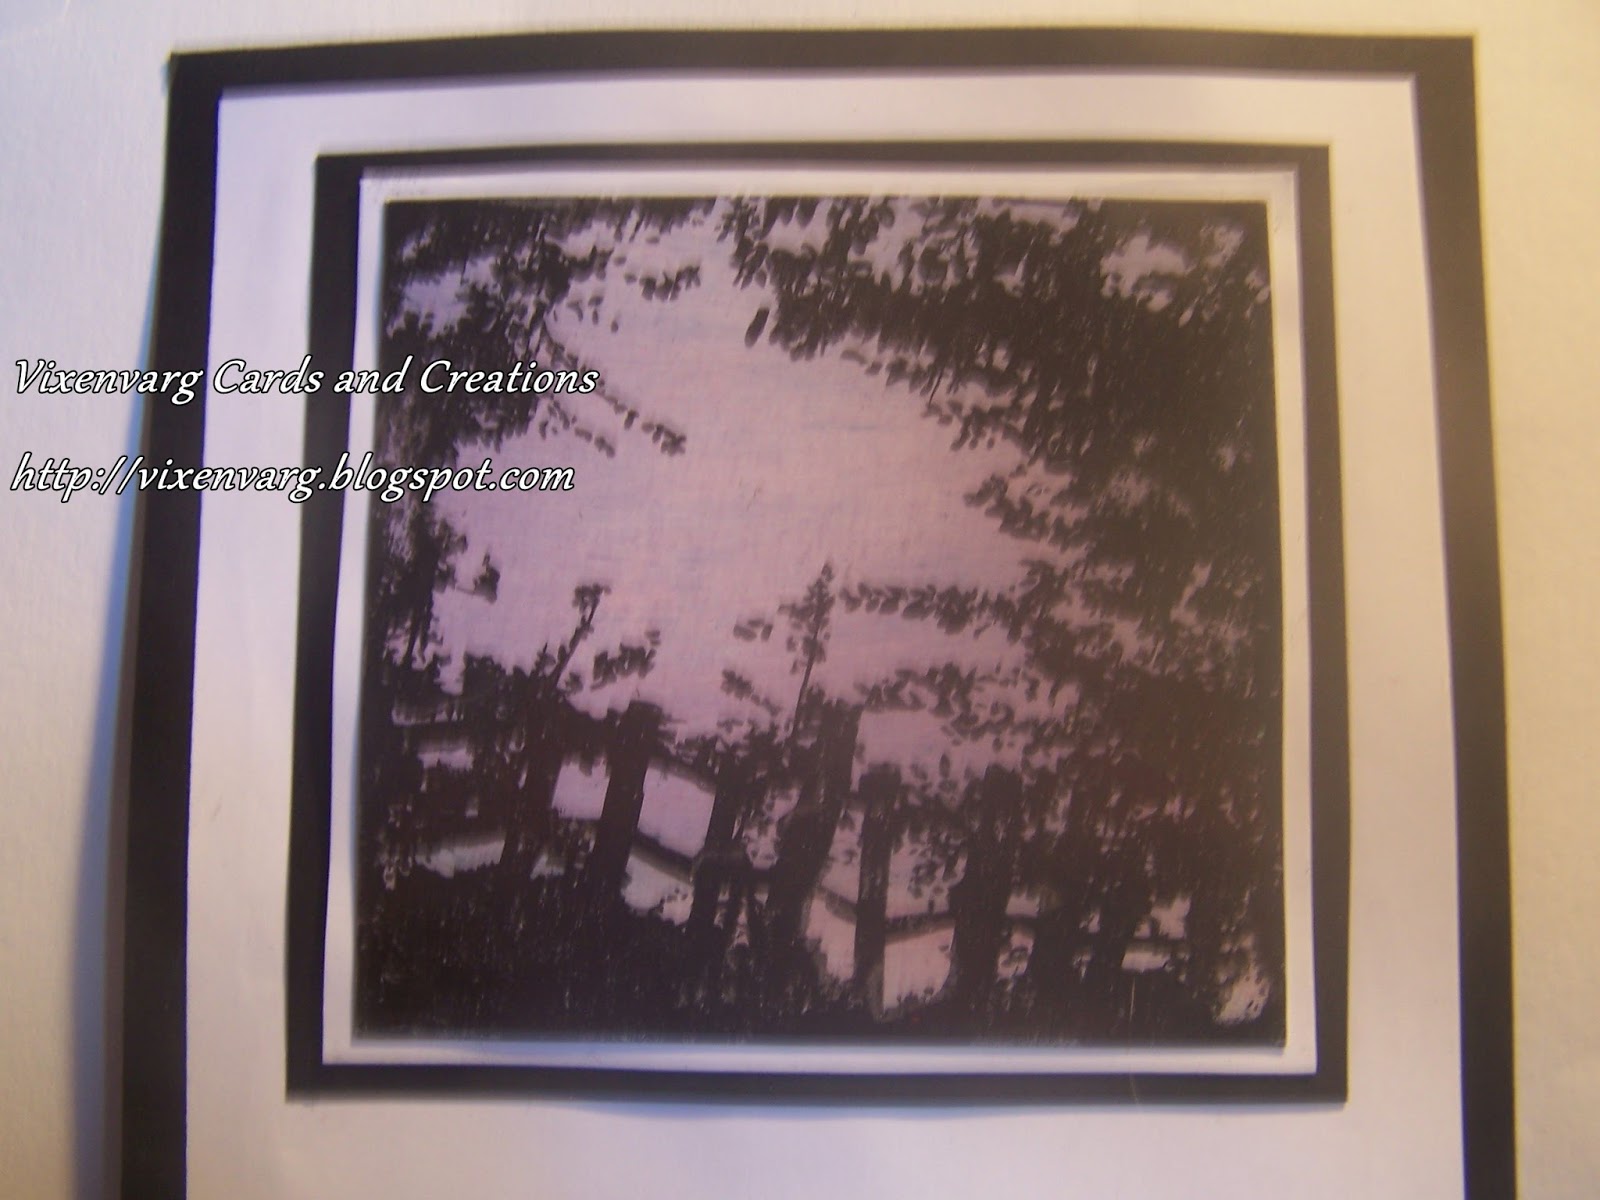
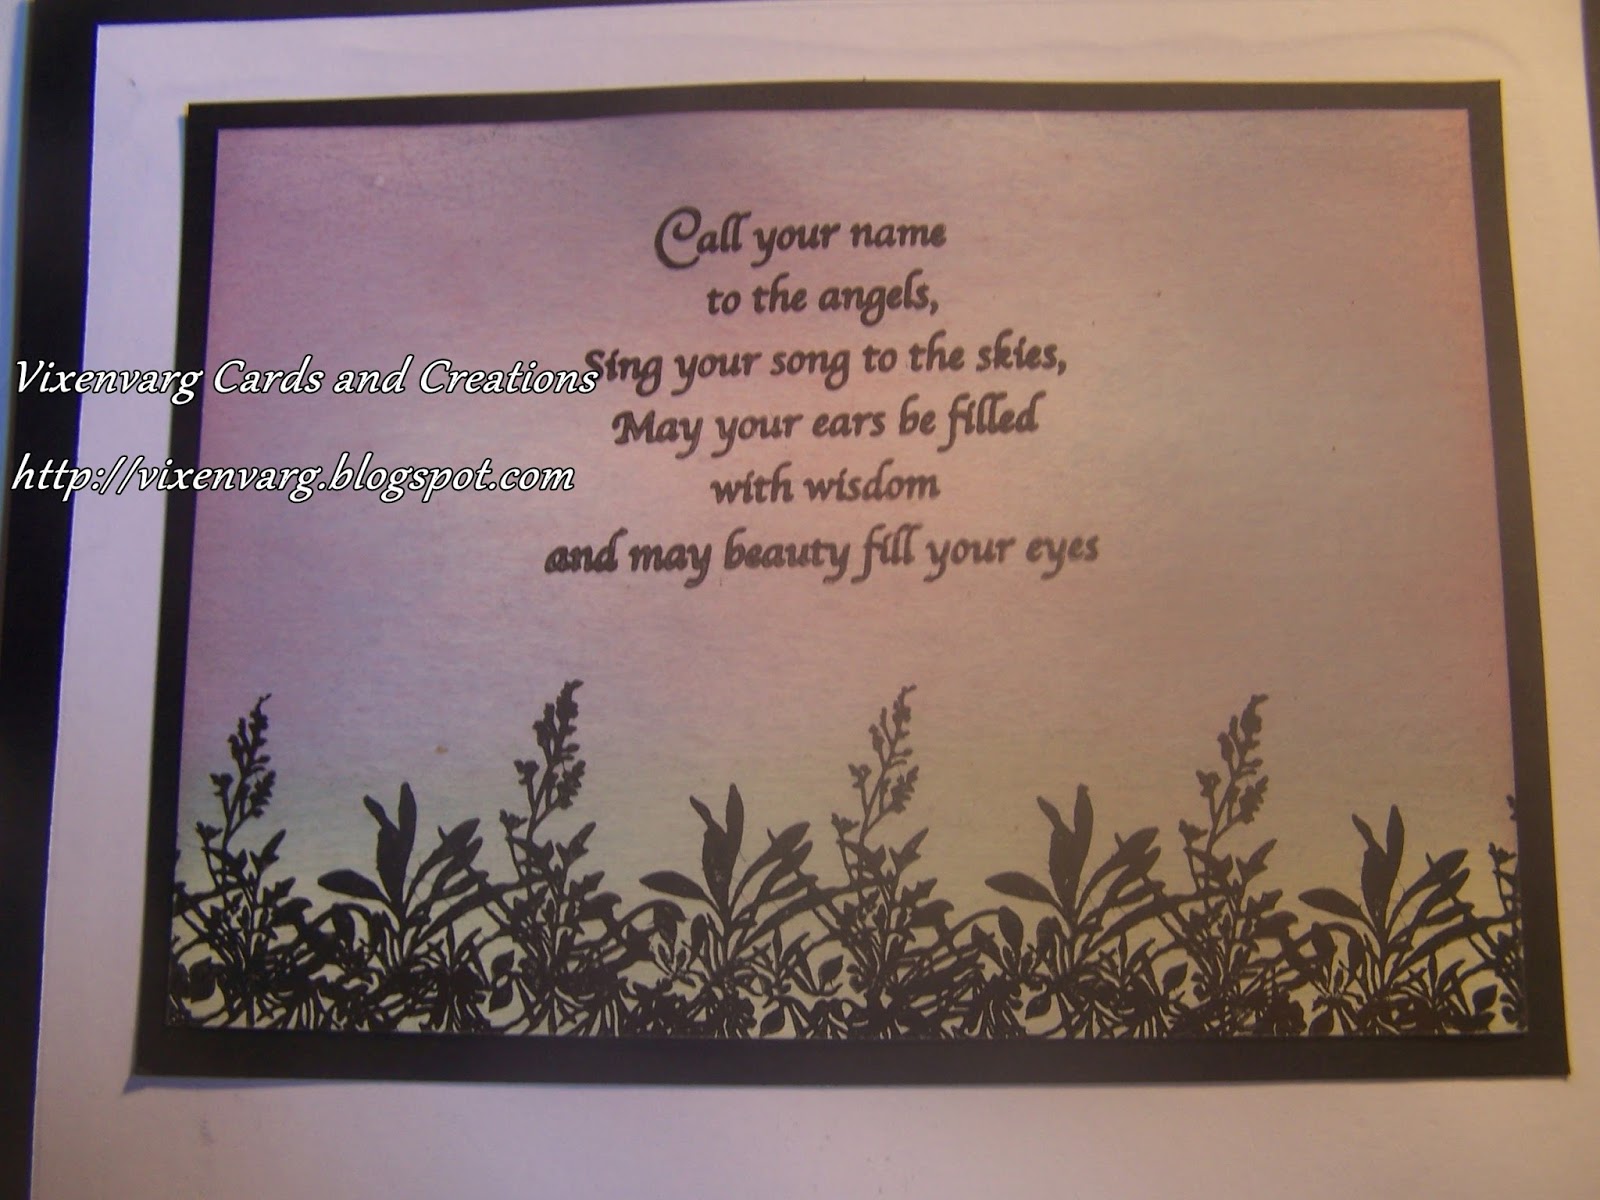
Hello everyone...Genny here. For this weeks design team makes, I decided to have a play and use silhouette stamps and some stamp board. For all my backgrounds I have used a glossy card and have created them using my dusting brushes and my distress inks. One thing that I hope comes across is the variety of backgrounds that you can make just by changing the colours that you use. For the card above, I created the background, let it dry and then stamped the silhouette using my versafine inkpad. I also stamped onto some acetate using my stazon inkpad..a butterfly..which I coloured with my promarkers and then cut out. I finally added it to the card.

For the card below..I created a background and then stamped the scene onto it. I then mounted it onto black and white to highlight the image.


The three cards below are using exactly the same images and sentiment but all have different colour backgrounds. I did this just to show you how the colours make each card different and suitable for different projects. I think the plain black and white image would make a very dramatic card.


And while I as having a play, I came across some stampboard in my stash. A few years ago, stampboard was everywhere and then all of a sudden seemed to disappear. Well now it is back and seems to be a lot cheaper than it used be. I had forgotten just how much I loved working with it. One of the things that I adore about stampboard is the clean definition that it gives to whatever stamp you decide to use.


For my first make, I created a keyring. I stamped the sentiment on it and doodles around it. I then wired some beads to it. It takes the ink really well..using the pen, I thought to myself that I could zentangle onto it..watch this space..I will share it with you next week. I am also in progress of making a bracelet..it is drying at the moment. So that will come next week as well.

The tiny door hanger below was made using stampboard. I first coloured the stampboard with my distress inks and then stamped the words onto it. I then created a little hanger and joined the pieces using some beads and wire, What I did discover that my cropodile makes the holes in the stamp board really easily.


This final piece is a work in progress. I stamped onto the stampboard using my memento inkpad and then simply coloured it in with my promarkers. I have yet to decide what I'm going to turn this into.


One thing that I have been asked about a lot is what inkpad to use when using different mediums...so I thought that I would jot a few down for you all.

Memento Ink pads.....I use this for any alcohol pen work..promarkers, copics,spectrum noirs etc.
Versafine Inkpads...I use this for any image I wanted to watercolour or use any waterbased colours with.
Staz on Inkpads...I use this for glass, acetate and any other non porous projects

Versa mark Inkpads...I use this for any projects that I want to use embossing powders on. Also there is the Perfect Medium inkpad that you can use for embossing.

I hope that, that helps you a bit. As always should you have any questions about any project that I've made..please don't hesitate..just ask and I will be more than happy to help. Any thing you need for your crafting..just ask Julie here at JB-Crafting supplies.

The weather here in the mountains is beautiful...I hope that the sun is shining for you wherever you are. So until next week...take care and happy crafting.

Monday, 18 April 2016

Design team make....Garden Birds


Hello everyone...Genny here. Today for my design team makes this week, I am lucky enough to work with this set from Hobby Art Stamps....Garden Birds. If you would like to buy this set..please get in touch with Julie here at JB-Crafting Supplies. In fact anything that you need, Julie is the person to source it for you. 


For all these cards, I stamped all the birds with my Versafine inkpad because I knew that I wanted to use my watercolours..and Versafine is what I use with them. If I had wanted to colour the images with my promarkers or any of my alcohol pens, I would always use a Memento ink pad.


The top two cards feature a coal tit and a great tit and below is a blue tit. I admit to not knowing many birds but I had a great reference book..so I could try to get the colours right. I thoroughly enjoyed working with these stamps and if like me you have lots of friends who bird watch either out and about or just at their own bird tables..these cards would be perfect to use for them.

What I also wanted to do but just didn't have the time..was to create some really funky coloured birds, alongside some funny quotes. I will try and make a couple for next week..just to show you a different way of using them. On the stamp set itself, you get 3 different birds, the flowers and some branches and leaves. I just love Hobby Art Stamps because they always stamp so well and combine really well .I was also thinking with some of the Hobby Art 'scenic stamps', you could easily make a scenic background and put the bird at the front. I may have to have a go at that as well.

I hope that you like the cards and get a little inspiration. For any of your crafting needs..just ask Julie. If there is ever anything that you would like me to feature in any future blogs..just get in touch and I will try my hardest to do it. So until next time..take care and happy crafting.

Wednesday, 7 October 2015

Design team makes...Christmas Sheep and more


Hello everyone Genny here. I tried so hard to blog these cards yesterday but BT just wasn't playing..lol. So here I am featuring the sheep stamp again from Hobby Art. Everything that I have used on these cards is available through Julie here at JB-Crafting Supplies.

I wanted to share the card below to show that though I have bought the sheep set to make my christmas cards, I can see me using them all year round. There are lots of little other stamps like the sunglasses and straw hat,which I have put on the sheep and turned it into a summer stamp. I know lots of people that this would make smile.


And below is something that I made after watching a television programme. Strange I know but I was amazed by the price of what they were selling, knowing that you could buy everything from Julie for at least half the price. All you need to make the items below is your choice of acrylic paint and two ball tools. The pattern is based on dots and if you can dip your ball tool into some acrylic and drag it in a swirl, that;s all there is to it. Next week I will do another couple of projects and show you how easy it is. I know that Julie has door hangers available and the frame is just a cheap one that I picked up. I think that the two together would make a lovely present.


So until next week...take care and happy crafting.

Monday, 28 September 2015

Christmas is coming..Design team makes


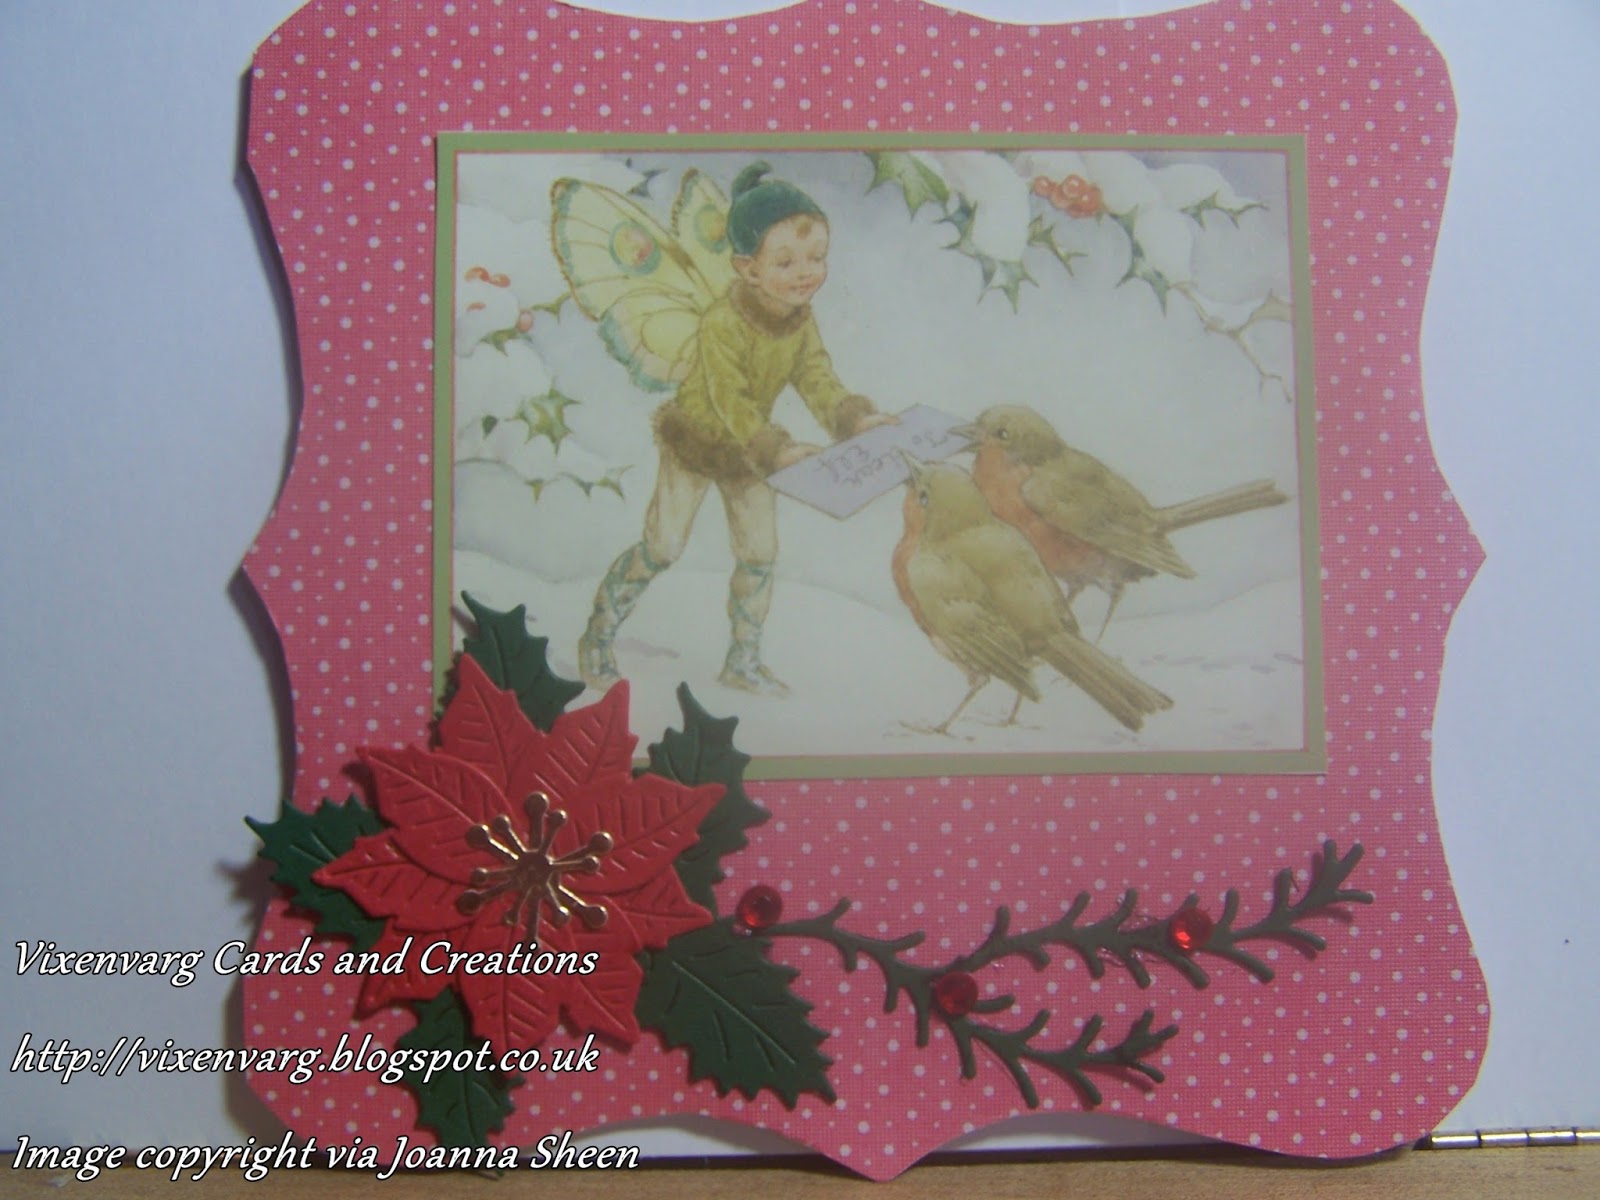
Hello everyone..Genny here. Well it's come to that time when us crafters need to be thinking about Christmas cards. Below are a selection of last years cards..all made using different mediums. The one above is from a paper pad brought to us from Joanna Sheen and available from Julie here at JB-Crafting Supplies. The one below is from the Stampendous Range of stamps..another line that Julie has a wide range of.


To decorate the cards, I always use a wide range of embellishments..either bought from Julie or die cuts which I have made using dies also bought from Julie.


The two cards, above and below are also from the Margaret Tarrant paper pad..produced by Joanna Sheen. Lovely images and so handy to have in your stash.


The other great way to produce your christmas cards is to find some cdroms and print your own. Below are two cards..one from a Joanna Sheen cd and the other from a Crafters Companion. Just ask Julie what she has available and you'll be off. It can be daunting when you are thinking about creating your own cards but once you get into it..you're away. I really enjoy Christmas crafting..it's not christmas for me unless everything is covered in glitter. At this time of year even the dog ends up twinkling...lol


So have you started yet?  I have been thinking about it and the lucky thing for me is that I also work on another design team that makes christmas cards all year round. Some years I have a theme but usually I just work with lots of different types of images..digital designs, images from christmas themed cdroms and stamping. I find that I can work with the same image year after year and they're never the same. I find that I create different embellishments and that my cards will have a totally different feel every time. I have a stamp of four geese which I must have had for 15 years and every year it comes out and helps me produce a different look even though it's the same main image. So the best thing to do is to keep your eyes peeled for different embellishments to ring the changes.


On Wednesday I will be back sharing a new set of stamps from Hobby Art which I think will form the basis of my cards for this year.
So until then my thoughts will be on Christmas crafting. If you have started your makes..why not share them. I would love to see what you are doing. So until Wednesday...take care and happy crafting.

Monday, 10 August 2015

Design team make using a Stampendous Stamp


Hello everyone...Genny herewith my design team make for JB-Crafting Supplies. I was lucky enough to e able to work with this fabulous stamp from the Stampendous range. I made this simple card this week to send to a friend of mine who just adores shoes. I stamped the image and simply matted and layered it onto some patterned mirri and some plain black. I then just added the silver bow. It was a great stamp to work with as all the detail stamps so cleanly. The actual amount that they have managed to get onto one stamp is amazing. When you find a stamp company whose stamps work well every time..gives you confidence to use them again and again. And it like that for me with Stampendous stamps. They also have the license to work with all the house mouse range...a range which you must know by now, I love.

For next weeks make, I will show how this stamp can be used alongside a vintage make. The same stamp but used in a totally different way. Oh and to answer a question that was sent to me...for most of my stamping I use a memento inkpad..normally in tuxedo black. That's so I can use my alcohol pens to colour onto it if I want to. I use a Versomark for embossing and a Stazon for stamping onto acetate and glass. For inking backgrounds and for stencil work, I tend to use the Tim Holtz Distress range. There are many different types of inkpad out there but once I've found something that works for me, I tend to stick to it. One more that I have remembered is that I use a Versafine in black if I intend to watercolour. I hope that helps..and as I've said if you have any questions..just ask.

So until next week..I hope that the weather is kind to you all...so until then ..take care and happy crafting.

Monday, 3 August 2015

Design team make...Another Tag..Another Tale


 Hello everyone...Genny here again.For this weeks make I decided to make another tag. This one continues the story of my Grandmother. I so enjoyed making last weeks, that I decided to do another. I began by covering the tag itself with some more of the beautiful paper from the set brought to us by Craftwork cards..the shabby vintage range. Both the tags and the papers are available from Julie here at JB crafting Supplies. To to be the basis of the tag I stamped this old english prayer which was from my stash but very much was the way that my Grandmother lived her life. No matter how busy she was, she always made time for her friends.

I can always remember when they got together to put the world to rights..lol. I remember the scents that they wore and their pretty dresses. Quite often when they got together they brought their sewing along and you would see their needles flashing as they chattered and laughed. That gave me the idea of the pansies. They are from a rubber stamp set by Joanna Sheen called embroidered flowers. The whole sheet of stamps reminds me of all the table cloths,chair backs and tray cloths that they spent many hours on. I am lucky enough to have many of the pieces myself and have sewn some myself to add to the collection. So in thinking of these, I stamped out the pansies and the leaves and coloured them with my promarkers, cut them out and used them to edge the prayer. For the base of the tag I used some lace stamps from my stash, then coloured them to match and then added them to the tag. Finally I added a bow and a butterfly and dragonfly.

Now as I look at the tag, I see the ladies with their sewing in my minds eye, their sewing on their laps, the laughter of their stories and as fanciful as it may seem, am transported back to a happy place. This is one of the fantastic things about tag art..it doesn't too long and you can build your own story or a simple memory...whatever you like. I even fancy having a go at one featuring one of my cats..I may do that one over the next couple of weeks.


Next week I will be working with another wonderful stamp from the Stampendous range. Julie has a wonderful collection of stamps in the range of crafting goodies she has instore.If you ever have any questions about anything that I have made..please just get in touch via Julies facebook page and I will be more than happy to get back to you. So until next week...take care and happy crafting.

Monday, 27 July 2015

Design Team make..The Tag with a Tale to Tell


As it says in the title..this is a tag with a tale to tell. Tag art has really taken off in the crafting world and I have to say I love it. Many people would love to try scrap booking but are daunted by the size of the blank pages. If you fancy having a go..why not try telling a story on a tag.My tag is one that I put together in memory of my Grandmother and I began by going through my stash and finding things that reminded of her. I first covered the tag with a sheet of paper from the Craftworkcards..Shabby Vintage paper pads which is available from Julie here at JB Crafting-Supplies. I have two of the packs..one is pink shades and the other is blue and there are 12 papers in the pack. The one that I chose to work with is covered with sewing related pictures. As my Grandmother was an avid seamstress, I thought it would be a perfect start. There are many items on the tag which relate to her life..buttons,and lace because her sewing room always had them. I remember reels of lace and her button box. The button box was a treasure trove to me as a little girl and in fact I still have it. I only have to open the lid and am transported back to being a little girl. I put the banner on because my Grandmother was always involved with the carnival and everyone would gather at the farm to make the float. The saying always reminds me of her and her advice to trust in what you were doing and it would always be okay. I have added roses to represent her rose garden which she tended with great love but also a daisy to highlight her love of nature. She taught me to recognise all the wild flowers. I added a gardening glove and fork to tell of her time spent gardening. The two final items are the butterflies and the pearl strand. She loved butterflies and moths and I have her collection of reference books. And finally is the strand of pearls..she always wore a set no matter what she was doing..from digging in her gardens, working with the animals or cooking. They sit on my dressing table as a daily reminder of her love.
I know you may find it odd for me to write about all these memories on my design team make but I wanted to share with you my thought process while I was creating this tag. I intend to frame it alongside a photo of my Grandmother, And then I intend to work with the blue papers and make one for my Grandfather. I thought that they would look good together as a pair. Why not have a go yourself..you could do one for your grandchildren, your pets, your house or your hobbies. Tags also make great books. Cutting hols in the side and using some rings, you could add as many tags as you need.
Well I hope that you made sense of it all. When I make the one for my Grandfather, I will share it with you. For all your crafting needs please take a look at Julies shop. As I always say it is an Aladdins cave of crafting goodies. So until next week..take care and happy crafting.

Monday, 18 May 2015

Design team make using the Cherry Cupcake Paperpad


Hello everyone...Genny here. For today's design team makes I have been using the wonderful little paper pad from The Wild Rose Studio called The Cherry Cupcake . There are just so many beautiful patterned sheets in this collection. For today's card I would use 2 of the papers.On the first I used this green/blue paper. I decided to use one of my large stamps from my stash, stamped it and coloured it with my promarkers.I then made a trail of black pearls, leading from the black peel off greeting. To my mind, both the cards are very simple but there are many times when you just need a card..and quickly..lol

For the second card I asked a friend what sort of card he liked to buy. And he said that he liked to buy a 'happy' looking card. I then asked him which paper in the pad was the happiest...and he picked this paper with the little birds in the trees. So working on that..I thought that it may be nice to use a backing paper as the main focus for a change. I had a rummage in my stash and found the stamp with this poem on it. I have a feeling that it is based on an old irish prayer...I shall have to check it out. I added a feather and some jewels and I think that it would be great to use as a notelet or just a card to send to say hello and raise a smile.It's always surprising just how much a simple card can mean to people. I know when I've received a card out of the blue. for no other reason than they were thinking of me..it really can make my day.


I hope that you are all well and that the weather is being kind to you. Here in the Welsh mountains, it's raining but we are used to it..lol..it must be time for some sunshine I think. Next week I will be revisiting the fairy stamps again...there is just so many ways to use them. So until then...take care and happy crafting.

Monday, 13 April 2015

Design team makes using Stampendous Stamps


Hello everyone...Genny here. For today's cards I have been using two fabulous stamps from the Stampendous stamps range. One is the car 'cling toy car' which I used last week and another called 'Luggage Labels'. For this week I decided to make two collage type cards and to use sepia coloured ink. The ink that I used was a distress ink called vintage photo. It is a very handy colour if you want to do a sepia coloured image. I stamped the images with the ink and then stamped some more of the ink onto a glass mat, watering it down and then used that to colour the images as well.On the first card I stamped and embossed the quote using black ink and black embossing powder and then coloured it with the watered down ink.I used an old map as a background paper and mounted that onto some black card. I mounted the luggage stamp onto the same black card. I cut a black circle and then mounted the car onto it. I embellished with some gold ribbon and some gold card candi.

For the second card I mounted an old map onto some blue  and then black card. I mounted all the other images onto the same. I used the luggage stamp and the car stamp coloured again with the distress ink. I then added two other images..one of an old train and one of an old farm building. I put all these together thinking of the gentleman that this card is for, You could change the images depending on what the recipient likes. I added a bow and some orange card candi. I love making this type of card because you can personalise it as much as you like. You are able to bring in lots of random images that you wouldn't normally put together but which can help you personalise the card and make it all the more special for the person it's intended for.


Wherever you are I hope that the weather is being kind to you.We are back to normal here in the mountains with wind, rain and mist. But I always think heyho..it's perfect crafting weather. So until next time...take care and happy crafting.

Monday, 9 February 2015

Design team make featuring Joanna Sheen


Hello everyone...Genny here. My first card is made using the wonderful stamp plate from Joanna Sheen. The two stamped images are from the Enchanted Forest range and this stamp sheet is called Magical Day.I have coloured both images using my promarkers and then cut them out. I mounted some backing paper from a wonderful little pad called Perfect Prints..Blue Dawn onto some blue card. I also created a little border using the same blue card. I then added one of my favourite sayings and some peeloff butterflies.

As part of my design team work I was given this little paper pad to work with and I have to say it is such a pretty pad with lots of different papers that will come in so handy in your stash.As most of you know by now and this is one from the Perfect Prints pad...my stash is an ever growing thing and I always keep my eye out for things that I think will come in handy, that are a great price. This pad is just the thing. Below is a card that I was having a little problem with as I couldn't decide what backing paper to use. That was until I looked through this pad. This paper was right to use with this decoupaged image. I was looking for a paper that would allow the decoupage to be the main focus


The decoupage is one from the Le Shu range and as you know I do have a bit of a passion for cats. Sometimes there is nothing better than sitting down, watching the television cutting out some decoupage. If I'm in the mood, I cut a load out and put them into cello bags until I need them.
It certainly keeps me quiet..lol. So until next week...take care and happy crafting

Monday, 29 December 2014

DT post using Stapendous stamp


Hi everyone! Bev here with this week's DT post. Hope you all had a great Christmas & are ready to welcome in the new year - 2015 - cant believe it!
Totally forgot it was Sunday yesterday so am a day late with my post.
Looking at the Stampendous stamp - teacup cupcake - I thought it would make a cute thank you card. I have a few of those to send so got straight onto it.
I folded some white card in half - slightly larger than the stamp. I inked the stamp with some black Versamark ink & positioned the stamp so that a small part overlapped the fold of the card. I stamped the cream, rose & leaves again, then the rose & leaves & lastly the rose - all to be used as decoupage.
I carefully cut around the images. On the main image I made sure to straighten off the botto of the saucer so the card would stand up.
Next came the colouring using watercolour pencils. Once that was done I layered up the decoupage pieces with foam pads.
I found a cut little 'Thank You' from the Joanna Sheen paper pad that Julie also sent me. Adhered this just under the rose.
I think it makes a lovely 'Thank You' card & I'm sure whoever receives it will love it.
Thanks for stopping by.
Hugs & Happy New Year!
Bev xxx

Sunday, 7 December 2014

DT post using Joanna Sheen stamps


Hi everyone Bev here with this week's DT post using those lovely Joanna Sheen stamps.
When I looked at this stamp again I thought it would make a good bauble.
I stamped the image onto some scrap paper to see how big a circle I would need to draw around it. I found a lid big enough, drew around it then made the points on each side.
I then drew around this shape onto some white card, stamped the image using black Archival ink. There is also a small angel stamp which fitted perfectly in the space at the bottom of my bauble.
Coloured the image using Cosmic Shimmer watercolour paints.
Inked around the image using barn door Distress Ink. Added some red glitter to the berries. Used some gold Rub'n'Buff around the edges then some Stickles glitter to the white flowers & around the edges.
Backed my bauble with some gold mirri board to give it a bit more strength.
Punched a hole in the top, threaded some ribbon through & my bauble decoration was finished.
I'm sure I can find somewhere to hang it!
Hope your Christmas preparations are all going to plan & you're not getting too stressed. Have a great week!
Thanks for stopping by.
Hugs,
Bev xx

Sunday, 30 November 2014

DT post using Joanna Sheen stamps


Hi everyone Bev here with another DT post. Hope you've had a good week - I've been dog sitting for my son, James. Poppy  has been here most of this week. She has to 'help' with & inspect my makes!

Julie has sent me some lovely stamps this week - Joanna Sheen's Favourite Flowers Collection - candle.
I don't know why but these stamps just shouted 'brown paper' to me - I think to give them a vintage feel.
I stamped the main image onto the brown paper using black Archival ink. Coloured in using Inktense pencils. Ripped carefully around the image & applied frayed burlap Distress Ink to the ripped edges. This made the edges curl up, which I thought looked good, adding to the vintage feel. I applied the DI sparingly around the image.
Stamped the sentiment, using black Archival, onto brown paper. Ripped carefully around the edges & applied the frayed burlap DI to them.
I had a red card in my stash, applied some gold Rub'n'Buff around the edges.
Adhered the sentiment to some red ribbon & adhered this to the card.
This is a lovely image, would work well with any medium.
Thanks for stopping by.
Hugs,
Bev & Poppy xx


Sunday, 16 November 2014

DT Post

Hi everyone! Hope you have all had a great week & are not getting too stressed about how quickly Christmas seems to be getting here. Grab a coffee & see what I've been making.
Here is this week's DT make using the lovely Crafter's Companion stamps & the gorgeous Magic of Christmas paper pad that Julie sent me.
I made a small gift bag from ordinary copy paper & covered it with paper from the paper pad. I inked around all the edges using barn door Distress Ink.
I stamped the image onto white card using black Archival ink, then coloured in using my watercolour pencils. Cut around the image leaving a small white border as I thought the image might 'get lost' when I placed it on the patterened paper.
Stamped the sentiment onto white card, inked around the edges with the barn door DI, adhered onto another piece of white card & cut out leaving a small border.
I arranged the image & sentiment on the bag & adhered using foam pads.
Added some sparkle with stickles & closed using some snowflake brads - which I also applied some sparkly stickles to!
A neat little bag to put a few treats in!
Hope you like it.
Thanks for stopping by,
Bev xx

Tuesday, 11 November 2014

Stampendous Stamps...Design Team Makes


Hello everyone...Genny here. I hope that you'll all keeping warm..the weather here in the mountains is freezing cold...will be needing my winter socks sometime soon..lol. For todays design team makes I've decided to use some of the fabulous stamps available from Julie here at JB Crafting. All the stamps that I've used today are from the Stampendous range. Two of them feature a House Mouse design and the other is this adorable cat with the santa hat. I know that you can buy cheaper stamps but sometimes, especially with stamps..you get what you pay for. All the stamps that I have used from the Stampendous range have been brilliant. They stamp so clearly first time and the detail is amazing. As most of you know I just adore cats and share my life with 10...so I just had to have the two featuring the kitties..lol.


On all the images I have stamped using a black memento inkpad. I coloured all the images with my copic pens but could have easily coloured them using my promarkers, watercolours or pencils. I decided to colour the cats ginger just because yesterday I spent a lot of time with my ginger cat Icabod. All the papers that I've used were from my christmas stash. All the images I cut into an oval shape and mounted them onto an oval mirri mount.


All the embellishments have come from Julies shop..she has an amazing variety of christmas themed ones and you could use any of your choice to decorate your own cards. I have to say that I just love to colour images...I find it so relaxing..I always liked to colour when I was little and am lucky enough to be able to do it as part of my working life now. The other good thing about using stamps is that you can colour them to match your own ideas or colour schemes. If you fancy using say blue and silver on your christmas cards..this allows you to.
I will be sharing cards all week on the facebook page ...I hope you will enjoy the different cards..they will all be made using a stamped image. So until next time...take care and happy crafting

Monday, 3 November 2014

Talking to teddy...design team make


Hello everyone..Genny here. Today I have made another card using the Jayne Nestorenko stamps that I used last week. These stamps are from the same set but I've used them in a different way. Instead of having the little girl holding the cat, I cut off the cat from the stamped image and replaced it with the teddy. On the sheet there is also the basket and the view of the end of the bed. I stamped and coloured the end of the bed onto a circle of white card. The girl, the teddy,and the basket I stamped onto spare card and then coloured them and cut them out. I then decoupaged them onto the circle. I have coloured all the images with my copics..but you could colour with whichever is your favourite medium. Sometimes I use my promarkers, sometimes my watercolours or watercolour pencils. I have even coloured with my H2os. Use whatever you feel happiest with. I have coloured using greens and lilacs but it would equally nice using reds and greens or just stamped using a sepia coloured inkpad..each way would give a totally different look but each as lovely as the next. I think I will try stamping and colouring just using one colour..I will try and do it this week. You see just as I'm talking about what I've done..I come up with a new idea.
I hope that you all have a good crafting week..I will try and get back to you with my new idea. So until then..take care and happy crafting. Below is a picture of the completed card. I have used a pink backing paper from my stash and created a border using some glitter paper. I have just added a white poinsettia and a greeting from my stash.

Monday, 27 October 2014

Design team make...Christmas Stamping


Hello everyone..Genny here. Today I have been lucky enough to be able to work with a stamp from the Adorables range brought to us crafters by the wonderful Jayne Nestorenko. She is actually one of the crafters that inspired me in the first place to make cards...I loved her ideas. As I've said this stamp is from the Adorables range of 6 different stamp sets. Bev has created some fantastic designs with one of the other sets. This set is called 'Loving'. I stamped the little girl with the cat, the window and the teddy.I then cut them out, including the window panes of the window. I coloured a piece of card dark blue and then stuck the window onto that. All the images I coloured using my copics. I then mounted the picture onto some green mirri. I cut a border of the same colour and added to that some of a gingham ribbon from my stash. The greeting is one of 4 on the stamp set. I finally added a die cut poinsettia, holly leaves and a gold swirl. Finally I added some jewels.


I really like the different range of these stamps ...I'm hoping that I will be able to share another couple with you this week. Once I had started with the stamps..lots of ideas were popping into my head..I just hope that I can get them all made to share with you.
We have had quite a week with the weather here in the mountains..so it has been the perfect time to stay in and craft. I hope that the weather has been kinder to you all. So until next time...take care and happy crafting