Showing posts with label die cuts.. Show all posts

Monday, 29 June 2015

Design team makes


Hello everyone...Genny here. For today I'm lucky enough to be working with Janet Kruskamp..The Collection, brought to us crafters by the wonderful Joanna Sheen. I thought that I would go on the fashion route this week, when I found the two images that I've used in the first two cards. I loved the colourways and both images are decoupaged. Just the thing to send to a stylish friend. As I was working on these cards I sat thinking about just how many different types of image that there are on this cdrom. So I thought that I would share with you a selection of other cards made from this cd.


I hope that you enjoyed the selection and that I have managed to share with you what value for money this cd is. There has to be an image suitable for many of your friends. There is just so much on here, from cupcakes, fancy florals,cats, dogs and even pretty boutique shops.

Well the sun is shining here today in the mountains..I hope that the weather is being kind wherever you are.I'm off for a coffee before I get back to my crafting. I'll be back next week with a wonderful stamp from Stampendous, so until then take care and happy crafting.


Monday, 11 May 2015

Design team makes using Nellie Snellen stamps


Hello everyone..Genny here. Today I have been lucky enough to be able to work with another of the Nellie Snellen stamps and a delightful paper pack...both are available from Julie here at JB-Crafting Supplies. I decided to make 2 cards but using the same stamp and the same paper pack but just differing the colourways. The stamp is called 'Flying Frog' and the paper pack is called Cherry cupcake by the Wild Rose studio. It is a lovely pad with 36 sheets with 12 different designs. The pad itself is 6x6. I decided to stamp both my fairies onto some watercolour paper..just for a little texture. I stamped the images with a memento inkpad and coloured them using my promarkers.I also glittered the wings and on the one above, I just added a little glitter to the paper. For the embellishments, I diecut some ivy flourishes and some flowers, then coloured them with the same promarkers. I then added some peeloff dragonflies and butterflies.

I hope that the weather is being kinder to you where ever you are, than it is to us here in the mountains. The wind is raging and all my cats have over taken my couch..lol. So until next week..take care and happy crafting

Tuesday, 3 February 2015

Design team make using a Joanna Sheen stamp


Hello everyone..Genny here. I hope that you are all managing to stay warm and cosy. It's very cold here in the mountains of Wales but I have to admit that the snow does look magical. And as far as I can see it's the perfect weather to stay in and craft.

Today as my design team make I have used a Joanna Sheen stamp from her Enchanted Forest range. This particular stamp is on the Magical Day sheet. I have stamped the image using my memento ink pad and have coloured her using my promarkers. I then glittered her dress and wings and cut her out. I die cut a plain oval shape and the created a background on it. I used some paper from my stash to cover the card and then added a glittery peeloff around the edge. I decorated the oval using some die cut ivy leaves and sequin flowers. I then finally added a large die flower, colouring it to match in with the card.

All the little embellishments, can make such a difference to a finished card. As you probably know by now, I love all the little extras. Julie stocks some really wonderful ' just have to have it's' in stock and if you get the chance please pop over to the shop..either online or in person and take a look. It's always worth taking a look at the die cutting dies that are available...they are great to have in your stash as well.

I shall hopefully be back later in the week with some cards from some different Joanna Sheen cdroms. So until then..take care and happy crafting

Wednesday, 17 December 2014

Design team make using Thomas Kinkade Paper Pad


Hello everyone...Genny here. Today I'm lucky enough to be sharing a Joanna Sheen paper pad with you all today. As most of you know I love Joanna Sheen designs and this paper pad is no exception. It features the artwork of Thomas Kinkade. This is a perfect addition to any crafters stash, as most of the images would be perfect for a male or a female and for most occaisions. Birthdays, Anniversaries, Fathers Day or just aThinking of You card...all would be covered with this little pad. It is also really great value for money and just something a little bit special to have in your corner.

The three cards that I have made today are all 6x6 cards. One thing I have also done is to use just 1 sheet of 12x12 backing paper, with one square left over for another card. One thing that I find crafters don't do is not to look at scrap book paper if they don't scrapbook. As a paper hoarder, I often use 12x12 sheets because of the choice available and the size allows me to use the paper in many different ways. Next time you get the chance, take the time to look through some papers and consider adding some 12x12 to your stash.


Another thing that I like about this paper pad is that you can vary the size of card that you can make. Also it's a great way to begin your new year crafting.


I have added very little in the way of embellishments but you could always add more if you were looking to make a larger card. Julie here at JB Crafting Supplies has a wonderful selection of embellishments and dies available, as well as this paper pad..why not have a look. I always find the shop a wonderful source of inspiration.

I hope that all your Christmas preparations are going well. I've seen some wonderful things made in the shop workshops and am so jealous that I'm not nearer. The great thing is that the online shop can provide me with my crafting needs. Well I'd better go and do some more wrapping..so until next time..take care and happy crafting.

Monday, 1 December 2014

Design Team make...Joanna Sheen Stamps


Hello everyone..Genny here. For todays design team make I'm lucky enough to be working with stamps from the fabulous Flowers range from Joanna Sheen. The set that I have used today are called Music and the sheet contains 3 stamp images. You have to cut the stamps out yourself so it is always worth taking your time and cutting slowly. On the rubber sheet there are 3 individual stamps...the poinsettia in front of the music sheet which I've used below , a single poinsettia with holly leaves and a greeting.
On my first card, above...I have used the small stamp. I stamped the image 7 times onto some smooth white card. I coloured the image using my watercolour paints, and then when dry I cut them all out. I mounted some red card onto a blank 8x8, followed by some dark green card followed finally by some patterned paper. I then mounted the poinsettias in a circle, along with some diecut holly leaves. I edged with glittered peel offs. I added a bow. On the picture below you can see that I also added some jewels. On the poinsettia stamp there is also a sprig of mistletoe, to which I added a small pearl to become the berry.I added red jewels to become holly berries and a gold jewel to the middle of each flower. They really catch the light and add that little bit of festive bling.


For my second card, I stamped the large image off the sheet using a memento inkpad. I also coloured this image using my watercolour paints.

I used some paper from my stash, layering themwith red and green card and again edged with a glittered peeloff.
I hope that your christmas crafting is going well. I feel sometimes that I'm knee deep in holly leaves and snowflakes..lol. Everyone that visits me at this time of year stands a good chance of leaving with a hint of a sparkle. The glitter seems to be in the air. So until next time..take care and happy crafting

Thursday, 27 November 2014

Bebunni Christmas part 2


Hello everyone..Genny here. As promised yesterday..I have now embellished two of the cards that I created yesterday. What many people had been asking about was how I decided to embellish a card. They said that they got to a point where the image and the backing paper were ready on the card...then they hit a brick wall. Even though they had lots of stash..they didn't know where to go next. While I accept that everyone has different ideas what they like to do, different styles that they like..when the blank card is front of you sometimes it can be hard to know where to start. I can only tell you what I do. There are a couple of things that I take into account. First is the question is that if the card is meant to go through an opening for the post office to fit a normal size stamp. If it does then I know that it has to go through a 5mm slot. So no large embellishments..look for thin embellishments..die cuts are great for this. As the size was a factor on both these cards, I have used diecuts to embellish both. As I said yesterday I have glittered both images..which add a little sparkle. It really isworth in investing in a small number of dies. I am very hard with myself over this...there are just so many fantastic dies out there and yes I could use them all but I have to step back and think could I use it more than a couple of times. I have seen a number of great car dies..but I don't make that many cards that involve cars..so as much as I love them I won't be adding them to my book of dies. What I did buy was a set of cog dies..I can use them on car, lorry, train, bicycle cards as well as any steam punk cards. Last year I even made a christmas tree just out of layered cogs. It is always worth bearing in mind peeloffs..they can always add a little something without adding too much height. Over the years they seem to have gone a little out of fashion but I always ignore fashions in the crafting world and always go with what I like. I always have border peeloffs in my stash and butterflies. My other tip is to lookat the image that you're working with and try to pick up some thing from there. For the top card I used snowflakes because in the image it's snowing but I've also used snowflakes in the card below but have turned them into a type of decoration. I've added red jewels in the snowflakes to tie in his red hat and the heart in the image.

I hope that this has helped a little. If you have any other questions please don't hesitate to get in touch with.me. So until next time...take care and happy crafting.

Monday, 27 October 2014

Design team make...Christmas Stamping


Hello everyone..Genny here. Today I have been lucky enough to be able to work with a stamp from the Adorables range brought to us crafters by the wonderful Jayne Nestorenko. She is actually one of the crafters that inspired me in the first place to make cards...I loved her ideas. As I've said this stamp is from the Adorables range of 6 different stamp sets. Bev has created some fantastic designs with one of the other sets. This set is called 'Loving'. I stamped the little girl with the cat, the window and the teddy.I then cut them out, including the window panes of the window. I coloured a piece of card dark blue and then stuck the window onto that. All the images I coloured using my copics. I then mounted the picture onto some green mirri. I cut a border of the same colour and added to that some of a gingham ribbon from my stash. The greeting is one of 4 on the stamp set. I finally added a die cut poinsettia, holly leaves and a gold swirl. Finally I added some jewels.


I really like the different range of these stamps ...I'm hoping that I will be able to share another couple with you this week. Once I had started with the stamps..lots of ideas were popping into my head..I just hope that I can get them all made to share with you.
We have had quite a week with the weather here in the mountains..so it has been the perfect time to stay in and craft. I hope that the weather has been kinder to you all. So until next time...take care and happy crafting

Monday, 20 October 2014

Joanna Sheen paper pad...Design team makes


Hello everyone..Genny here. I hope that the weather is being kinder to you all than it is to me , here in the mountains of Wales. Between the wild wind and the lashing rain..my poor cats don't know what to do for the best. I definitely know what to do...stay in and craft. For todays makes I have continued to use the paper pad from Joanna Sheen. My first card features the pixies and the pinecones. I have embellished using a poinsettia which I die cut in white. some white pine boughs and some small diecut pine cones. I have mounted the image onto some holographic silver board.


My second card I have added a poinsettia coloured red, alongside some holly leaves. All the backing papers are from my stash. I know that Julie has some wonderful papers in stock and are well worth a look. I have been collecting paper for years and really that is why I got into cdrom crafting. Rather than have piles and piles of paper lying around. I have a collection of cds and I can always find a suitable backing paper. It really is like having a library. And on some of the cds..the papers are just so beautiful, I would love them as wallpaper. It's strange thinking about it...I have always had a passion for pretty paper and when I was little..if I liked it, I couldn't bear to use it...lol...I just stroked it...it is really no surprise that I became a crafter is it?


My final card has a mixture of embellishments...pine boughs, poinsettia, holly leaves and jewels as berries. On this card..it is definitely a fairy because it has wings. I love this little image of the fairy giving the card to the robins I hope that you've enjoyed seeing my cards today..I will be back later in the week to share some stamping with you all...until then...take care and happy crafting..

Monday, 13 October 2014

Margaret Tarrant Paper Pad..Design team post


Hello everyone....Genny here. I'm so lucky to be able to blog today because I've just spent the morning without electric. Of course it all makes perfect sense when we have no wind or rain to cause a problem!...but thank goodness we're now back on. For this weeks design team makes, I'm featuring again the wonderful paper pad from Joanna Sheen. It features the magical and evocative art work of Margaret Tarrant. My first card has got to be one of my favourites.I just love this image of the little girl holding a rabbit. In my stash I found a backing paper that featured snowflakes and was pink...so I thought it was ideal for the project. The image itself is decoupaged with just one layer but manages to give it a lovely dimension. The greeting is on the sheet..so the only thing I added were some snowflakes that have a pinky shimmer.


This second card features this little pixie sitting on a mushroom.I found some tartan background paper and added a holly leaf die cut and some red jewels. This paper pad is just such good value for money. Each image is repeated so you could make a card and still have another image to do something else with. I intend to frame some of the images...I love them so much...they remind me of images in my childhood books.

My final card is the one featuring the robin sheltering the pixies under it's wings. I decorated this card with some die cut snowflakes and jewels. The cards I have used are 5x7...which is a good size to use if you have to post a lot of cards, as they take a regular stamp. A lot of my customers are requesting the smaller cards for posting and the larger ones for friends and family that they can hand deliver. The good thing with the images on this paper pad is that you can use them on any size card and still make a wonderful card.


I hope that you will consider buying this pad..the images are fantastic and the pad itself is great value for money considering just how many images you get.Julie, here at JB-Crafting Supplies has a range of paper pads available at the shop and they are all of the same quality and offer a wide range of different images. Well worth adding to your crafting stash. Well, I hope that the weather is kind to you all....so until next week..take care and happy crafting.

Monday, 29 September 2014

Blossom. Design team makes.


Hello everyone...Genny here. For this weeks makes I thought that I would have a play with one stamp, similar embellishments and just share how two different cards can be make. And then as a bonus, using the waste paper to make a backing for yet another card. The stamp that I have used is from Sheena Douglas and features the blossom on a branch. Now for a start you could make it whatever colour that you wanted but I chose to make it using pink shades. I stamped with memento ink and coloured with my copics. I cut out the stamped image into an oval and mounted it onto some gold mirri. I edged this with peeloffs. Both cards that I made are an 8x8 card, with a pink background card onto which I mounted some backing papers from my stash..one pink and one green with pink flowers. They both have the same flowers at the side as an embellishment.


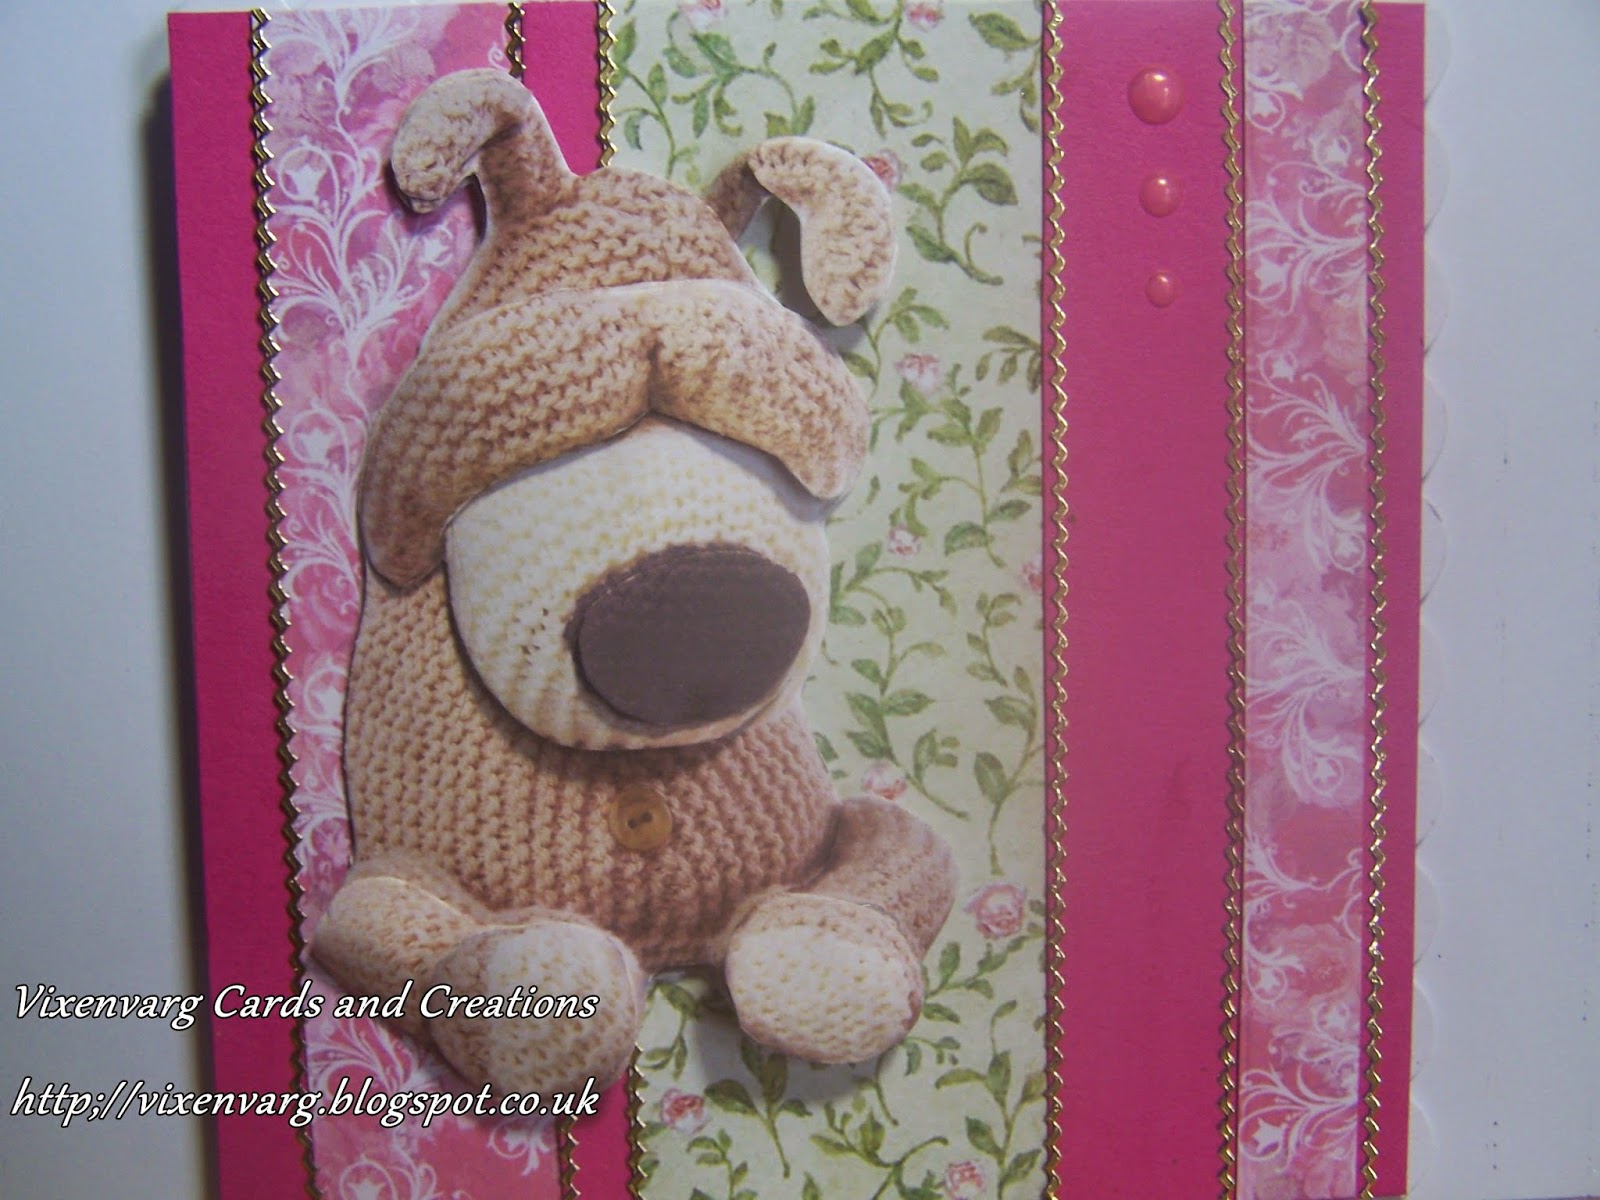
On one of the cards I have decorated with pearl swirls and on the other I have used green foliage diecuts from my stash. Both cards are embellished with a strip of lace. But as you can see they are very different cards in their makeup. I often do this with stamped images..stamp out 2 of the same design and try to make 2 cards that are similar yet different. Then on the card below I have used the waste paper from the two to make a striped background for yet another card. I had a topper of Boofle

which I had decoupaged ready to use, but hadn't decided where to use. Then I created this background and decided that it would be a great background for him. I have yet to put the greeting on the card but I'm thinking it would make a great 'Oh no I forgot your birthday' card. No matter how organised we think we are we all forget the odd one and this would be a great standby card.
Well I hope you all have a fantastic week and have some great crafting days. So until next time take care and happy crafting.

Monday, 23 June 2014

Halcyan Days by Crafters Companion

 Hello everyone..Genny here.. with my latest cards using the fabulous new cdrom from Crafters Companion. I am still in love with this cd, as you can probably see from the amount of cards that I'm making! The first card uses this delightful image showing the lighthouse and the beach huts. I have edged the image with some fabric braid. I also increased the beach area using some pearl paints and adding a diecut seahorse and starfsh.
This next card I edged the image with some funky braid and used a diecut ships wheel and anchor. It has such a lovely sunny image..it is so hard to imagine the amount of work that went into the image..using all the different materials. I feel it has such a nostalgic summer feel. It reminds me of sunny days as a child on the beach. I can almost feel the sand between my toes, building sandcastles with my Gran.
I decided to make my next card a very simple one. I've just added some diecut fish, a metal charm and a bow.On this card I've picked blue as the background colour but I could easily have picked up on the pink or the purple in the image and that would have changed the whole look. I think that's another thing I adore about this cd is the ways that you have such a wide choice of colours..which enable you to make the card for a man or a lady or to even to bring in the favourite colours of who you intend to send it too.

My last card is one that I really enjoyed playing with. I edged the image with some natural twine and added some diecuts. On all the cards that I've made for today, I haven't put a greeting on any. The second card says have a fabulous day and I thought that these are the type of card that you could send for most reasons..but how lovely just to send a card to let someone know that you're thinking of them. I hope that you like my cards and that you will consider adding this cd to your library. If you are in the need of any embellishments to go along with your cards, please pop over and speak to Julie. I have bought some fabulous embellishments from her and she stocks some amazing goodies. So until the next time..take care and happy crafting

Monday, 4 November 2013

Barkley from Crafters Companion


Good afternoon everyone. Today I have 3 projects to share using the fabulous Barkley crom from Crafters Companion. You can tell by the number of 'makes' I've made just how much I love this cd.

Project number 1 is a christmas ornament that I've made. I used a chipboard ornament shape and painted it white using acrylic paint. I then added my chosen picture and decorated around the image using die cut snowflakes. The snowflakes are a mixture of white, painted and holographic. I painted the blue ones with twinkling H20s. It catches the light and twinkles and would make a lovely addition to your christmas decorations.

Project 2 is a christmas card. The background paper is made using acetate. I took a piece of heat proof acetate and coloured it with 3 different colours of alcohol ink pens. The I took a kitchen sponge scourer with blending solution on it (only a few drops) and dabbed it over the acetate. I then dried it using my heat gun. I backed the acetate with white paper to make the colours pop. I then cut it to fit the card and added my image. I embellished it with some diecuts from my stash.

For project 3 I have used one of the larger toppers to make a card. This cd is so useful for making all types of cards and projects. There is so much on this cd that I really haven't scraped the surface. I have had such a good time..this is really a good one to add to your own library. I'm sure that it is one that you would use every christmas. It is available to buy from Julie here at jb-crafting supplies. If you need any more details on any of the projects that I've made, then please get in touch..I'll be more than happy to help. I hope that you have enjoyed sharing my ideas..until next time..take care and happy crafting

Monday, 14 October 2013

Barkley Cdrom from Crafters Companion


Good afternoon everyone..Genny here. Todays project is from the fabulous Barkley cdrom by Crafters Companion from Julie at JB-Crafting Supplies. As most of you will know by now I adore both cats and dogs..so this is the perfect cd for me. There are fabulous festive designs. This cd is so packed with wonderful images it's so hard to know where to start. My poor printer should have smoke coming out of it with the amount of work it's done lately.
I decided to start with a project rather than a card this week. I wanted to make something that could live with my Christmas decorations and come out every year. When my son was little, one of the things that he loved to do was put out the 'Santa Sign' every year. He would put it out at the beginning of December and would look at it every day. It all added up to even more christmas excitement.
To make this sign I began with a piece of thick card, which I covered with a backing paper from the design set. I printed and cut out 'santa stop here' from the alphabet section I cut out Barkley in his basket and his cat friend from a topper sheet. I used some christmas greenery die cuts and a christmas tree die cut from my stash. I edged all the letters with black faux stitching. I added a 'please' with peeloff letters as we all know Santa does like good manners..well that's what I told my son! I assembled everything and then just added decorations using jewels and peeloffs from my stash.
It was a really fun and festive project and I hope you will give it a go. I hope you all like it. Next time I will be making some christmas cards with the truly wonderful 'Barkley'...until then..take care and happy crafting..Genny

Monday, 7 October 2013

Father Christmas cdrom


Hello everyone..Genny here. Today I'm sharing two more cards made with the fabulous 'Father Christmas cdrom from Crafters Companion. I have really enjoyed using this cd and keep having more ideas.
The first card I'm going to talk about is the one with the face of Father Christmas. I thought it would be nice just to show a really easy quick card. There are always times when we have a lot of cards to make but don't always have the time to spend. This image is from the topper section and the backing paper is from the design sets. All that I have added is some red card and some peeloffs. I have to say that there are some really fabulous backing papers on this cd. So please have a good look..I have found lots of papers that I can use on many christmas projects. It's always good to have a cd in your library that you know you can go to when you need a christmas paper.
The other card is using the alphabet section of the cd. I just printed out the word snow and mounted the letters onto a piece of blue card. I used the same blue card as my backing card and added a piece of white embossed paper. I used a snowflake embossing folder from my stash but any design with snowflakes on would be just as nice. On top of the embossing I added some diecut snowflakes and then fianlly added the strip with the word on. Of course the card needed glitter ( I really do love the stuff!), so I just spot glittered the letters. You can;t see in the photo but the whole card seems to twinkle.
Well I hope that you like the cards and will really consider adding this cd to your library. If you get the chance pop along and have a look at the fabulous range that Julie has in stock at JB-Crafting Supplies. Until the next time..take care and happy crafting..Genny

Monday, 16 September 2013

Father Christmas cdrom


Hello everyone..here is one of my cards from the Father Christmas cdrom from Crafters Companion. This cdrom is available to buy from jb-crafting supplies. It is a fantastic cd with fabulous images. I found it so hard to know which one to pick, so I thought that I would try to do something a little different for my first card. On the cd in the toppers section is a sheet of small circle images. Now these are great to use on the back of cards as an extra embellishment, on envelopes as a seal or even on the inside as a decoration on your insert. I loved the little images so much, I decided to use them as the focal point on a card.
On the card I've used:
Spellbinders Beaded Circles and Fleur De Lis accents dies
Sizzix Scalloped circles
Marianne Designs 'Frame and Swirls'...just one of the swirls
Crafts-too 'Entwined'
Images and backing paper from the cdrom
Jewels, ribbons,peeloffs and greeting from my stash.
Holographic Card.

Even though I have used these certain dies..you could use any of a similar shape.

The circle images were cut out using the scalloped circle and then matted onto the bauble shape. The backing paper was matted onto a piece of matching holographic. The swirls and the entwined die cuts were joined together to form a banner at the top. Then I used peeloffs to look like the bauble strings.

I enjoyed doing it so much, I made another card using the same technique but changed the colourways.


I hope that you all like the cards and that you will give it a go. The other ladies on the design team are all producing beautiful cards and we all love to share our ideas with you. So until the next time..take care and happy crafting....Genny


Wednesday, 15 June 2011

Vintage Rose

Evening everyone.

Today's card is a vintage/distressed rose from last weeks class.


Thank you for looking!

Julie