Showing posts with label Christmas cards. Show all posts

Tuesday, 30 August 2016

Design team makes.....1 stamp..3 cards


Hello everyone...Genny here. I hope that you all had a fantastic bank holiday.I have to admit that having a bank holiday always confuses me..I won't know what day it is all the rest of the week..lol. I spent my whole weekend stamping and had a glorious time. I wanted to share the end results with you and take you through my stamping process. It all began with a flower stamp..now I have to be honest here I don't know who produced this stamp set because it was from a bundle of stamps that were given to me by a friend. I've had a look through lots of manufacturers and there are alot out there that are similar. Dreamees, Stamps by Chloe and Lellibot have similar ones. The stamp features the same flower in different sizes. For my cards I stamped the three largest stamps and some of the leaves. I wanted to layer them and use some kraft card as the background. The only thing that I have left to do is to decide what ribbon to add..I'm thinking either a red gingham or a red spot. The only difference between the three cards is the colour that I've used. The top one is coloured with my promarkers, the second with my watercolour pencils and the blue card is also done with watercolours.


I hope that you like them. I find it fascinating that just changing the colour medium can make such a difference. It all depends what you are looking for. It has amazed me just how popular kraft card has become and I think that it does give the cards a country feel. I used some stickles to finish off the middles of the flowers.

The cards below are just an extra to share with you. I needed to make some thankyou cards in a hurry and thought that I would use my watercolours as they were already out.


I first took some watercolour card and scribbled some colour on into 3 blocks..I only used 3 colours,  a red,orange and yellow. I added some water and blended then together. Then I stamped the two flower images using my Versafine and coloured them with my water colours. I had also stamped the images onto watercolour card. I finally mounted both items onto some black card, stamped a thank you at the bottom and added then to a 6x6 card.
Even though they are both using the same colours, they have turned out quite different. But it's so nice to have everything to hand to be able to make a quick card that looks a little special. I also added some stickles to these cards as the box was also out..lol.  Now if there is anything you need..stamps, inks, watercolours, card or paper or even stickles..just get in touch with Julie here at JB-Crafting Supplies.
Next week I should be doing some heat embossing.. I have had a message from a lady who is new to stamping and wants to do heat embossing. Because I've been crafting for so long, I tend to forget that some people are just beginning and some things I say must sound like a foreign language..lol. So next week I hope to go through heat embossing..so until then..take care and happy crafting.

Monday, 8 August 2016

Design team makes...Christmas ideas


Hello everyone..Genny here. I had every intention of blogging last week but sadly BT were not for letting me play. It seems to be one of the prices I have to pay for living in such a beautiful place. But finally here I am with a selection of Christmas Cards. Yes I know that it's only August but I like to think about it now and then I have plenty of time to decide what I'm going to do.

All my cards today are from Hobby Art and I have chosen to work with them because they are such good quality for one and the other reason is that I love all these images. Cards 1 and 3 are from Daryl the Quirky turkey stamp set and they have a similar sense of humour to last years Baa Humbug set.

The card below is Otto the Owl and is a rubber stamp..which is another form of stamp that Hobby Art do. Equally as easy to use to get a brilliant image.


My final 4 cards are all from the Nature Trail stamp set. I just couldn't help and have a play with this set and as you can see from the four cards below, depending what colours you use and what elements you pick..each is different. For all the cards below, I have stamped onto watercolour card using my Versafine ink pad and coloured them using my Lyra watercolours. I used a white Pentouch pen to add the snowflakes and of course I just had to add some glitter..after all it will be Christmas..lol


I hope that you like the cards and that you will have found a little inspiration. As always, should you want or need any crafting supplies..just pop over to JB-Crafting Supplies and speak to Julie. So until next week..take care and happy crafting.

Monday, 27 June 2016

Design Team Make.......First Christmas Card


Hello everyone...Genny here. I always think to myself that I know what I'm going to be doing the next week and by the time that I get to this point ..many times I have created something different. As most of you know, most of the craft channels have been featuring Christmas products..far too early in my world..but I can understand that lots of us have to begin early in the year. I generally don't begin until August and I have several hundred to make. But due to all this Christmas television I ended up thinking of Christmas ideas. And I arrived at this card.

I began by painting some blue skies..using watercolour paper and my Lyra watercolours. I left the bottom white and created blue skies above it. I did about 5 A4 pieces. On one of them I stamped 4 Christmas trees, using my distress ink..Forest Moss.The stamp itself is a Hobby Art stamp..but you could use any Christmas tree one that you already have. I then cuts the trees out in a rectangle..placing the tree slightly on the left. I then mounted this rectangle onto some black card. I also mounted one of the plain backgrounds onto another piece of black card. I then went over both layers with a white ink pen and added snow falling and some snow onto the tree. I finally added some glitter and a ribbon.

To my mind, this is the perfect card to batch make. You could make a huge pile of backgrounds really easily..yet the finished card is quite special.

So I'm not even going to mention what I might be doing next week..my ideas well may change...but until then..take care and happy crafting.

Tuesday, 8 December 2015

Design team make...Batch Making Christmas cards


Hi everyone...Genny here. As I started making my first card here, I suddenly thought that I needed to make a lot of Christmas cards in a hurry and got to think about batch making some..so I did and here they are. I've already made a lot of Christmas cards but have given little thought to my own. At this time of year I seem to be playing catch up with all the orders and getting ready for Christmas..as I'm sure many of you are. Batch making cards seems to be the way forward. The first step is to find a stamp that you like and then go with it. I began with this wonderful stamp from Stampendous Stamps...which is available from Julie here at JB-Crafting Supplies.


I began by stamping my image using my memento inkpad and I did four of the image. I then coloured them all in using my promarkers but chose different colours. I then found some Christmas papers in my stash...Julie has a wonderful collection and covered some 6x6 cards with the paper.


I then cut out the snowmen into a square..you could use whatever shape you liked..and then added a peeloff border. Finally I added the greeting and there I was with four cards in the same time that it normally took to make one. If, like me are behind with your cards..why not give it a go.


If you are short of any Christmas inspiration..why not take a look round what Julie has for sale. The thing that I love with Stampendous Stamps is how clear the stamped image is and no matter what the size of stamp..they stamp really cleanly. I hope that you all will remember that card making is supposed to be fun..so don't get stressed..just enjoy what you're doing. And with the weather being what it is..there is nothing better but being inside crafting. So until next time..take care and happy crafting.

Monday, 23 November 2015

Design team makes...Christmas Cards


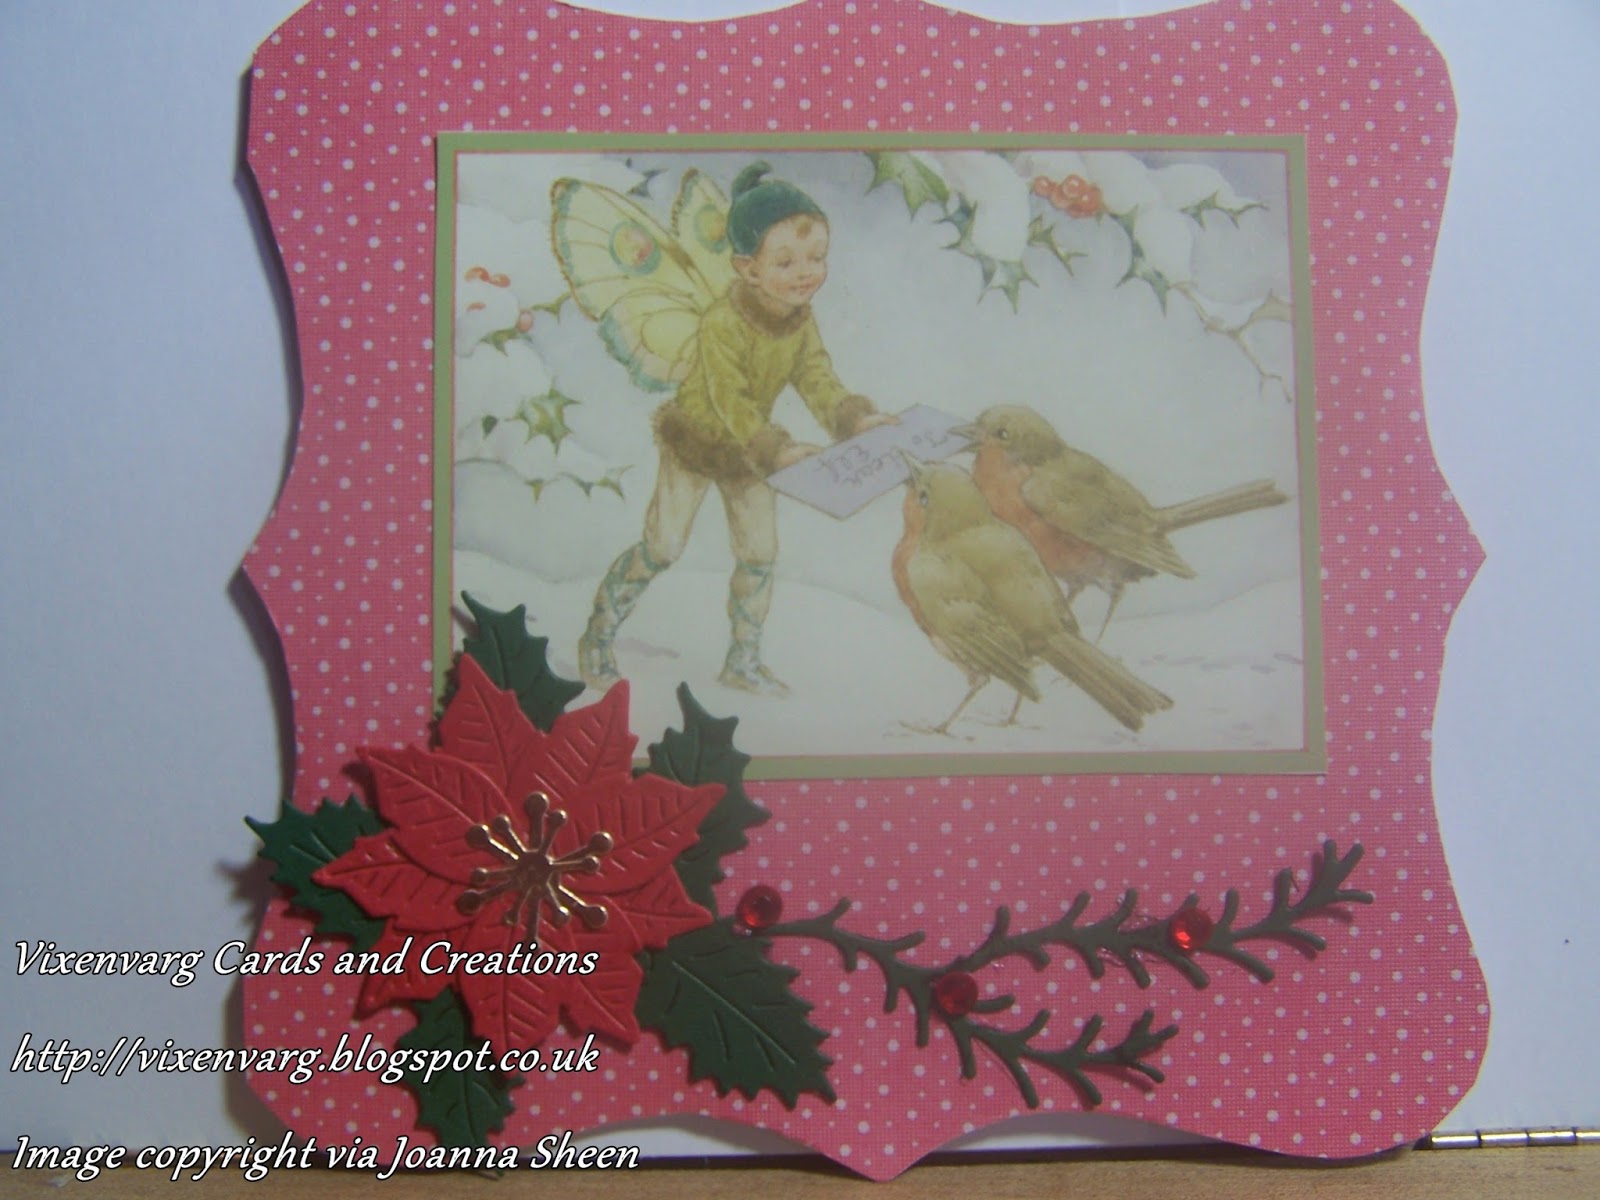
Hello everyone...Genny here. As most of you are, I'm desperately trying to make my Christmas cards. Apart from the orders that I have to complete..I have my own to make. And as I have a litter of kittens taking over the house..it's a bit of a job..lol. As I write, the kittens are causing chaos in the parlour. When it comes to Christmas cards I seem to find it harder to make my own..when I get orders in the customers know what they would like..so it's easy. With my own I have to find something I really like and they have to be easy because normally I leave myself very little time. That's one of the reasons I love the Margaret Tarrent paper pads that have been produced by Joanna Sheen. I was lucky enough last Christmas to have been given one by Julie here at JB Crafting to work with...and have still got some left. The images are fantastic and very nostalgic. They remind of the images in books that I had as a little girl.


On the pads there are the images and greetings, alongside some easy decoupage. I found it a great way to also use some of my huge stash of Christmas papers.


The other thing that I love to do is to find a stamp that I love and batch make a lot using the stamp as the focal point. As Julie stocks  a fantastic range of Stampendous Stamps...I picked this wonderful image of the little House Mouse, drawn by the very talented Ellen Jareckie.


I just love this image of the little mouse balancing the ornaments on his nose. Again it is a perfect way of working through my stash. I have to say that I collect papers..I may never have to buy any more..but I know that I will..lol

I hope that I will have given you a little inspiration. Julie has such a wonderful shop filled with fantastic goodies...an Aladdin's cave of inspiration..so if you are wondering what to do..why not pop in and take a look. I hope that the weather is being kind to you, wherever you are...we have had snow here..so it's a perfect time to stay in and craft. So until next time..take care and happy crafting.

Wednesday, 11 November 2015

Design team makes...using Hobby Art


Hello everyone....Genny here. What a week so far. I had meant to blog on Monday but with the weather and the joys of BT..it just didn't happen. I hope that the weather is being kind to you, wherever you are. We have had serious flooding in the village here..it was unbelievable. I have lived here for 25 years and have never seen it as bad as it was. People had to leave their cars on high ground and wade through water that was above their knees. There are waterfalls cascading down the mountains..where there was none last week. I was lucky because I'm situated at the top of the village. So with all the rain..which is still continuing today..I'm keeping warm and staying in to craft.

My first make is a new home card. It was created using the Hobby Art Townhouse scenic stamp range. I created a little row of cottages and a little garden scene. For the next card, I extended the scene and used it to make a christmas card. I stamped the houses,coloured them and added them to an oval. I also stamped the christmas tree and snowman. I coloured the top half of the oval to look like sky and stamped the santa and reindeer on to it.


And as I had a spare circle..I just had to make a sheep card..lol. The stamp of the sheep is a Penny Black one. I do have a collection of sheep stamps because living where I do..I'm always surrounded by them. And they always make me smile. For this one I stamped and coloured my sheep and then cut it out. I coloured the sky and added the sheep. I then added some snow..using white acrylic and of course I had to add some glitter. All the colouring was done using my promarkers, I added snow using white acrylic and the glitter was diamond dust..but any white or crystal glitter would do.


The great thing about making cards using these stamps is that it quite easy to batch make and you can add as much or as little detail as you want to. So until next week..and I hope that the weather is kind to you all...take care and happy crafting.

Tuesday, 3 November 2015

Design team makes...Christmas Bauble Cards


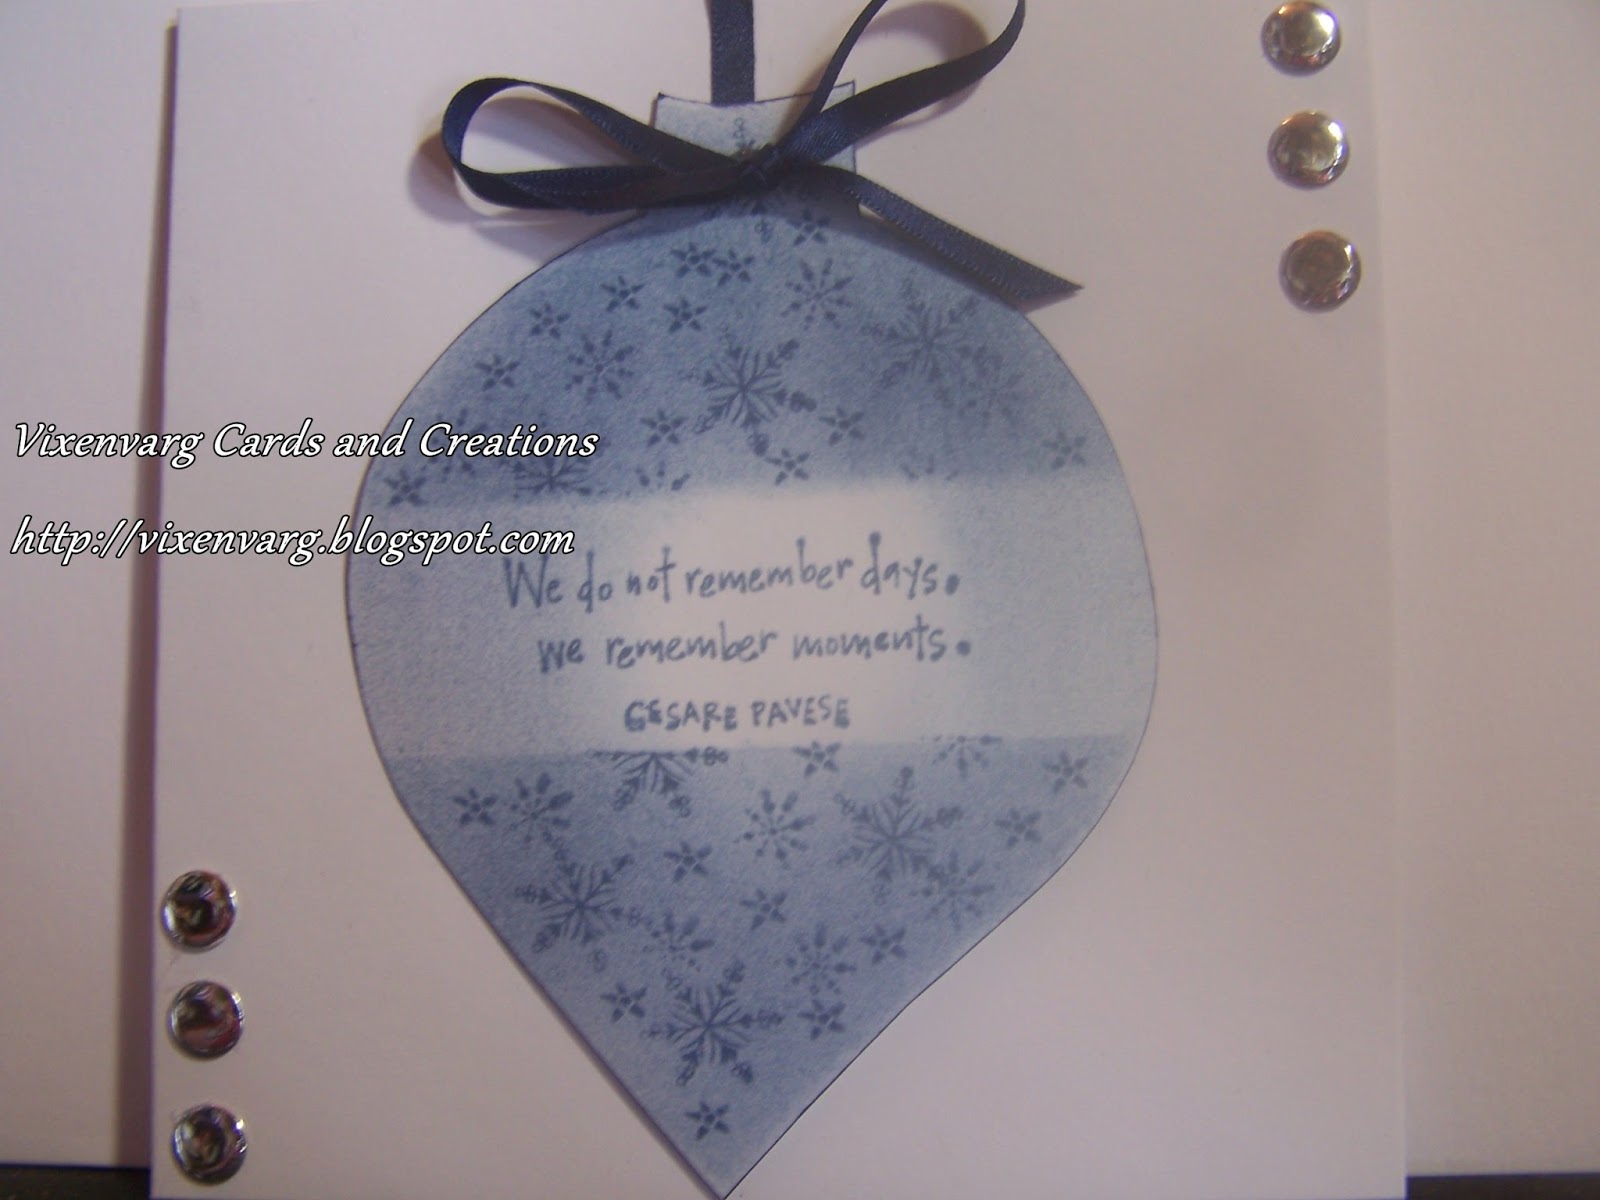
Hello everyone...Genny here. The next three Christmas cards are a continuance of the cards that I made last week. I decided to make a bauble shape and decorate within the shape.


I began by cutting a bauble shape out of some thin card and then used that as a template to ink inside. I then used a mixture of Hobby Art 'scenic' stamps and my tapestry stamps to decorate.


As you can see, I went from a scenic in blue...to a snowflake decoration in blue to a snowflake in pink. Then I added glitter, jewels and ribbons. It was great fun to make and if you don't have the confidence to cut the shape..just take a look at the templates or stencils that are available.

I hope that you have found a little inspiration. So until next time...take care and happy crafting.

Wednesday, 28 October 2015

Design team make...Christmas Cards


Hello everyone...Genny here. Today I'm sharing two Christmas cards made using the Hobby Art 'Scenic Stamps'. I just love this range of stamps and have used them so much. Everytime I use them, I come up with a different scene..which I suppose is the aim of them..lol.but I so enjoy using them. To make both these cards I have only used 1 distress ink. To begin I cut an oval, stamped the scene, using my distress ink and then coloured using the ink pad. To do this I pressed the ink pad onto my glass cutting mat and added some water using a paintbrush and coloured where I thought it needed it. I then inked the edge of the oval using a blending tool..still using the same inkpad. I also created a larger oval mat, coloured with my blending tool. I also added some glitter to the scenic oval. I finally fixed both ovals to a 6x6 card, to which I had covered with a blue based background paper from my stash. The card below was made exactly the same way...I just created a different scene.


Unfortunately you can't see the glitter as well on the second..but in real life it's as if the sheep are standing in the snow on a frosty morning. Something I see alot here in the winter months in the mountains. For my own Christmas cards I will be doing a number of these. It is so much fun creating the scenes and if you create one that you really love..it is easier enough to recreate it.

If you need anything crafting wise..just ask Julie here at JB-Crafting Supplies. As I always tell everyone..she is an Aladdins cave of wonderful crafting goodies. It's well worth a look. So until next time..I hope the weather is being kind to you all and that you have begun making your Christmas cards...take care and happy crafting.

Wednesday, 7 October 2015

Design team makes...Christmas Sheep and more


Hello everyone Genny here. I tried so hard to blog these cards yesterday but BT just wasn't playing..lol. So here I am featuring the sheep stamp again from Hobby Art. Everything that I have used on these cards is available through Julie here at JB-Crafting Supplies.

I wanted to share the card below to show that though I have bought the sheep set to make my christmas cards, I can see me using them all year round. There are lots of little other stamps like the sunglasses and straw hat,which I have put on the sheep and turned it into a summer stamp. I know lots of people that this would make smile.


And below is something that I made after watching a television programme. Strange I know but I was amazed by the price of what they were selling, knowing that you could buy everything from Julie for at least half the price. All you need to make the items below is your choice of acrylic paint and two ball tools. The pattern is based on dots and if you can dip your ball tool into some acrylic and drag it in a swirl, that;s all there is to it. Next week I will do another couple of projects and show you how easy it is. I know that Julie has door hangers available and the frame is just a cheap one that I picked up. I think that the two together would make a lovely present.


So until next week...take care and happy crafting.

Wednesday, 30 September 2015

Design team make...The Christmas Sheep


Hello everyone...Genny here again. Today I'm featuring my new stamp from Hobby Art. Everytime I see these stamps they make me smile and I just had to share them with you. On the stamp sheet there are 3 different sheep and lots of accessories.I decided to put the bobble hat on one and the Santa hat on the other. I created an oval scene to put them onto..I just drew some hill shapes and glittered it.I had two different papers in my stash which I layered onto some purple card. For the sheep, I stamped them with my memento inkpad and coloured them with my copics,Then I cut them out and layered them on top of the oval.

For next week I will create some more christmas cards for you and some cards using these same stamps but not for Christmas. I like to know that I can get value for money with every stamp set I buy...so therefore I am so pleased that I have the option of using my sheep all year round.

If you like this stamp set..just ask Julie here at JB-Crafting. And as I always say she has an Aladdins cave of fabulous embellishments..always the best place for all those little must have dodads. So until next week...take care and happy crafting.

Monday, 28 September 2015

Christmas is coming..Design team makes


Hello everyone..Genny here. Well it's come to that time when us crafters need to be thinking about Christmas cards. Below are a selection of last years cards..all made using different mediums. The one above is from a paper pad brought to us from Joanna Sheen and available from Julie here at JB-Crafting Supplies. The one below is from the Stampendous Range of stamps..another line that Julie has a wide range of.


To decorate the cards, I always use a wide range of embellishments..either bought from Julie or die cuts which I have made using dies also bought from Julie.


The two cards, above and below are also from the Margaret Tarrant paper pad..produced by Joanna Sheen. Lovely images and so handy to have in your stash.


The other great way to produce your christmas cards is to find some cdroms and print your own. Below are two cards..one from a Joanna Sheen cd and the other from a Crafters Companion. Just ask Julie what she has available and you'll be off. It can be daunting when you are thinking about creating your own cards but once you get into it..you're away. I really enjoy Christmas crafting..it's not christmas for me unless everything is covered in glitter. At this time of year even the dog ends up twinkling...lol


So have you started yet?  I have been thinking about it and the lucky thing for me is that I also work on another design team that makes christmas cards all year round. Some years I have a theme but usually I just work with lots of different types of images..digital designs, images from christmas themed cdroms and stamping. I find that I can work with the same image year after year and they're never the same. I find that I create different embellishments and that my cards will have a totally different feel every time. I have a stamp of four geese which I must have had for 15 years and every year it comes out and helps me produce a different look even though it's the same main image. So the best thing to do is to keep your eyes peeled for different embellishments to ring the changes.


On Wednesday I will be back sharing a new set of stamps from Hobby Art which I think will form the basis of my cards for this year.
So until then my thoughts will be on Christmas crafting. If you have started your makes..why not share them. I would love to see what you are doing. So until Wednesday...take care and happy crafting.

Wednesday, 17 December 2014

Design team make using Thomas Kinkade Paper Pad


Hello everyone...Genny here. Today I'm lucky enough to be sharing a Joanna Sheen paper pad with you all today. As most of you know I love Joanna Sheen designs and this paper pad is no exception. It features the artwork of Thomas Kinkade. This is a perfect addition to any crafters stash, as most of the images would be perfect for a male or a female and for most occaisions. Birthdays, Anniversaries, Fathers Day or just aThinking of You card...all would be covered with this little pad. It is also really great value for money and just something a little bit special to have in your corner.

The three cards that I have made today are all 6x6 cards. One thing I have also done is to use just 1 sheet of 12x12 backing paper, with one square left over for another card. One thing that I find crafters don't do is not to look at scrap book paper if they don't scrapbook. As a paper hoarder, I often use 12x12 sheets because of the choice available and the size allows me to use the paper in many different ways. Next time you get the chance, take the time to look through some papers and consider adding some 12x12 to your stash.


Another thing that I like about this paper pad is that you can vary the size of card that you can make. Also it's a great way to begin your new year crafting.


I have added very little in the way of embellishments but you could always add more if you were looking to make a larger card. Julie here at JB Crafting Supplies has a wonderful selection of embellishments and dies available, as well as this paper pad..why not have a look. I always find the shop a wonderful source of inspiration.

I hope that all your Christmas preparations are going well. I've seen some wonderful things made in the shop workshops and am so jealous that I'm not nearer. The great thing is that the online shop can provide me with my crafting needs. Well I'd better go and do some more wrapping..so until next time..take care and happy crafting.

Monday, 8 December 2014

Design team make using Joanna Sheen Stamps.


Hello everyone..Genny here. I hope you are well along with your christmas crafting. I feel as if I'm losing the plot a little bit. I've finally managed to get all my orders out and have just realised that there are not any left for me..lol.

Todays card is using this fabulous stamp from Joanna Sheen. This one is from the favourite flowers range and is called Christmas flowers..Music. There are four different stamps in the christmas flowers range which includes this one as well as Candle (which Bev has used to wonderful effect), Star and Wreath. Each stamp plate has 3 stamps on it..a large image, a small image and a greeting. They are all lovely and have a timeless quality to them..I will be using this stamp for many years to come.

When I was making this card I wanted it to have a soft vintage feel to it. I had a backing paper in my stashwhich I thought worked well with the colours I've chosen to use. I mounted the backing paper and the main image onto some gold mirri. I coloured the image with my watercolour pencils for that soft look, as well as 4 of the poinsettia. I then cut the 4 poinsettia out and placed them in opposite corners. I then took the main image, mounted it onto gold mirri and used pinflair glue gel to raise the image just a little bit. I then of course had to add a bit of glitter..lol

I hope that your christmas preparations are going well. So until next week...take care and happy crafting.

Monday, 1 December 2014

Design Team make...Joanna Sheen Stamps


Hello everyone..Genny here. For todays design team make I'm lucky enough to be working with stamps from the fabulous Flowers range from Joanna Sheen. The set that I have used today are called Music and the sheet contains 3 stamp images. You have to cut the stamps out yourself so it is always worth taking your time and cutting slowly. On the rubber sheet there are 3 individual stamps...the poinsettia in front of the music sheet which I've used below , a single poinsettia with holly leaves and a greeting.
On my first card, above...I have used the small stamp. I stamped the image 7 times onto some smooth white card. I coloured the image using my watercolour paints, and then when dry I cut them all out. I mounted some red card onto a blank 8x8, followed by some dark green card followed finally by some patterned paper. I then mounted the poinsettias in a circle, along with some diecut holly leaves. I edged with glittered peel offs. I added a bow. On the picture below you can see that I also added some jewels. On the poinsettia stamp there is also a sprig of mistletoe, to which I added a small pearl to become the berry.I added red jewels to become holly berries and a gold jewel to the middle of each flower. They really catch the light and add that little bit of festive bling.


For my second card, I stamped the large image off the sheet using a memento inkpad. I also coloured this image using my watercolour paints.

I used some paper from my stash, layering themwith red and green card and again edged with a glittered peeloff.
I hope that your christmas crafting is going well. I feel sometimes that I'm knee deep in holly leaves and snowflakes..lol. Everyone that visits me at this time of year stands a good chance of leaving with a hint of a sparkle. The glitter seems to be in the air. So until next time..take care and happy crafting

Sunday, 30 November 2014

DT post using Joanna Sheen stamps


Hi everyone Bev here with another DT post. Hope you've had a good week - I've been dog sitting for my son, James. Poppy  has been here most of this week. She has to 'help' with & inspect my makes!

Julie has sent me some lovely stamps this week - Joanna Sheen's Favourite Flowers Collection - candle.
I don't know why but these stamps just shouted 'brown paper' to me - I think to give them a vintage feel.
I stamped the main image onto the brown paper using black Archival ink. Coloured in using Inktense pencils. Ripped carefully around the image & applied frayed burlap Distress Ink to the ripped edges. This made the edges curl up, which I thought looked good, adding to the vintage feel. I applied the DI sparingly around the image.
Stamped the sentiment, using black Archival, onto brown paper. Ripped carefully around the edges & applied the frayed burlap DI to them.
I had a red card in my stash, applied some gold Rub'n'Buff around the edges.
Adhered the sentiment to some red ribbon & adhered this to the card.
This is a lovely image, would work well with any medium.
Thanks for stopping by.
Hugs,
Bev & Poppy xx


Thursday, 27 November 2014

Bebunni Christmas part 2


Hello everyone..Genny here. As promised yesterday..I have now embellished two of the cards that I created yesterday. What many people had been asking about was how I decided to embellish a card. They said that they got to a point where the image and the backing paper were ready on the card...then they hit a brick wall. Even though they had lots of stash..they didn't know where to go next. While I accept that everyone has different ideas what they like to do, different styles that they like..when the blank card is front of you sometimes it can be hard to know where to start. I can only tell you what I do. There are a couple of things that I take into account. First is the question is that if the card is meant to go through an opening for the post office to fit a normal size stamp. If it does then I know that it has to go through a 5mm slot. So no large embellishments..look for thin embellishments..die cuts are great for this. As the size was a factor on both these cards, I have used diecuts to embellish both. As I said yesterday I have glittered both images..which add a little sparkle. It really isworth in investing in a small number of dies. I am very hard with myself over this...there are just so many fantastic dies out there and yes I could use them all but I have to step back and think could I use it more than a couple of times. I have seen a number of great car dies..but I don't make that many cards that involve cars..so as much as I love them I won't be adding them to my book of dies. What I did buy was a set of cog dies..I can use them on car, lorry, train, bicycle cards as well as any steam punk cards. Last year I even made a christmas tree just out of layered cogs. It is always worth bearing in mind peeloffs..they can always add a little something without adding too much height. Over the years they seem to have gone a little out of fashion but I always ignore fashions in the crafting world and always go with what I like. I always have border peeloffs in my stash and butterflies. My other tip is to lookat the image that you're working with and try to pick up some thing from there. For the top card I used snowflakes because in the image it's snowing but I've also used snowflakes in the card below but have turned them into a type of decoration. I've added red jewels in the snowflakes to tie in his red hat and the heart in the image.

I hope that this has helped a little. If you have any other questions please don't hesitate to get in touch with.me. So until next time...take care and happy crafting.