Monday, 27 October 2014

Design team make...Christmas Stamping


Hello everyone..Genny here. Today I have been lucky enough to be able to work with a stamp from the Adorables range brought to us crafters by the wonderful Jayne Nestorenko. She is actually one of the crafters that inspired me in the first place to make cards...I loved her ideas. As I've said this stamp is from the Adorables range of 6 different stamp sets. Bev has created some fantastic designs with one of the other sets. This set is called 'Loving'. I stamped the little girl with the cat, the window and the teddy.I then cut them out, including the window panes of the window. I coloured a piece of card dark blue and then stuck the window onto that. All the images I coloured using my copics. I then mounted the picture onto some green mirri. I cut a border of the same colour and added to that some of a gingham ribbon from my stash. The greeting is one of 4 on the stamp set. I finally added a die cut poinsettia, holly leaves and a gold swirl. Finally I added some jewels.


I really like the different range of these stamps ...I'm hoping that I will be able to share another couple with you this week. Once I had started with the stamps..lots of ideas were popping into my head..I just hope that I can get them all made to share with you.
We have had quite a week with the weather here in the mountains..so it has been the perfect time to stay in and craft. I hope that the weather has been kinder to you all. So until next time...take care and happy crafting

Sunday, 26 October 2014

Crafter's Companion DT post


Hi everyone!
For this weeks make with the lovely Crafter's Companion stamps - Adorable Cute Companions - sent to me by Julie, I decided to make a tealight holder.
I had an empty jar (well empty-ish!) & some spare napkins.
I wasn't sure if what I had in mind would work, but hey if you don't try you won't know!
I first carefully parted the layers of the napkin, I only needed one layer with nothing on it. Then I stamped onto the napkin layer with the stamps, using black Archival ink.
My jar isn't round - it has 4 sides, so I stamped 4 images. I tore around carefully around the images leaving a border. Next was the part I was unsure of as I thought the ink may bleed. I covered one side of the jar with some Decou-Page medium and carefully applied a tissue image, going over the image with the medium once I had it in place - RESULT! no bleeding so I repeated this on the other 3 sides of the jar.
I left this to dry for a while. Then came the next part I was unsure of - would I be able to colour the images? I used my watercolour pencils & they worked a treat.
At the top of the jar I applied some gilding flakes.
Once I was sure it was all dry I applied some glitter in various places using Stckles.
Added some sparkly ribbon around the top & a rechargeable tealight inside.
Here are the other sides of the jar. Hopefully you can see a bit of the sparkle I added.


I'm really pleased with how this has turned out.
Hope you like it, thanks for stopping by.
Bev xx


Monday, 20 October 2014

Joanna Sheen paper pad...Design team makes


Hello everyone..Genny here. I hope that the weather is being kinder to you all than it is to me , here in the mountains of Wales. Between the wild wind and the lashing rain..my poor cats don't know what to do for the best. I definitely know what to do...stay in and craft. For todays makes I have continued to use the paper pad from Joanna Sheen. My first card features the pixies and the pinecones. I have embellished using a poinsettia which I die cut in white. some white pine boughs and some small diecut pine cones. I have mounted the image onto some holographic silver board.


My second card I have added a poinsettia coloured red, alongside some holly leaves. All the backing papers are from my stash. I know that Julie has some wonderful papers in stock and are well worth a look. I have been collecting paper for years and really that is why I got into cdrom crafting. Rather than have piles and piles of paper lying around. I have a collection of cds and I can always find a suitable backing paper. It really is like having a library. And on some of the cds..the papers are just so beautiful, I would love them as wallpaper. It's strange thinking about it...I have always had a passion for pretty paper and when I was little..if I liked it, I couldn't bear to use it...lol...I just stroked it...it is really no surprise that I became a crafter is it?


My final card has a mixture of embellishments...pine boughs, poinsettia, holly leaves and jewels as berries. On this card..it is definitely a fairy because it has wings. I love this little image of the fairy giving the card to the robins I hope that you've enjoyed seeing my cards today..I will be back later in the week to share some stamping with you all...until then...take care and happy crafting..

Sunday, 19 October 2014

DT Post


Hi everyone - hope you've all had a good week.
For today's post I have made a 3 step card - this shape is really easy to make & folds flat for posting. It also stands well. If you want the measurements they are on my blog under the templates tab.
I made the basic shape from some white card, covered this with a sheet from the Magic of Christmas paper pad designed by Steph Davies.
Stamped the images from Crafter's Companion - Adorables Cute Companions designed by Jayne Nestorenko, onto white card, coloured in using watercolour pencils.
I cut the images out leaving a small white border. Adhered the images onto some red card & cut out leaving a small red border.
Went around the edges of the card with foil. Arranged my elements onto the card using foam pads.
These images are really easy to work with, the detail on them is lovely.
Check out Julie's shop & have a closer look.
Thanks for stopping by.
Hugs,
Bev xx


Monday, 13 October 2014

Margaret Tarrant Paper Pad..Design team post


Hello everyone....Genny here. I'm so lucky to be able to blog today because I've just spent the morning without electric. Of course it all makes perfect sense when we have no wind or rain to cause a problem!...but thank goodness we're now back on. For this weeks design team makes, I'm featuring again the wonderful paper pad from Joanna Sheen. It features the magical and evocative art work of Margaret Tarrant. My first card has got to be one of my favourites.I just love this image of the little girl holding a rabbit. In my stash I found a backing paper that featured snowflakes and was pink...so I thought it was ideal for the project. The image itself is decoupaged with just one layer but manages to give it a lovely dimension. The greeting is on the sheet..so the only thing I added were some snowflakes that have a pinky shimmer.


This second card features this little pixie sitting on a mushroom.I found some tartan background paper and added a holly leaf die cut and some red jewels. This paper pad is just such good value for money. Each image is repeated so you could make a card and still have another image to do something else with. I intend to frame some of the images...I love them so much...they remind me of images in my childhood books.

My final card is the one featuring the robin sheltering the pixies under it's wings. I decorated this card with some die cut snowflakes and jewels. The cards I have used are 5x7...which is a good size to use if you have to post a lot of cards, as they take a regular stamp. A lot of my customers are requesting the smaller cards for posting and the larger ones for friends and family that they can hand deliver. The good thing with the images on this paper pad is that you can use them on any size card and still make a wonderful card.


I hope that you will consider buying this pad..the images are fantastic and the pad itself is great value for money considering just how many images you get.Julie, here at JB-Crafting Supplies has a range of paper pads available at the shop and they are all of the same quality and offer a wide range of different images. Well worth adding to your crafting stash. Well, I hope that the weather is kind to you all....so until next week..take care and happy crafting.

Sunday, 12 October 2014

DT post


Hi everyone, Bev here with another DT post using the Crafter's Companion stamps & the Christmas papers very kindly sent to me by Julie from her shop.
I made the glove stamp is a corner stamp, which I stamped 4 times onto white card - matching up to make a frame, using black Archival ink. I coloured them in using watercolour pencils. I cut around the outside edge & coloured the centre using the watercolour pencils as a wash.
Stamped the girl onto white card with the black Archival, coloured using the watercolour pencils & cut out.
Stamped the parcel image out four times, coloured & cut out.
Arranged the images onto the frame, adhered using foam pads.
Stamped the sentiment, cut into three pieces, inked around with frayed burlap DI & adhered with foam pads.
Mounted the frame onto one of the sheets from the Christmas paper pad, mounted this onto some blue card then onto some white card.
Added a little bling with some gems on each side.
The stamps are lovely to work with, very versatile.
Hope you like this weeks make, thanks for stopping by.
Hugs,
Bev xx

Tuesday, 7 October 2014

Margaret Tarrant Paper Pad..Design team makes


 Good Afternoon everyone. For this weeks design team makes I have been lucky enough to get to work with this wonderful paper pad brought to us crafters by Joanna Sheen. It features the artwork of Margaret Tarrant. To say that I love these images would be an understatement. For as long as I can remember these images have seemed to hold a fasination for me. There is something so magical about them.The first card above features the fairy holding the mistletoe over the rabbits head. I have mounted the image and the backing paper onto some dark green card. The backing paper I have used on all three cards is from my stash..so it's a perfect time to go through all your stash of christmas papers and find one you like.I know that Julie here at JB Crafting Supplies has some fabulous christmas papers available.I used my dies to create the bunny border and the mistletoe at the top right corner. The image itself is decoupaged. The only thing I haven't done which I may do is add some fine glitter to the snow.


This second card I have mounted onto gold mirri. I created 2 borders of mistletoe using my dies. For all three cards I seem to have picked the ones featuring mistletoe. The last card has had the image mounted onto some dull gold mirri.I have decorated with gold swirls, holly leaves and berries and some more mistletoe.


If you are into making your own backing paper, using stamps or stencils then you could create something both wonderful and personal to match these images. In the paper pad there are lots of images and each has 2 copies. I have purchased another copy of this pad just to use to frame the images. They are so lovely..they would be perfect for a childs bedroom. 

If you have any questions about any of the different products that I've used..just please ask. I get most of my things from Julie...she is a wonderful source of stash.And if she happens not to stock what you'd like..she will order it for you. So if you have any questions about any of the dies that I have used..as I've said just ask and I will be more than happy to help.

So until next week..I hope that you have a great crafting week and that the weather is kind to you...take care and happy crafting ...Gennyxx


Sunday, 5 October 2014

DT post


Hi Bev here with another DT project. Hope you have all had a good week.
Julie was kind enough to send me some lovely new goodies from her shop - Crafter's Companion stamps, Adorables Cute Companions designed by Jayne Nestorenko & some lovely papers from Craftwork cards - The Magic of Christmas mini paper pad designed by Steph Davies.
I am really into making these box - type cards at the moment. They are really easy to make & fold flat so good for posting.
I made my card from white card - the details of how to make this card can be found on my blog here.
I then stamped the images onto white card using black Archival - I wanted to make the signpost be behind the child & reindeer so made a mask of them, placed this over my image & stamped the signpost.
I coloured the images using watercolour pencils. I cut the image out & decided which die cut to use for it, cut this out using my Grand Calibur.
Stamped the small letter image onto white card, coloured in & cut out. Made a small cut on the child's hand ( OO! that sounded bad!) and placed the letter into the cut so it looked as if the child is holding it.
Stamped the sentiments onto white card using black Archival ink & die cut them using a circle & tag die.
I chose a paper to match my image & colours, then covered the box card with it.
Arranged all my elements onto the card to see where they looked best then adhered using foam pads.
I went around various places with my waterfall Stickles, made a bow from some white ribbon & placed that on the box part of the card.
Placed some gems at various places, coloured a couple red with a Promarker, as on the paper the reindeer has red baubles hanging from his antlers.


Here are a couple more photo's - one to show the side of the card showing the box part & a close up of the stamped image showing the lovely detail on the stamp & I think the glitter shows up a little more on this photo.
Hope you like it.
Thanks for stopping by,
Bev xx

Monday, 29 September 2014

Blossom. Design team makes.


Hello everyone...Genny here. For this weeks makes I thought that I would have a play with one stamp, similar embellishments and just share how two different cards can be make. And then as a bonus, using the waste paper to make a backing for yet another card. The stamp that I have used is from Sheena Douglas and features the blossom on a branch. Now for a start you could make it whatever colour that you wanted but I chose to make it using pink shades. I stamped with memento ink and coloured with my copics. I cut out the stamped image into an oval and mounted it onto some gold mirri. I edged this with peeloffs. Both cards that I made are an 8x8 card, with a pink background card onto which I mounted some backing papers from my stash..one pink and one green with pink flowers. They both have the same flowers at the side as an embellishment.


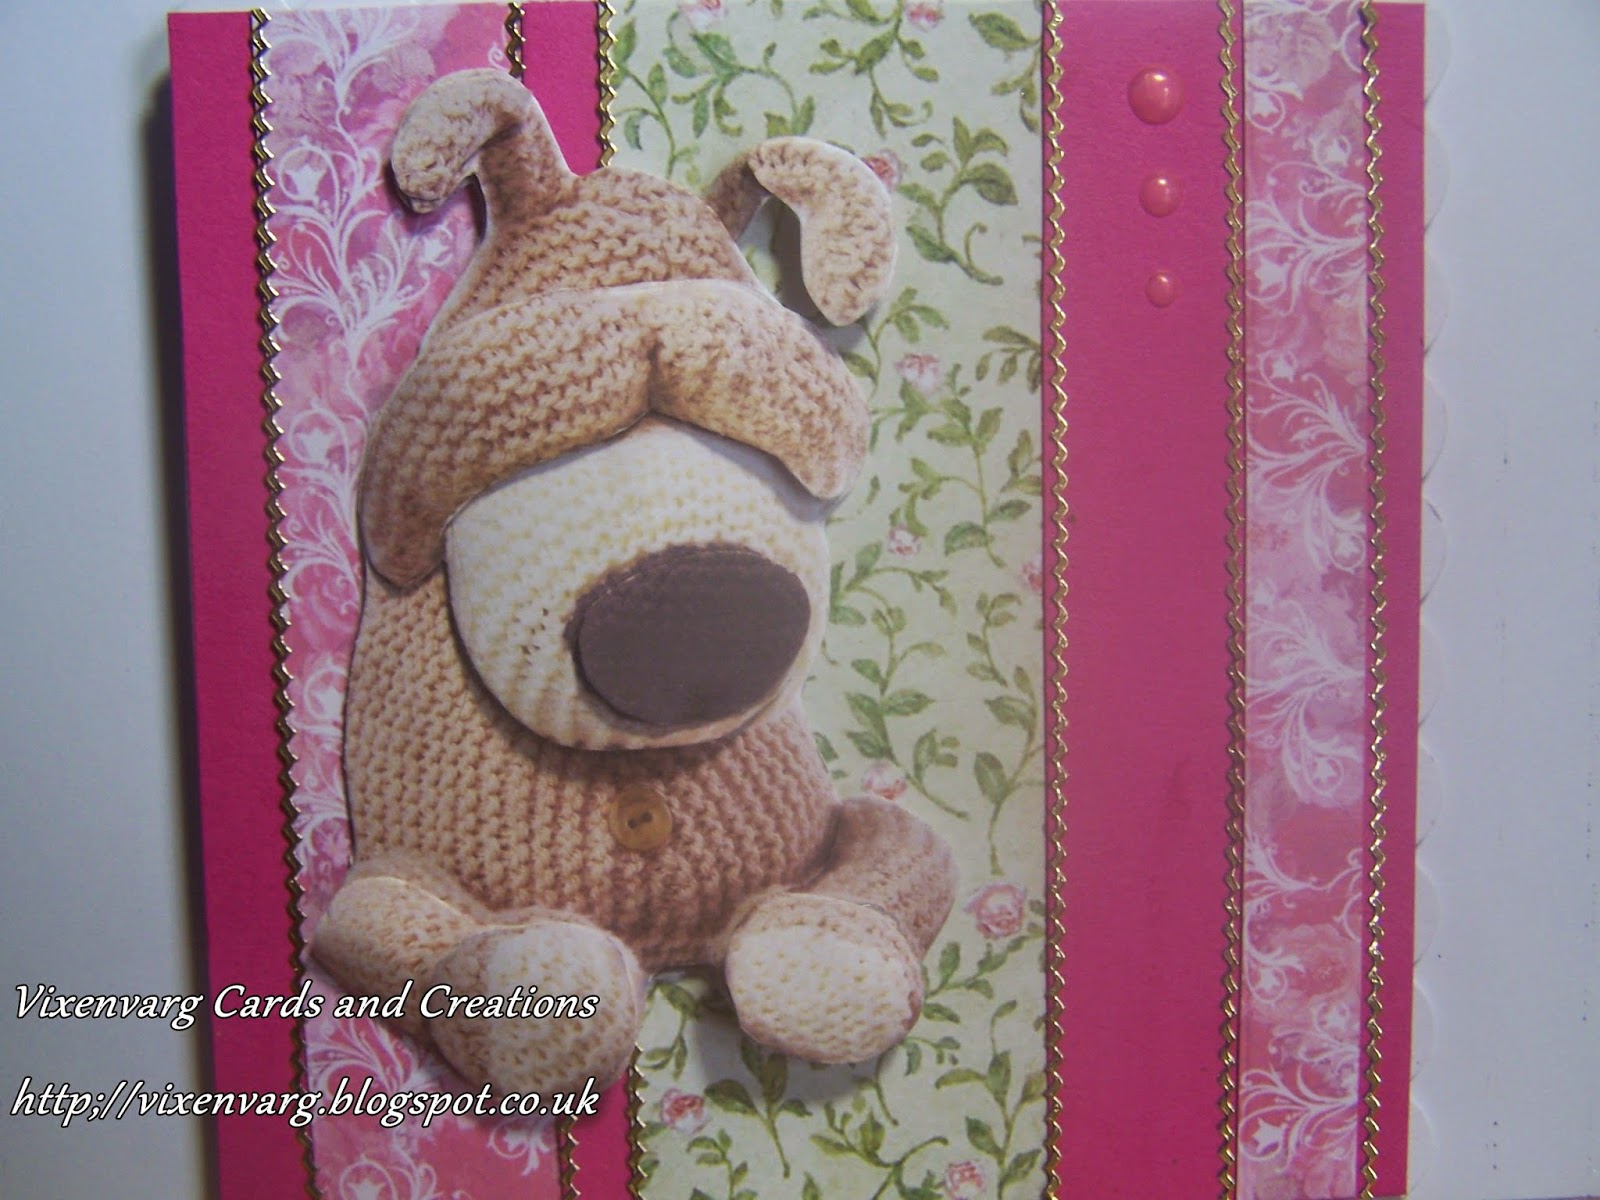
On one of the cards I have decorated with pearl swirls and on the other I have used green foliage diecuts from my stash. Both cards are embellished with a strip of lace. But as you can see they are very different cards in their makeup. I often do this with stamped images..stamp out 2 of the same design and try to make 2 cards that are similar yet different. Then on the card below I have used the waste paper from the two to make a striped background for yet another card. I had a topper of Boofle

which I had decoupaged ready to use, but hadn't decided where to use. Then I created this background and decided that it would be a great background for him. I have yet to put the greeting on the card but I'm thinking it would make a great 'Oh no I forgot your birthday' card. No matter how organised we think we are we all forget the odd one and this would be a great standby card.
Well I hope you all have a fantastic week and have some great crafting days. So until next time take care and happy crafting.

Sunday, 28 September 2014

DT post


Hi everyone! Can't believe how quickly these Sundays come around - soon be Christmas! Hush my mouth!
I decided Squeak the bear had a bit of decorating to do.
I adhered some brown patterned paper to the top part of a card, then cut a piece of pink patterned paper to cover the rest of the card, leaving some parts unstuck. I cut these parts to look like wallpaper & curled them down the card.
I stamped Squeak (from Daisy & Dandelion clear stamps - Squeak goes decorating) onto some white card using black Archival ink & coloured using Distress Inks as paints.
I cut him out & adhered him onto the card using foam pads for a bit of dimension. Stamped a few paint splats onto the newly decorated 'wall', stamped the paint pots onto card using black Archival, cut these out & adhered using foam pads.
Lastly I stamped the sentiment ( from Pink Cat Studio masculine stamps) onto white card. Adhered this onto some of the brown patterned paper & arranged on the card.
Poor Squeak! Don't think they will be glad to be home - still his heart's in the right place!
Thanks for stopping by, have a great week whatever you're doing.
Bev xx

Tuesday, 23 September 2014

Christmas Lanterns..Design Team Makes


Good afternoon everyone...Genny here, with my first official christmas cards of the year. Bring out the glitter. Today I've picked a lantern stamps from the The Elite Collection 2008. I've always had a bit of a thing for lanterns. It could be that when I was little a set of our christmas lights were little lanterns. I thought they were magical and can remember sitting gazing at them for ages.It's strange how some things stop with you. On both cards I stamped the image using a memento inkpad and coloured the images using my copics.On the top card, I mounted the image onto a gold die cut topper. I embellished with some pine boughs,and a mirror board poinsettia. I then added a greeting and a bow. You can't tell from the photo but the card twinkles when the golds and reds catch the light.


The card above is the same idea but I changed the embellishment. On this card I used a diecut ivy flourish from my stash and added a tartan bow. This set of stamps is great value for money, there are lots of different traditional stamps and even the smaller stamps, such as this one is still enough to make a good focal point on a card


Finally I decided to make a couple of gift tags..one using the lantern again and one using a set of bells from the set. I cut a tag shape and added embellishments. I tied a piece of tartan ribbon to both. You could match the gift tags to the card..which would make a simple present look co-ordinated. I hope you like the cards and tags. Julie has a wonderful variety of christmas embellishments in the shop..they are always worth a look. I'm so bad I have to have a whole set of drawers just dedicated to my christmas items..lol
Tomorrow I will be sharing another card from my design team makes...but it's not christmas. It's a pretty card using a Sheena Douglas stamp. I hope that you will pop back tomorrow and have a look. Until then..take care and happy crafting.

Sunday, 21 September 2014

DT post


Hi everyone! Sunday again so must be time for another DT blog post. Hope you are all ok & have had a good week & weekend. The weather in my part of the world has been mainly dull but quite warm & muggy.
This week I have made a welcome home card using the Pink Cat Studio masculine stamps that Julie sent me.
I stamped the sentiment onto white card & coloured using DI.
Stamped the fish onto white card & coloured using brown ink for the background & cosmic shimmer iridescent watercolours for the fish, they give a sort of metallic sheen which doesn't really show up on the photo. I cut the image out.
Cut a piece of white card, stamped the fishing rod & lure onto this. Adhered the sentiment & fish onto this, edged this with frayed burlap DI.
Adhered the white card to a piece of brown paper, edged a white card using frayed burlap DI. Adhered the image to the card.
Thanks for stopping by,
Bev xx


Monday, 15 September 2014

Design Team Makes


Hello everyone..Genny here. At least today I had remembered to make cards..lol.For this month I'm working with stamps and seeing what different type of cards I can make. My first featured stamp is this lovely bough from Sheena Douglas...Seasons branches from her A Little bit Sketchy range. I really like these stamps and have to say that they are a joy to use. For my first card I stamped the design and the sentiment and cut them out using my deckle scissors.I then mounted them onto some burgundy card. I edged the card and the image with a gold pen.As with all the other images today, I coloured my stamped images with my copics. My first card is a very simple one. I thought it would be nice to follow a stream of thought...so as I said the first one is simple, so the next I thought I would make taking a step up


This card I stamped and coloured in exactly the same way but mounted the image and the sentiment onto burgundy card after using my distress ink (barn door) around the edges. I then mounted that onto some white card which had also been mounted onto some more of the burgundy, with a piece of burgundy lace across the card. I finally added the burgundy flower from my stash.
As I made this card, I started thinking about making christmas cards. I looked at this image and thought that perhaps I could turn it into a christmas card..perhaps some snow and frost (paint and glitter to us crafters..lol). Well that got me thinking even more and in the stamp collection that Julie had posted to me there was a sheet of fabulous christmas stamps...so I thought that while I was in the festive mood I would make my first christmas card. I'm very late starting this year but I have faith that I will manage it. So for next week I will be turning this Sheena stamp into a christmas card but for this week I made the card below


This stamp is one of 11 stamps on a sheet called The Elite Collection 2008. On the sheet there are some timeless christmas images including 2 sets of christmas corners. They are all classic images of holly, lanterns and this large image featuring the christmas bells. I stamped the image out twice so I could decoupage the bells. I coloured the image and cut out and coloured the second set of bells. I used pinflair gluegel to add the second set, having given them a little shape. Next week I will be featuring this image again but altered to make a totally different card. I think that is one of the reasons that I love stamping so much..you can change the look of a stamp in many ways...making them useful year in year out. I have one stamp that I use every year and it never looks the same every year.

Thankyou so much for stopping by and Julie has a wonderful selection of stamps and embellishments available..well worth a look. So until next time ..take care and happy crafting

Sunday, 14 September 2014

DT Post


Hi everyone - hope your week & weekend have been good.
Time for another DT post using the stamps Julie sent me. I have been busy making boxes this week - well a little obsessed really! This origami box is really easy to make. 
I cut 2 pieces A4 size from some brown wrapping paper, stamped the urban stamps tape measure image onto one of the sheets using black Archival ink. Made the box lid from this sheet.
Stamped the Pink Cat Studio masculine stamps onto some white card using the black Archival. I coloured these using watercolour pencils for the wooden parts & used gilding wax with some solvent blending solution, so that I could paint the silver parts.
I edged around the box lid with frayed burlap Distress Ink. Cut out the tools & arranged on the lid using foam pads. Stamped the sentiment from the Pink Cut Studio stamps onto brown paper using black Archival, cut around & adhered this onto some card, edged around with the frayed burlap DI. Adhered this onto the side of the lid.
Made the base of the box from the other piece of brown paper.
All it needs now is something to go inside it!
Thanks for stopping by,
Bev xx


Tuesday, 9 September 2014

Design Team Post..Cupcakes and Daisies


Good afternoon everyone. First let me apologise for being a day late with this post. I will share the reason why because as crafters you will know exactly why this happened. I received my dt parcel from Julie and to my absolute joy it was stamps. So I had it all planned..intending to stamp and make cards ready for Mondays post. Well I got into stamping and colouring so much that it got to Sunday night and I realised that I hadn't even got to making a card..lol. I messaged Julie and admitted to my crime of not being ready and Julie laughed saying she had done the same thing many times. So yesterday I finally got to make some cards. I thought that I would begin with the cupcakes as we all seem to love them or at least know someone who does. What choices I had to make. My first above represents a mint and chocolate. Simply stamped and coloured and then added to a patchwork background
My second card features the same cupcake with strawberries dipped in chocolate and placed onto another patchwork backing. My final cupcakes I have just coloured in pastel colours..I thought after I had made this card how nice these would be on a baby shower invitation..perhaps I will have a play with that later this week. All my cupcakes I have coloured with my copics.

Finally I have created a small wall hanging using some canvas board. I painted the canvas with acrylic paint, stamped and coloured and then cut out the daisies, finally adding them to the canvas. I put one of my favourite Oscar Wilde quotes in the middle.


I hope you like todays selection..I will try and do some more for later in the week. Until then take care and happy crafting..Genny

Sunday, 7 September 2014

DT post


Hi everyone - hope you have all had a good week & weekend. It's a sign the kids have gone back to school - the sun comes out!
Julie sent me some new stamps to play with for this month's DT work.
At the moment I am slightly obsessed with making ATC's ( artist trading cards). These are small pieces of art that you swap with people. Recently I have sent ATC's to Minnesota, USA, France and Scotland - it's great getting crafty post from far away & seeing other peolple's take on the theme.
The cards are 3.5 x 2.5 inches and are addictive once you get into them.
One of the challenges this month is to use teddy bears, so when the new stamps dropped through the post I knew what I was going to do!
The background is a Papermania 6x6 Urban stamp. 
I stamped it onto white paper using black Archival ink, adhered this to my card ATC then inked around the edges using frayed burlap Distress Ink.
The teddy & paint splats are Daisy & Dandelion clear stamps - Squeak goes decorating! 
I stamped Squeak using frayed burlap DI, coloured him in using watercolour pencils. I stamped the splats onto the background using spiced marmalade DI.
I cut Squeak out, went around his edges with frayed burlap DI & adhered him onto the ATC .
Hope you like him!
Thanks for taking the time to look,
Bev xx


Sunday, 31 August 2014

DT post


Hi everyone - hope your week has been good. Seems like the weather is going to pick up for a few days.
We are staying with Keith's Mum for another few days, waiting for things to be sorted for her to move into a care home as her Alzeihmers is getting worse & she can no longer cope. We have tried having her at home but she gets even more confused as to where she is. It's all sad but we feel the best place for her now is a care home that can give her 24 hour care. Anyhow I do have my laptop with me so tried doing a digi card.
I have used the lovely images from Adele Bradshaw at Jiggery Makery to make another digital card.
The images are so easy to manipulate. I have used them in Craft Artist.
I coloured the face image in paint first, then imported into CA. Imported the flowers & gave them coloured outlines, adding shadows to them to give depth.
Added the sentiment & the card is good to print. You can print multiples off to decoupage the flowers.
Thanks for stopping by,
Bev xx

Thursday, 28 August 2014

Design Team Makes


Good afternoon everyone...Genny here. My first make for the design team this week features an apron. When I was looking at the flowers and wondering what to make, I was reminded of a pinny that I had as a little girl....so I decided to make one. I reduced the size of the design to create a border and then cut it into an apron shape. i then repeated the shape in a darker blue card. I coloured the design with my copics and put both together. I went round the  whole design with a white pen to create a faux stitch effect. I then added some green ribbon. I cut some spoon shapes,coloured them with my cpoics and added them to the pocket.


My next creation came to me while I was sitting looking at a pile of the flowers that I had cut out. I decided to make a piece of art for the wall. I cut out two heart shapes and covered them with coloured flowers. A really simple thing but it looked good. It's going to hang on the stairs wall.

The picture below shows yet another of my handbag creations. I used yet another of my handbag templates...I didn't realise that I had so many..lol.I made it to match with the apron..using the dark blue and white daisies. I added a diecut butterfly, coloured to match the ribbon. This template makes this tiny handbag a gift bag as well..perfect  to put a small gift such as a bracelet in. When you look at the price of gift bags in the shops it makes so much sense to make your own. I'm sure that Julie here at JB CraftingSupplies will be able to source some templates or boards for you


Well I hope that you like this weeks selection of makes. I hope that you all had a fabulous bank holiday weekend. So until next time..take care and happy crafting

Sunday, 24 August 2014

DT post


Hi everyone - hope you are enjoying the long weekend, whatever you're doing. 
The weather here is very mixed, more like April than August! Keith keeps complaining it's cold but seeing as I have my own internal heating at the moment I have to keep putting my fan on! The joys of age eh - lol!
After liking how the shrink plastic turned out last week I thought the lovely flower images from Adele would be good as jewellery.
Printed the images onto the shrink plastic again, coloured them in & heated with my heat gun - remembering to punch a hole before the heat part!
I used some shepherd's crook earring findings & some chain & jump rings to make some lovely 'dangly' earrings, then chain, jump rings & a clasp to make a flower charm bracelet. I love them & all matching with my handbag charm.
Thanks for taking the time to stop by, if you need to ask me anything you can message me on my Facebook page or on JB Crafting Supplies page.
Bev xx

Wednesday, 20 August 2014

Design team Post


Good afternoon everyone..Genny here. This week I have been using the wonderful and versatile digi designs by Adele at Jiggery Makery. I have been lucky enough to be given them by Julie here at Jb-Crafting Supplies to make some items for the design team. Oh I love to play with flowers.
My first card is using the flowers to decorate the frame. I thought that this would be a nice card to send to someone who was having a difficult time..we all have them and it's always nice to know that someone is thinking of us. The leaves and frame were from my stash...if you check out the goodies that Julie has in stock you will always find something similar. The flowers and leaves I have coloured using my copic markers.


My second project using the flowers was this handbag card. This handbag I made using a board from my stash..there are lots of similar bags around..either on a board or using a template. The nice thing about this bag is that it works as a giftbag, allowing you to put a small gift inside. I know so many of my lady friends that have a passion for handbags and shoes..this would be perfect for them.

My last project features the flower that I zentangled last week in black and white. I was asked if you could zentangle something when it had been coloured. I said of course..and here is one that I have coloured in different shades of pink.I coloured the flower first using my copics and then zentangled over the top


Well that's me for this week..I have had so much fun creating using these flowers..I'm sure that there are many more ideas floating around. I hope that you all have a fantastic week..so until next time..take care and happy crafting.

Sunday, 17 August 2014

DT post


Hi everyone - Sunday again! Time for another DT post. Hope you are all ok & haven't got too wet or blown away!
I decided to try & make a handbag/mobile charm using the lovely images designed by Adele & sent to me by Julie.
I didn't know if it was going to work but hey ho! if you don't try you don't know!
I found some clear shrink plastic & managed to print the images onto this, although the print was quite pale so I went carefully over the lines using an indelible black marker.
I coloured the images using ProMarkers, came out very pale but was not too bothered as I know the colours come out darker when shrunk.
Carefully cut around the images, remembered to punch a hole in each flower before I used the heat gun!
Heated each flower using my heat gun. Was really pleased how they turned out - these images are so versatile!
I put a jump ring through each flower, cut off different lengths of chain & attached each flower to a length of chain.
Passed a jump ring through all the lengths of chain at the top then attached a clasp.
I love how it has turned out - now to decide which bag to put it on! OO! could make different shades of a colour to match each of my handbags!
Have a good week, thanks for stopping by,
Bev xx

Monday, 11 August 2014

Design Team Post


Hello everyone..Genny here. For this months design team project we were given some great flower and face designs by Adele...otherwise known as Jiggery Makery. As most of you know, I love working with flowers,so I have been having a good play. For my first card I decided to make a handbag and use the flowers to decorate it. The handbag shape was made using a board from the Glitter girls. I added a handle and then decorated it using the flowers and some die cut foliage. The digi design I took into a graphics programme and reduced the size and then coloured them using my copic markers. But you could colour them using any medium..other alcohol pens, acrylics or watercolours. I then added some peeloff buckles and a diecut butterfly. I know that Julie has some wonderful dies in stock..so why not have a look. The bag itself opens up so that you can write your message inside.


My second card is one of the flowers blown up and then I have zentangled the petals.  Zentangle is just doodling really, filling the space with small doodles or patterns. I then cut the flower out and mounted it onto some black glittercard and then in turn matted that onto some black card. I love tangling..it is so relaxing and I can say that it is one of the few times that I'm quiet..lol. Well I hope that you like my cards for this week. If you ever have any questions, I'm more than happy to answer..please get in touch with either me or Julie and I'll get back to you.So until next time..take care and happy crafting

Sunday, 10 August 2014

DT post


Hi everyone - hope you've had a good weekend and have not got too wet or blown away!
I have used Adele's images  to make a popup box card.
I followed a great tutorial on YouTube which did not use any measuring & one piece of A4 card.
I printed the images from Adele onto card, coloured in using watercolour pencils & inks.
Adhered these onto the box card. 
Made a sentiment & placed this so it could be seen.
I think the flowere images have worked really well on this piece.
Thanks for stopping by,
Bev xx