Tuesday 31 May 2016

Design team make..a card for a special friend

 
Hello everyone...Genny here. For today's design team make I thought I would share this card with you. I have made it over the weekend for a friend and really enjoyed making it. To begin I made an 8x8 gatefold card. I created 2 panels for the front and two for the inside of the panels.I cut the panels with a deckle edge and then inked them in a mixture of pinks and lilacs. I found the two flower sets in my stash, which had a matching mandela stamp. I stamped an absolute load of them, then coloured them with my promarkers and finally cut them all out. I have to say that it was all very calm whilst cutting..NCIS was on the television and all the cats were out in the evening sun. Normally they do love to help..lol


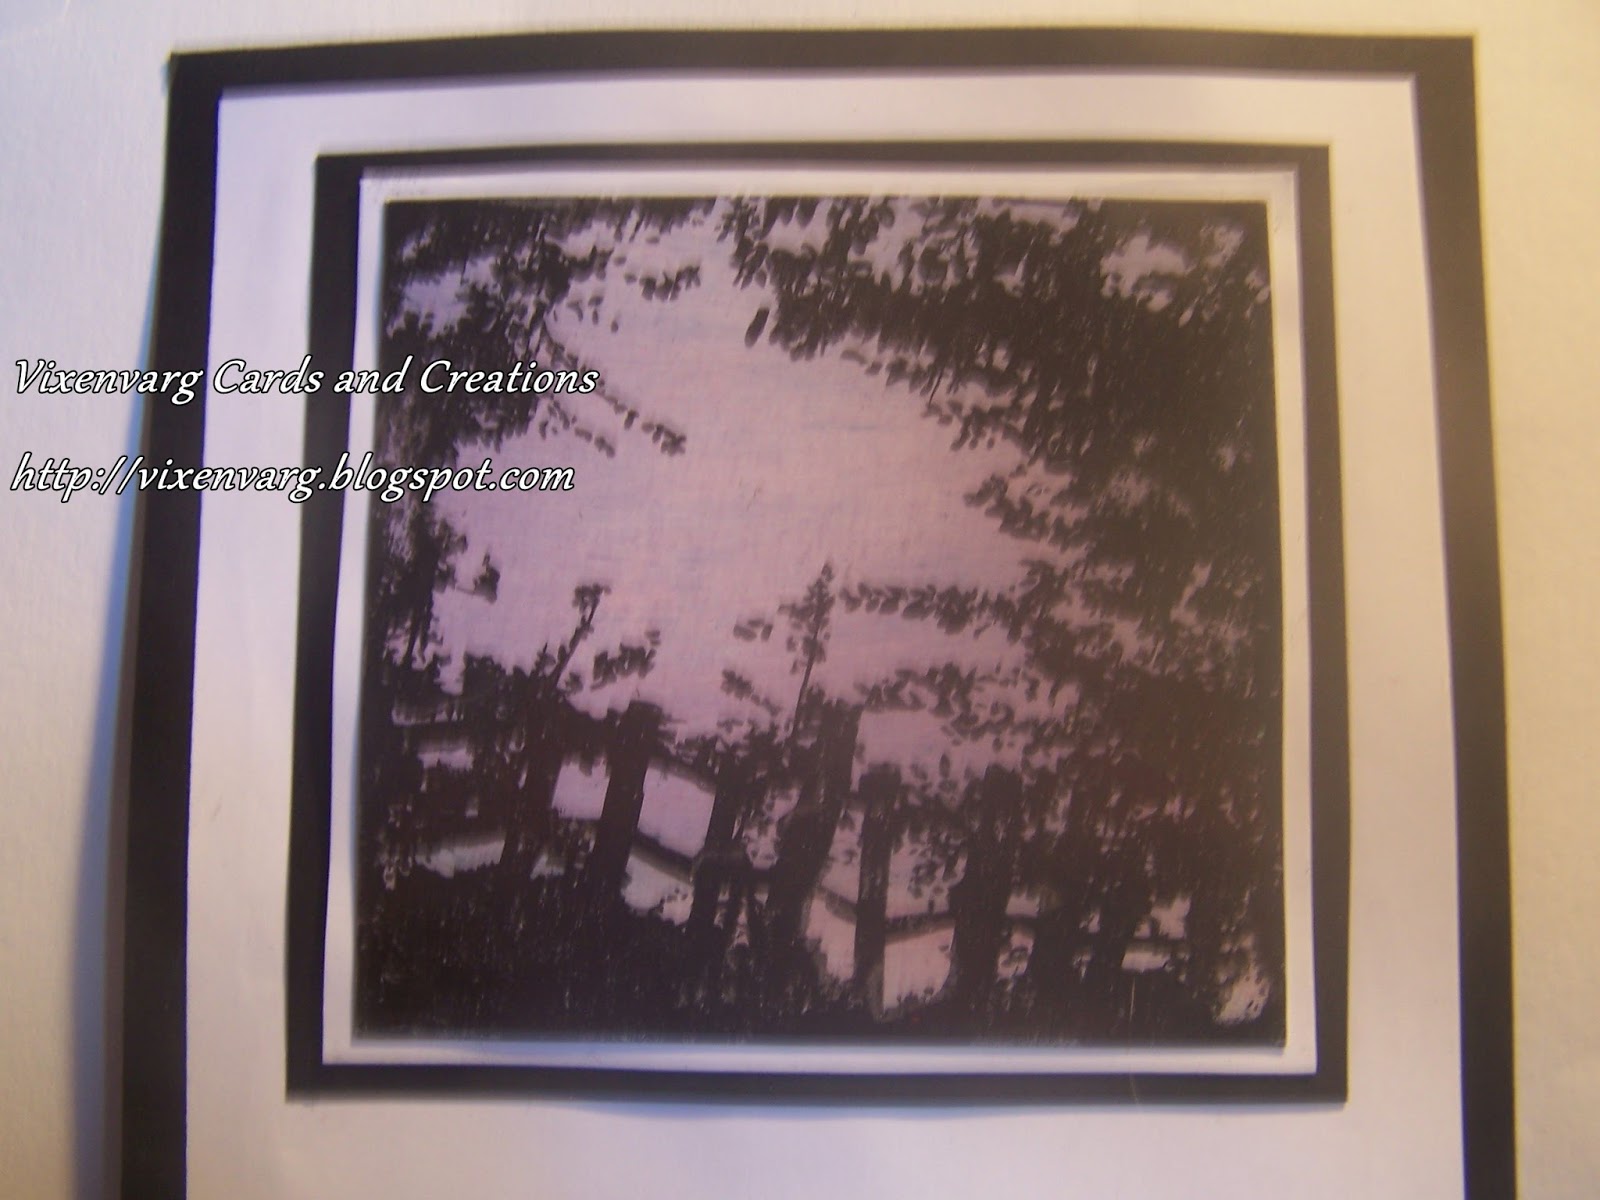
For the middle back panel, I found this silhouette image in my stash and thought it would make a great focal point as my friend is into dancing.I mounted that onto some rainbow card to match in with all the other colours.


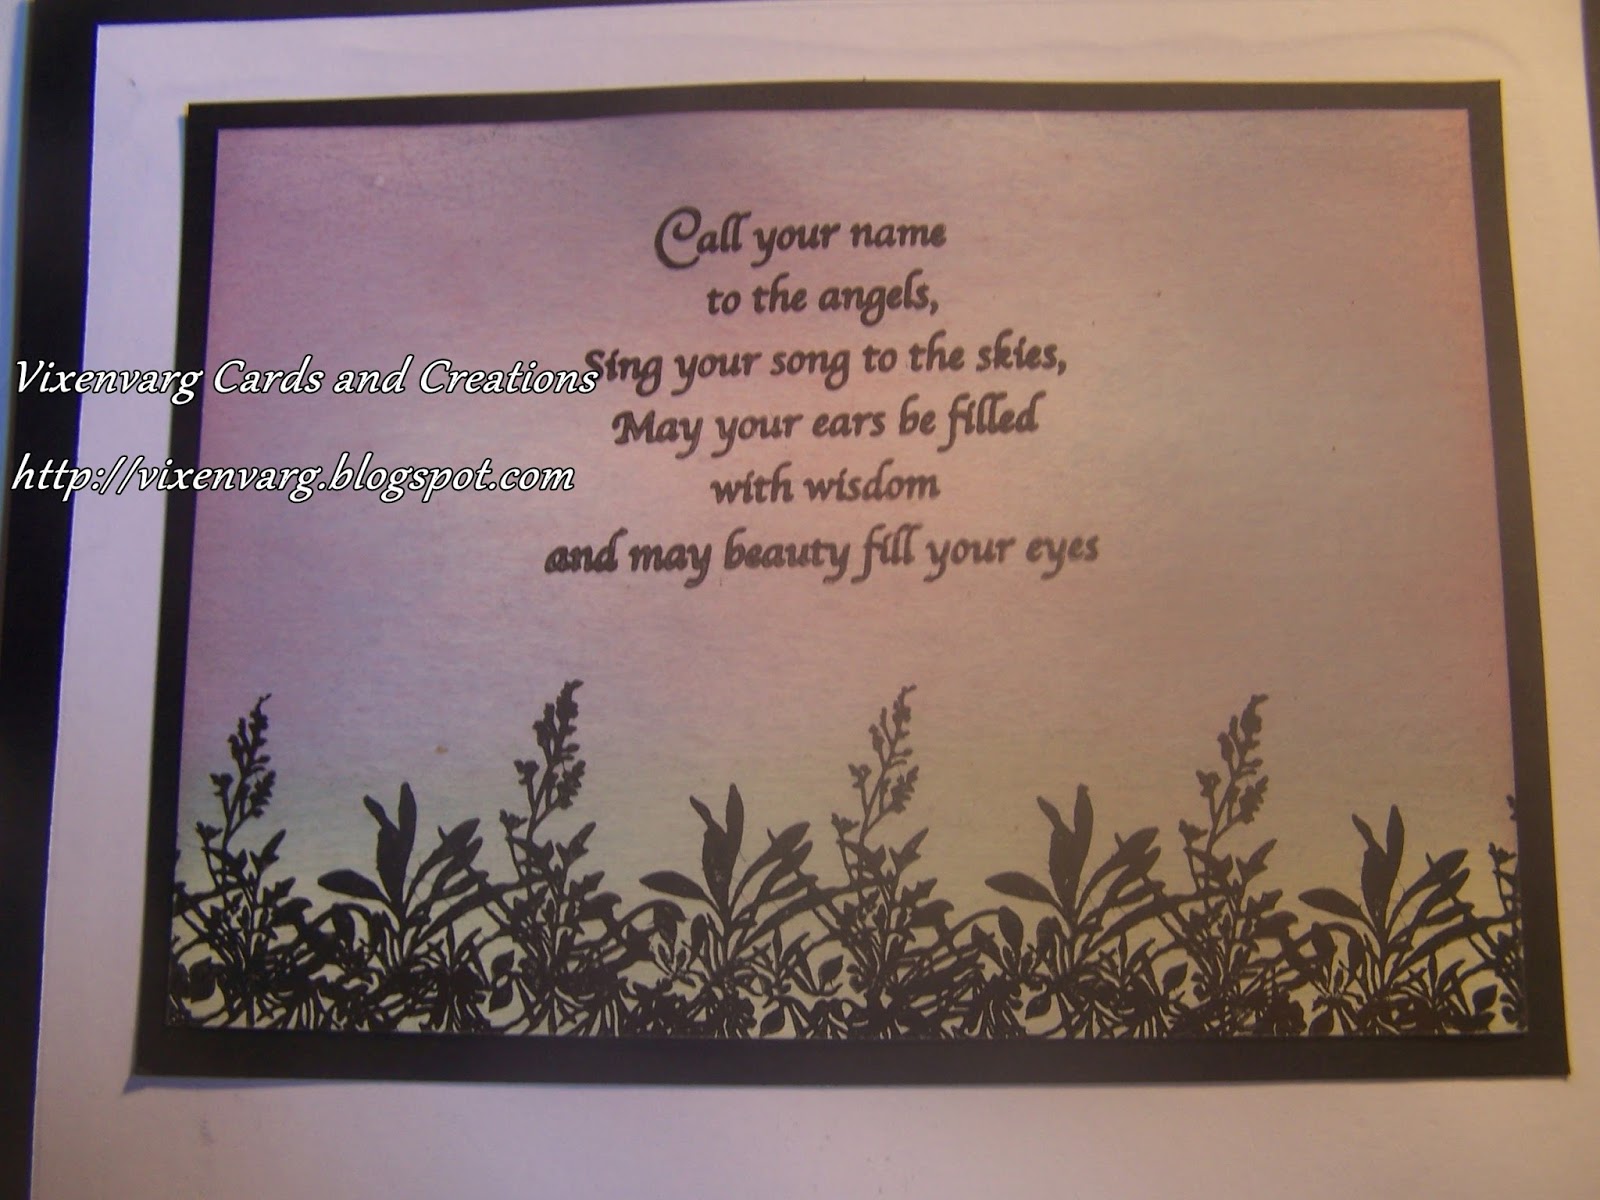
The side panels are decorated with yet more of the flowers. And finally the back panel.I coloured that again with my inks and created an oval..so that I had some where to write. Stupid as I am, I had written it before I photographed..hence the blue piece of card. I left the inside of the oval clear but edged it with a small leaf tapestry stamp. I finally added 3 more flowers to the side.


I really enjoyed making this card. All over the place you can read about mindful crafting. A quiet space where you just concentrate on what you are creating. I think that this card must fit the bill. Even with all the cutting out..it was all very calm. So why not look at what flower stamps you have and create something similar. I would love to see what you can create. For any of your crafting needs or wants..just pop over to Julie here at JB-Crafting Supplies and she will help.

Well I'm off to do some more crafting..I think some more colouring is called for. Next week I will be sharing some stencilling and using some texture paste. So until then...take care and happy crafting.

Tuesday 24 May 2016

Design team makes......Just a piece of paper.

 Hello everyone...Genny here. For today's design team makes, I have been playing. I began by getting my inks out and like I said had a play. I messed about mixing different colours on a piece of paper and blending them. On some, I worked on glossy card and some on ordinary paper. My thought process was what could I make just using inks and paper and a few stamps.

For the card above, I used different shades of green...actually doing a whole piece of A4..then added a little brown. I didn't concentrate on what was happening on the paper as a whole, just on getting a nice mix of colours. Then I cut out a panel and mounted it onto some black card. This I matted onto some brown card onto which I had layered some cream card. I then stamped some butterflies and coloured them with my promarkers. I finally added some jewels at the top and bottom corners.

For the card below..I really did have a play. I used my distress ink in a pink shade and inked onto some bubble wrap. I then used this as a stamp onto some cream card. I then used my blending brush to add some more pink on the edges. This I mounted onto some cream card, which itself had been layered onto some pink. I then stamped a butterfly again but this time coloured it with pastel colours, again using my promarkers. I then added a shower of tiny flowers. In my mind the butterfly is leaving a trail of flowers..lol


For my next card, I began by screwing up a piece of paper and then again coloured it using my distress inks in shades of green. I then added some gold mica powder whilst it was still damp. It doesn't show that well in the photo but there is a gold shimmer in real life. I then cut a square out and stamped the silhouette onto it. I then mounted it onto some black card.

For my final card..I began with a piece of glossy card to which I added my inks to. I also sprayed some silver ink over the top. I then cut out the inch squares using a punch..which I admit to having for about 10 years but had never used..lol. I stamped over the square using a corner stamp which I kept moving round, so it covered the square. I mounted these squares onto black again, as it does seem to make it all stand out. These squares I added to the card and added a greeting.


I hope that you like all my playing. That is what it is all about. I would encourage you to take an afternoon and have a play of your own. Take some paper and your inks and just play. Don't think about the end result..just get mixing your colours. Screwing up your paper and then flattening it  before inking gives a lovely effect. Add some metallic sprays or some mica powders. The fun is extended when you sit back and look at what you've created and pick out what areas you want to use for your card. As it stands now, I still have the rest of 4 A4 papers to use in the future.

Anything that you need or want for your crafting is available from Julie here at JB-Crafting Supplies. As I always say, she does have an Aladdin's cave of crafting goodies. I must also apologise for not posting yesterday but thanks to BT I couldn't even get online..lol. Today everything is fine..thank goodness. So until next week..take care and happy crafting.

Monday 16 May 2016

Design team makes...Stamp Board and Silhouettes


Hello everyone...Genny here. For this weeks design team makes, I decided to have a play and use silhouette stamps and some stamp board. For all my backgrounds I have used a glossy card and have created them using my dusting brushes and my distress inks. One thing that I hope comes across is the variety of backgrounds that you can make just by changing the colours that you use. For the card above, I created the background, let it dry and then stamped the silhouette using my versafine inkpad. I also stamped onto some acetate using my stazon inkpad..a butterfly..which I coloured with my promarkers and then cut out. I finally added it to the card.

For the card below..I created a background and then stamped the scene onto it. I then mounted it onto black and white to highlight the image.


The three cards below are using exactly the same images and sentiment but all have different colour backgrounds. I did this just to show you how the colours make each card different and suitable for different projects. I think the plain black and white image would make a very dramatic card.


And while I as having a play, I came across some stampboard in my stash. A few years ago, stampboard was everywhere and then all of a sudden seemed to disappear. Well now it is back and seems to be a lot cheaper than it used be. I had forgotten just how much I loved working with it. One of the things that I adore about stampboard is the clean definition that it gives to whatever stamp you decide to use.


For my first make, I created a keyring. I stamped the sentiment on it and doodles around it. I then wired some beads to it. It takes the ink really well..using the pen, I thought to myself that I could zentangle onto it..watch this space..I will share it with you next week. I am also in progress of making a bracelet..it is drying at the moment. So that will come next week as well.

The tiny door hanger below was made using stampboard. I first coloured the stampboard with my distress inks and then stamped the words onto it. I then created a little hanger and joined the pieces using some beads and wire, What I did discover that my cropodile makes the holes in the stamp board really easily.


This final piece is a work in progress. I stamped onto the stampboard using my memento inkpad and then simply coloured it in with my promarkers. I have yet to decide what I'm going to turn this into.


One thing that I have been asked about a lot is what inkpad to use when using different mediums...so I thought that I would jot a few down for you all.

Memento Ink pads.....I use this for any alcohol pen work..promarkers, copics,spectrum noirs etc.
Versafine Inkpads...I use this for any image I wanted to watercolour or use any waterbased colours with.
Staz on Inkpads...I use this for glass, acetate and any other non porous projects

Versa mark Inkpads...I use this for any projects that I want to use embossing powders on. Also there is the Perfect Medium inkpad that you can use for embossing.

I hope that, that helps you a bit. As always should you have any questions about any project that I've made..please don't hesitate..just ask and I will be more than happy to help. Any thing you need for your crafting..just ask Julie here at JB-Crafting supplies.

The weather here in the mountains is beautiful...I hope that the sun is shining for you wherever you are. So until next week...take care and happy crafting.

Monday 9 May 2016

Design team make...Pinflair Kit


Hello everyone..Genny here. I must apologise..this weeks make should have been last weeks but BT decided that the village could do without internet for the most of 3 days and have given us an intermittent service since. It drives us all crazy..they know our service is going off but never think to let anyone know. Anyway here I am, catching up. For my design team make I have been lucky enough to work with this fabulous kit from Pinflair. All instructions are included. You will need to add your own choice of material, book binding glue. I also used some sellotape to hold things in place when I had run out of the paper. I have to say that was my own fault for not paying attention to what I was doing..as a cat fight set off. So I took everything apart and did it properly using my sellotape. I should have taken my own previous advice and shut the cats out of the room..lol.


 When you come to hold the drawer together...I added some sellotape to the outside..just to hold it together while it dried.


I didn't have a suitable handle for the box and due to the way I'm having trouble with my hands..I really needed something I could get hold of...so I fiddled about and made one. I had a lonely large button in my stash which I have always loved the look of. I took some of my jewellery wire and threaded it through the button and then added some beads..so it went button, bead, box drawer and then I secured the wire on the inside of the drawer. It has worked very well and has given me something substantial to hold on to.


And here it is finished..I have been looking for something to hold all my pearls from my stash and this is perfect. Everything that you need is available from Julie here at JB-Crafting Supplies. The range of fabric that she stocks is delicious..there is no other word to describe the patterns and colours that she has in stock. Well worth a look. So until next week..take care and happy crafting.