Hello everyone Genny here. As promised here is the step by step details of the loo roll book. I have never had as many messages as I have had regarding these little books. Even people who are not normally crafters seem to have been intrigued by this little book. So here we go.
First things first..and that's to gather together all you need. I have used 4 toilet roll cardboard's..of course you can use as many as you like..as long as your book rings are large enough. You also need 2 pieces of grey board larger than the toilet roll cardboard's, 2 book rings (I used 1inch ones), some card to make the tags (I used kraft card), a selection of contrasting papers, ribbons and glue. For this project I would advise using a wet glue.
The first job is to cover the greyboard with your chosen papers. I covered what would be the outside first, followed by putting a contrasting paper for the inside.
I then flattened the toilet rolls using my bone folder to flatten them as much as possible. I then covered the whole thing by wrapping and gluing my paper around the roll.
I then made to holes. Making sure that the holes in the cover was close enough in the middle to hold the toilet rolls and then using those holes to mark the spacing on the toilet rolls. For my holes I used my Cropodile. It is a tool that I've had for a number of years and honestly use it so much..it has been a wonderful investment.
I then added toning borders on the edge of my toilet rolls. At this stage you can add any embellishments you like.
I then took a corner punch and rounded the corners of the tags and punched a hole in the middle to hold the ribbon.
I finally added my word to the front of the book. I have always collected quotes and use them a lot in my work..so I thought it would be nice to have a little book to keep any new ones I find.
If there is anything you need..papers, alphabets or embellishments then please get in touch with Julie here at JB-Crafting Supplies..as I always say she has an Aladdin's cave of crafting goodies.
I hope that I have explained it all clearly enough..but if you have any questions, please do not hesitate to get in touch.
So until next week..take care and happy crafting.
Craft shop in Wath-upon-Dearne Rotherham and webshop too. If you like to craft, you'll love JB-Crafting Supplies. Classes, workshops and Events held in store regularly. We stock, rubber stamps, ink pads, die cutters, embossing folders, fabric, haberdashery, wool and much much more.
Showing posts with label stamping. Show all posts
Monday, 22 August 2016
Monday, 8 August 2016
Design team makes...Christmas ideas
Hello everyone..Genny here. I had every intention of blogging last week but sadly BT were not for letting me play. It seems to be one of the prices I have to pay for living in such a beautiful place. But finally here I am with a selection of Christmas Cards. Yes I know that it's only August but I like to think about it now and then I have plenty of time to decide what I'm going to do.
All my cards today are from Hobby Art and I have chosen to work with them because they are such good quality for one and the other reason is that I love all these images. Cards 1 and 3 are from Daryl the Quirky turkey stamp set and they have a similar sense of humour to last years Baa Humbug set.
The card below is Otto the Owl and is a rubber stamp..which is another form of stamp that Hobby Art do. Equally as easy to use to get a brilliant image.
My final 4 cards are all from the Nature Trail stamp set. I just couldn't help and have a play with this set and as you can see from the four cards below, depending what colours you use and what elements you pick..each is different. For all the cards below, I have stamped onto watercolour card using my Versafine ink pad and coloured them using my Lyra watercolours. I used a white Pentouch pen to add the snowflakes and of course I just had to add some glitter..after all it will be Christmas..lol
I hope that you like the cards and that you will have found a little inspiration. As always, should you want or need any crafting supplies..just pop over to JB-Crafting Supplies and speak to Julie. So until next week..take care and happy crafting.
Monday, 25 July 2016
Design team make....One thought...5 projects
Hello everyone...Genny here. I have called todays design team makes..one thought..5 projects because I began with the thought of doing a large mixed media canvas but ended up making 4 other projects and the original piece is only half way finished..lol. My first idea was to use lots of die cut and stamped flowers, painted with my H2Os..which gives them a lovely mica shimmer. I began by getting together lots of die cut flowers which I had cut using plain white paper. I then painted then all with different shades. As I was waiting for the flowers to dry I found two small canvasses and deiced to paint them using my acrylics. So for the first two projects, I added three flowers..using a black peeloff as the stem, and finally stamped a different sentiment on both.
The following two projects were a happy accident. When I'm painting with H2Os, I always work on a piece of paper. When I had finished painting the flowers, I looked at the way all the colours had mixed on the paper and loved the look of it. So I took a flower stamp and stamped the outline in black..and then cut them out. I mounted them onto a piece of white which had been mounted onto a piece of black card.
And finally I actually began on my first idea..lol. I have painted a board with black acrylic and placed lots of flowers in opposite corners.I have added metal hearts, some jewels and some pearl dots. It isn't finished yet but I thought that I would share the work in progress. Hopefully next week I will be doing a piece on mixed media..so I will be able to share the finished piece then.
The one thing that I would recommend is that wherever you decide to work that the cats are banned from the area. I'm sure that my cats know as soon as the acrylics come out and cannot wait to dip their paws in it..hence I have now multi coloured paw prints over one of my armchairs..perhaps they fancied doing some mixed media of their own..lol. So untilnext week...take care and happy crafting.
Monday, 18 July 2016
Design team make.....Birthday Teatime
Hello everyone...Genny here.For todays design team make I have used a stamp set from Hobby Art stamps called Teatime. It is a great stamp to create your own tea table. As everyone has seen lately..tea, china and old fashioned cloths have made a great comeback. For this card I stamped the cloth edging, teapot,jug,cups and cake stand with my Versafine inkpad. I then used my lyra watercolours to paint them. I also watercoloured the large cake and a collection of little cakes. The background was created by doing a watercolour wash onto a piece of watercolour paper. I mounted this onto a piece of pink backing card. Also from Hobby Art I used the verse and mounted that onto the same pink card. I finally added the two pieces of bunting which are from a Joanna Sheen Signature Die.
Following on from last weeks paper cutting make..I decided to do some thing different. I am lucky enough to be on the design team for Jiggery Makery. This is the team belonging to Adele, Julie's daughter. I decided to use one of her fabulous pin up digis and to create a piece of papercutting. I took the shape of the skirt and drew a design. I then cut it out and mounted it onto a piece of red paper.
I really enjoyed making both these cards and after all, this is why we all craft. Nothing makes me relax more than to work on a card or canvas project. Any thing that you need craft wise..please get in touch with Julie..here at JB-Crafting Supplies.
I hope that the weather is being kind to you, wherever you are. The sun is shining here in the mountains, so I can craft in peace because all my cats are outside, sunning themselves. Usually when I get my crafting goodies, they all arrive, wanting to help..lol. Well until next week..take care and happy crafting.
Monday, 6 June 2016
Design team make.....Using Texture Paste
Hello everyone...Genny here. Today's make is a canvas using texture paste and I thought it would be good to share with you all. There are lots of different types of texture paste out there, all at various prices but I was talking to a friend and she said I am sure that you could make your own...so I did.
I wanted to make quite a course texture paste that I could use through a stencil that I had that looked like a stone wall. The recipe I used was 2 tablespoons of pva, 2 tablespoons of white acrylic paint, 2 tablespoons of talcum powder and some sand. I mixed them all together, adding the sand until it became a texture that I felt that I could use through the stencil. If it feels too thick, you can add a little water..by the same token if it feels too wet either add a little more sand or talcum. Then I placed my stencil onto a small canvas and applied the texture paste...as in the picture below.
I then let it dry.. I let it dry overnight to ensure that it was thoroughly dry. Then I painted the whole canvas with some acrylic paint that I had mixed to a colour I wanted for my stone. You can alter this to suit what you want to do. You could paint it all white for example or if you had the patience you could paint the spaces between 'the stones' one colour and the stones themselves another. It all depends what effect you would like.
While the paint was drying, I stamped out some flowers and leaves and coloured them with my lyra watercolours. I then added them to the canvas. While I was playing about with my texture paste I also realised that if you just wanted the paste to be fine don't add any sand,just add more talcum powder. That will create a texture similar to a plaster finish but would also be good depending on the look you wanted. This would give you aa finish that you would be able to stamp into. The only thing that I would add is to say that it's vital that you clean everything thoroughly as soon as you've finished. I have a couple of bowls which I keep together for making the paste in and a spoon and spreader. Everything is kept together in a cupboard ready for the next time. I've also kept a jar of sand..when I asked my friend for a jar of sand he was intrigued to what I was going to do..lol
I hope that you like the finished project and that you will have a go at making your own texture paste. For anything you need or want, please pop over to speak to Julie. I know that she stocks some brilliant acrylic paints in case you need any. So until next time..take care and happy crafting.
Labels:
Acrylic Paint,
cards,
Design Team,
stamping,
stencils,
Texture Paste
Tuesday, 24 May 2016
Design team makes......Just a piece of paper.
Hello everyone...Genny here. For today's design team makes, I have been playing. I began by getting my inks out and like I said had a play. I messed about mixing different colours on a piece of paper and blending them. On some, I worked on glossy card and some on ordinary paper. My thought process was what could I make just using inks and paper and a few stamps.
For the card above, I used different shades of green...actually doing a whole piece of A4..then added a little brown. I didn't concentrate on what was happening on the paper as a whole, just on getting a nice mix of colours. Then I cut out a panel and mounted it onto some black card. This I matted onto some brown card onto which I had layered some cream card. I then stamped some butterflies and coloured them with my promarkers. I finally added some jewels at the top and bottom corners.
For the card below..I really did have a play. I used my distress ink in a pink shade and inked onto some bubble wrap. I then used this as a stamp onto some cream card. I then used my blending brush to add some more pink on the edges. This I mounted onto some cream card, which itself had been layered onto some pink. I then stamped a butterfly again but this time coloured it with pastel colours, again using my promarkers. I then added a shower of tiny flowers. In my mind the butterfly is leaving a trail of flowers..lol
For my next card, I began by screwing up a piece of paper and then again coloured it using my distress inks in shades of green. I then added some gold mica powder whilst it was still damp. It doesn't show that well in the photo but there is a gold shimmer in real life. I then cut a square out and stamped the silhouette onto it. I then mounted it onto some black card.
For my final card..I began with a piece of glossy card to which I added my inks to. I also sprayed some silver ink over the top. I then cut out the inch squares using a punch..which I admit to having for about 10 years but had never used..lol. I stamped over the square using a corner stamp which I kept moving round, so it covered the square. I mounted these squares onto black again, as it does seem to make it all stand out. These squares I added to the card and added a greeting.
I hope that you like all my playing. That is what it is all about. I would encourage you to take an afternoon and have a play of your own. Take some paper and your inks and just play. Don't think about the end result..just get mixing your colours. Screwing up your paper and then flattening it before inking gives a lovely effect. Add some metallic sprays or some mica powders. The fun is extended when you sit back and look at what you've created and pick out what areas you want to use for your card. As it stands now, I still have the rest of 4 A4 papers to use in the future.
Anything that you need or want for your crafting is available from Julie here at JB-Crafting Supplies. As I always say, she does have an Aladdin's cave of crafting goodies. I must also apologise for not posting yesterday but thanks to BT I couldn't even get online..lol. Today everything is fine..thank goodness. So until next week..take care and happy crafting.
Monday, 16 May 2016
Design team makes...Stamp Board and Silhouettes
Hello everyone...Genny here. For this weeks design team makes, I decided to have a play and use silhouette stamps and some stamp board. For all my backgrounds I have used a glossy card and have created them using my dusting brushes and my distress inks. One thing that I hope comes across is the variety of backgrounds that you can make just by changing the colours that you use. For the card above, I created the background, let it dry and then stamped the silhouette using my versafine inkpad. I also stamped onto some acetate using my stazon inkpad..a butterfly..which I coloured with my promarkers and then cut out. I finally added it to the card.
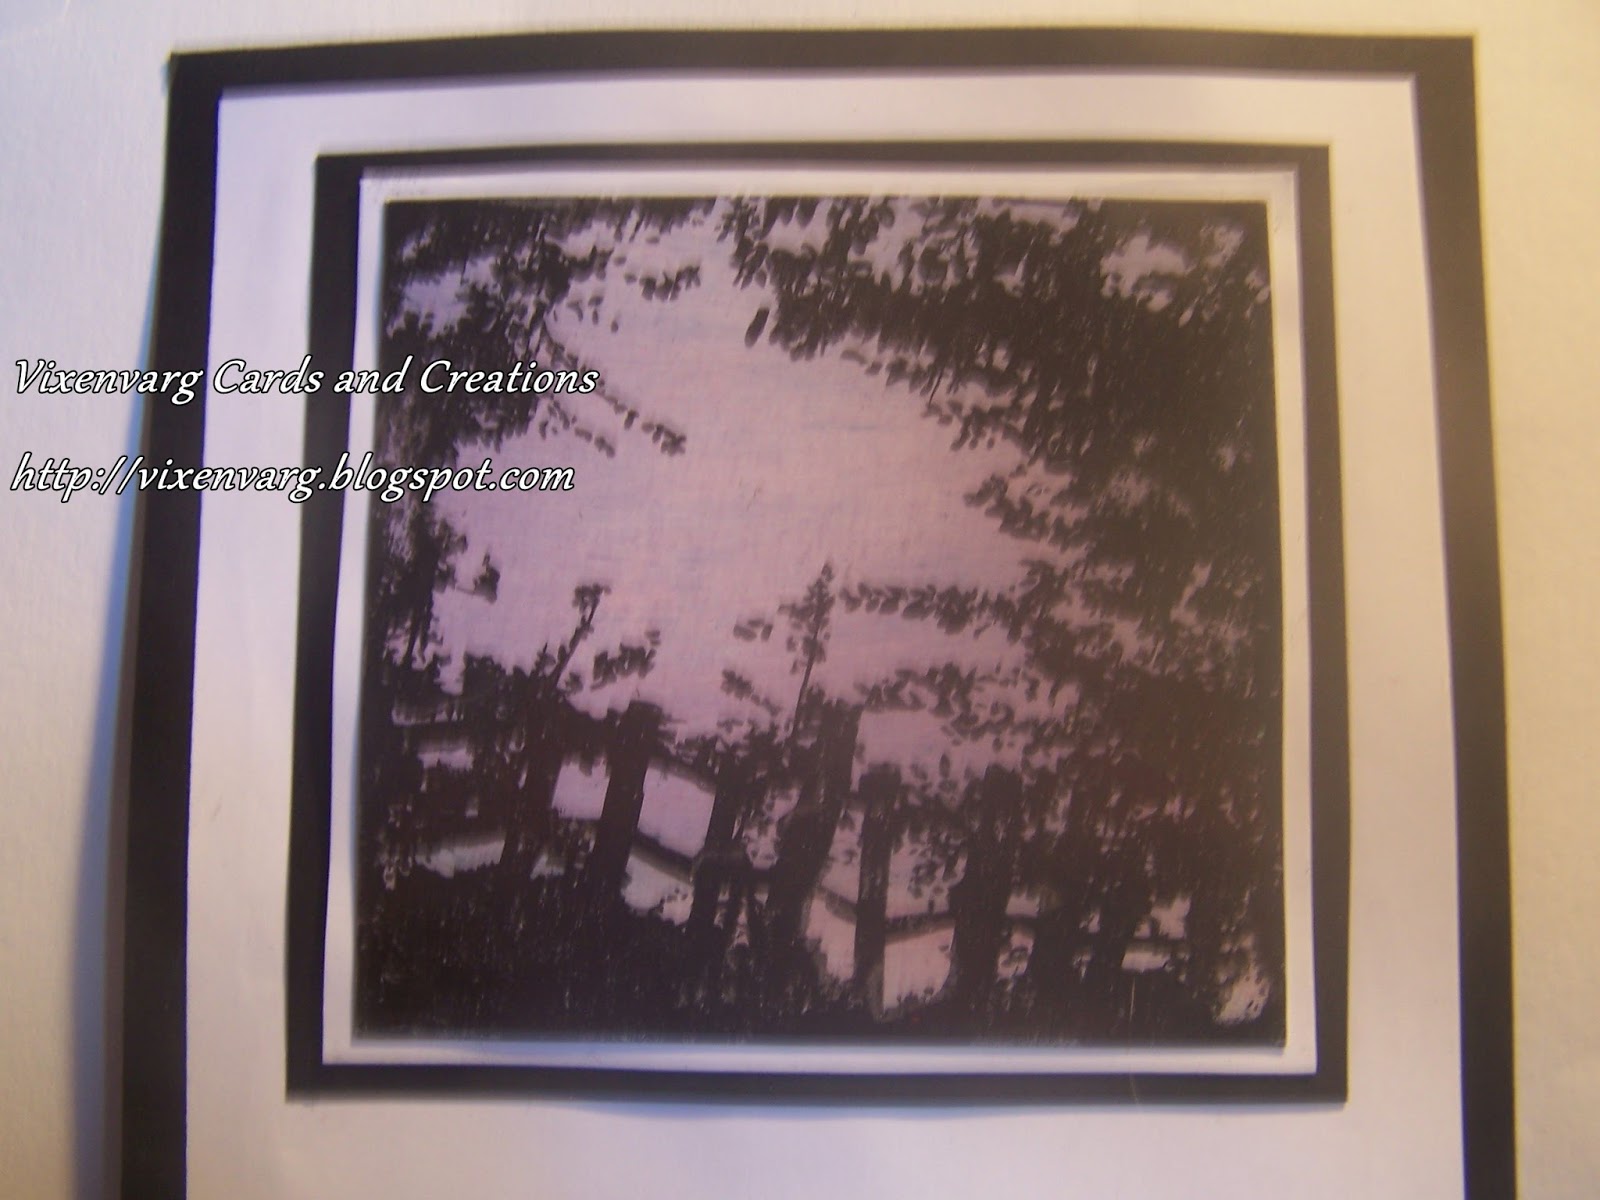
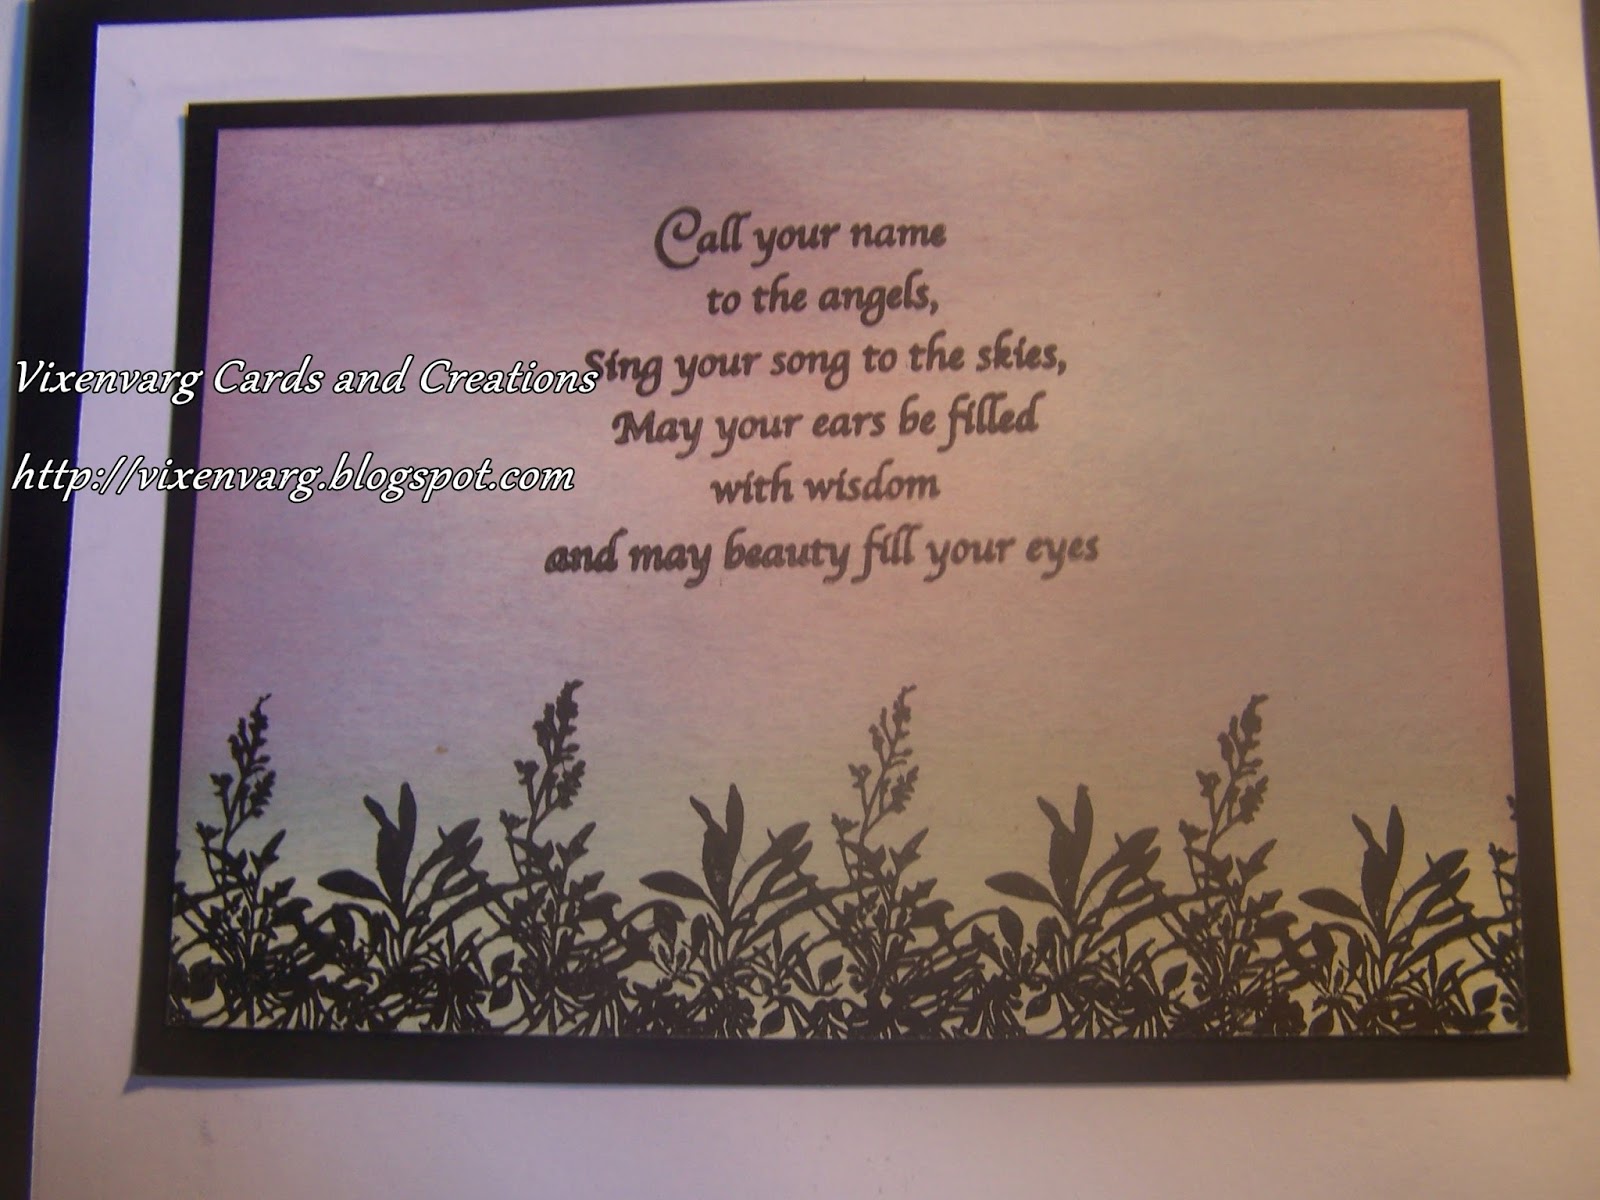
For the card below..I created a background and then stamped the scene onto it. I then mounted it onto black and white to highlight the image.
The three cards below are using exactly the same images and sentiment but all have different colour backgrounds. I did this just to show you how the colours make each card different and suitable for different projects. I think the plain black and white image would make a very dramatic card.
And while I as having a play, I came across some stampboard in my stash. A few years ago, stampboard was everywhere and then all of a sudden seemed to disappear. Well now it is back and seems to be a lot cheaper than it used be. I had forgotten just how much I loved working with it. One of the things that I adore about stampboard is the clean definition that it gives to whatever stamp you decide to use.
For my first make, I created a keyring. I stamped the sentiment on it and doodles around it. I then wired some beads to it. It takes the ink really well..using the pen, I thought to myself that I could zentangle onto it..watch this space..I will share it with you next week. I am also in progress of making a bracelet..it is drying at the moment. So that will come next week as well.
The tiny door hanger below was made using stampboard. I first coloured the stampboard with my distress inks and then stamped the words onto it. I then created a little hanger and joined the pieces using some beads and wire, What I did discover that my cropodile makes the holes in the stamp board really easily.
This final piece is a work in progress. I stamped onto the stampboard using my memento inkpad and then simply coloured it in with my promarkers. I have yet to decide what I'm going to turn this into.
One thing that I have been asked about a lot is what inkpad to use when using different mediums...so I thought that I would jot a few down for you all.
Memento Ink pads.....I use this for any alcohol pen work..promarkers, copics,spectrum noirs etc.
Versafine Inkpads...I use this for any image I wanted to watercolour or use any waterbased colours with.
Staz on Inkpads...I use this for glass, acetate and any other non porous projects
Versa mark Inkpads...I use this for any projects that I want to use embossing powders on. Also there is the Perfect Medium inkpad that you can use for embossing.
I hope that, that helps you a bit. As always should you have any questions about any project that I've made..please don't hesitate..just ask and I will be more than happy to help. Any thing you need for your crafting..just ask Julie here at JB-Crafting supplies.
The weather here in the mountains is beautiful...I hope that the sun is shining for you wherever you are. So until next week...take care and happy crafting.
Monday, 18 April 2016
Design team make....Garden Birds
Hello everyone...Genny here. Today for my design team makes this week, I am lucky enough to work with this set from Hobby Art Stamps....Garden Birds. If you would like to buy this set..please get in touch with Julie here at JB-Crafting Supplies. In fact anything that you need, Julie is the person to source it for you.
For all these cards, I stamped all the birds with my Versafine inkpad because I knew that I wanted to use my watercolours..and Versafine is what I use with them. If I had wanted to colour the images with my promarkers or any of my alcohol pens, I would always use a Memento ink pad.
The top two cards feature a coal tit and a great tit and below is a blue tit. I admit to not knowing many birds but I had a great reference book..so I could try to get the colours right. I thoroughly enjoyed working with these stamps and if like me you have lots of friends who bird watch either out and about or just at their own bird tables..these cards would be perfect to use for them.
What I also wanted to do but just didn't have the time..was to create some really funky coloured birds, alongside some funny quotes. I will try and make a couple for next week..just to show you a different way of using them. On the stamp set itself, you get 3 different birds, the flowers and some branches and leaves. I just love Hobby Art Stamps because they always stamp so well and combine really well .I was also thinking with some of the Hobby Art 'scenic stamps', you could easily make a scenic background and put the bird at the front. I may have to have a go at that as well.
I hope that you like the cards and get a little inspiration. For any of your crafting needs..just ask Julie. If there is ever anything that you would like me to feature in any future blogs..just get in touch and I will try my hardest to do it. So until next time..take care and happy crafting.
Monday, 29 February 2016
Design Team make.....Using your glitter Glues
Hello everyone..Genny here. I have so much to share with you over the next few weeks...some wonderful kits from Pinflair, some patchwork and some home decor makes..all available from Julie here at JB-Crafting Supplies. I feel so lucky with all the selection of wonderful things that I'm getting to work with. So please keep your eyes on the blog to see the makes that are coming up.
For today's card I have concentrated on using my glitter glue. I thought to myself the other day that I have a huge selection of glitter..both wet and dry..and I thought that I wasn't using it as much as I could in every day crafting. I began by stamping 5 flower heads out and coloured then all with just 3 promarkers..red, gold and bright orange. I then used 2 of my Stickles..yellow and marmalade and added them to the flower heads. It was surprising what a colour range you can get depending on which colour you added the glitter to. I let them dry and then cut out the flowerheads. I added some stalks and leaves. I mounted the flowers onto a piece of dark green card..so that the colours will pop. I mounted that piece of card onto another piece of card that I had painted with a metallic orange acrylic.I am now still playing with the flowers for some more makes..I've now got to thinking that this would be a good make in some other sets of colours..I'm thinking of doing some in purples and pinks..I will share them with you when I've finished them..just so you can see the difference that using other colours can make. In particular I'm thinking of doing the purples for a friends birthday, as they are her favourite colours.
For next weeks blog, I will share a pinflair kit, which is available to buy from Julie. My make from last week..the fairy hanging pocket is now in place and managing to keep my scarves safe from the kittens. The kit for that is also available from Julie..it would make a lovely gift for any young girl..or even any older girl who just love all thing pink...like me..lol
I hope that you all have a great week and get time to yourself to do some crafting. So until next week...take care and happy crafting
Labels:
card,
cards,
Design Team,
DT piece,
paper flowers,
stamping,
stickles
Monday, 8 February 2016
Design team make...Using your stash
Labels:
birthday,
Birthday boy,
cards,
Design Team,
DT piece,
stamping
Monday, 1 February 2016
Design team makes...Using the stash
Hello everyone..Genny here. For this weeks makes, I'm still looking at my stash and different ways to use it. For the first cardI used this wonderful Nellie Stellen stamp which I bought from Julie. I stamped the image onto a heart die cut and then coloured it with my promarkers. I then softly inked the edges to take the harsh white colour away. I then mounted it onto a small mat and finally onto the card itself which I had covered with a toning paper. I finally added a double bow and a button flower. I just adored the little stamp..sometimes you just need a little cute in your life.
For my second card I stuck with the idea of using Christmas stash to make an every day card. The paper on the card is from a Christmas pad. The image is from a Crafters Companion stamp..The Brambly Hedge..Autumn and Winter set. I thought to myself what a lovely image for a card for a friend..everyone I know loves a nice cup of tea and a piece of cake.
I stamped the image onto some white card and then coloured it with my promarkers.I then cut the image out..which was really easy. I then cut a mount out and used my inks to brush the colour on. I then mounted the image onto it.
The weather here in the mountains today is horrible..so it is the perfect day to sit inside and craft. All my cats have taken a look at the weather and decided to stay in too..so no doubt they will be helping with the crafting..lol. So until next time..take care and happy crafting.
Labels:
card,
cards,
christmas,
Design Team,
diecut,
Distress ink pads,
DT piece,
stamping
Monday, 25 January 2016
Design team makes..Use your Christmas stash all year
Hello everyone...Genny here. As with everyone, the first months after Christmas seem to involve paying a lot of bills with a small amount of money. So I have begun to look at my Christmas stash, searching for ways to get even more out of it.
The hanging that I have made above was based on a Christmas bauble shape which was made in MDF.I loved the shape and thought that it would be perfect to make a decoration for my bedroom. I painted it with purple acrylic and then added a stamped image which I had coloured with purple and pink. I coloured the stamped image with my promarkers. I then added flowers to the top and a triple bow to the bottom. I finally added 3 sequin butterflies in purple. Of ourse you could make some thing similar in your favourite colour ways.
Both the cards below are made using a Christmas paper pad.This pad is produced by First Edition and is called Silent Night. I got my pad from Julies shop.I.'m sure that Julie has a wide range available. When looking through the pad at the wonderful papers, I suddenley realised that apart from probably 3, the rest could easily be used all year round.
I used two of my Inkylicious stamps featuring some lovely words as the focal point and decorated them with other items from my stash. They make great cards to send to friends..for no other reason than you are thinking of them
I hope that you liked my makes and that you will take a look at your craft stash a little differently. So until next time..take care and happy crafting.
Subscribe to:
Posts (Atom)


