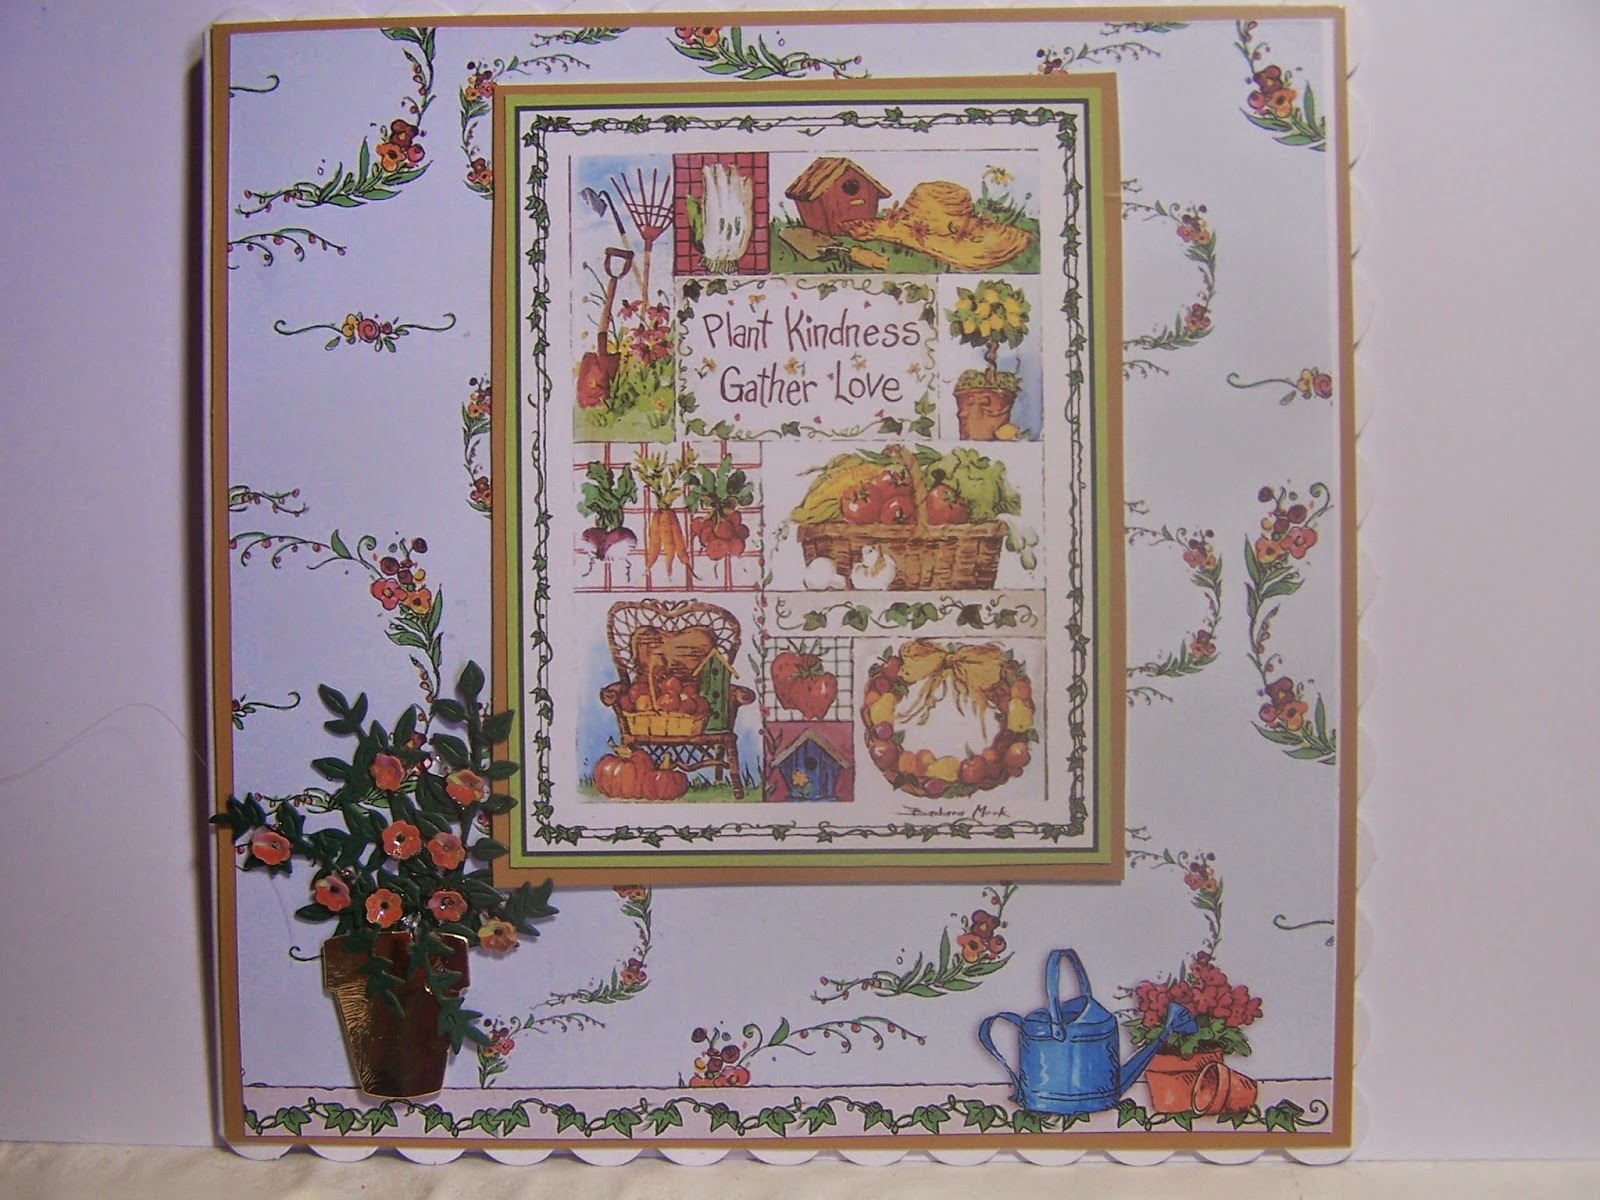
Monday, 30 June 2014

Vintage wallpaper card! (Dt post)

Hey y'all,

 
Sorry I haven't been around for a little while but has anyone seen my mojo? I don't know about you but it seems as though my brain only has room for one interest at a time and recently Ive been spending time working on my own digital work.

Speaking of digital though, Ive tried yet another new thing! I received the Crafters Companion Vintage Floral cd and it sure does have some gorgeous goodies in there. As I was looking at all the paper designs I was reminded of vintage wallpaper so I used that as a starting point for my card.

I printed out several different patterns of paper, and tore and layered them onto my card as if it was a wall of wallpaper that had been covered over and over. I distressed the edges and made them curl up a tiny bit as I wanted them to look as if they were aging and the glue wasn't holding anymore. I also used some of the excess paper to cut some flowers and butterflies which I adhered to my 'wall' and then went over with more vintage photo distress ink. I printing out some vintage ephemera and used an old clock which I also accented with glossy accents so that it looked as if the hands were 3d. I created a rose with the flowers I had cut out and distressed that and 2 other premade ones which I also adhered to the card with my hot glue gun.

After most of my paper bits were distressed and glued down, I used a metal frame and stamped my sentiment from the coordinating Vintage floral - phrases stamp set which I then 'mounted' to the card and covered with my frame and covered with glossy accents. A few more glossy accents here and there and I was nearly done.

To finish off the whole piece I wanted to add a bit of gold to my card. I used a flourish stamp which I stamped on both corners of the card and heat embossed with fine gold embossing powder.  My card wasn't 100% dry as I found out but I actually liked the gold flecks that stuck to the edges and to the flowers.

I hope you like the finished result!

Sam

Halcyan Days from Crafters Companion

Hello everyone...Genny here. I'm still having a wonderful time playing with the fabulous Halcyan Days cdrom brought to us by Crafters Companion. My first card is using remnants from other cards that I have made. The background paper I have made into a piece of crazy patchwork using scraps of papers I had left and have just added a small running stitch effect with a black pen. I have mounted this and the hare topper onto some burgundy card and then added a ribbon. I just love making this type of background..and it is really made using just scraps that you would normally throw away.          
This card is one of the quick cards that form one very small part of the cd. It is all ready to print out and layer up. All I have added is a peeloff. Sometimes we have time to play and can take our time but sometimes we need a card quickly...these cards are always handy for one such moment. Not just for a birthday but just a card to say hello..how are you. With so much mail now just being bills and junk mail...it's always so nice just to receive a card.
These last two cards are of the same type..really easy to make..yet really pretty. I love the image of the ice cream van...doesn't it make you think of being a child and the treat it was to have a 99. Can't you hear the music playing ? It makes me think of sunny days and sand between my toes...bucket and spade in hand. Or the village show...waiting to know how your onions faired in the vegetable show...the fantastic cake stall..the bric a brac stall with that one piece of china that you want to buy.
This last card is another quick card..but how nice to send to a friend...it says where there's tea there's hope..and isn't that the case. How many problems seem so much smaller when shared with a friend over a good cup of tea.
Well I hope you enjoyed this weeks cards and will consider buying this cd. I'm still playing...so will have more to share next time. Until then take care and happy crafting.

Sunday, 29 June 2014

DT post using Crafter's Companion Vintage Floral


Hi everyone - I have been trawling through YouTube this week looking at various techniques & I came across a technique to make a paper dress. I thought this would suit the vintage papers on the Crafter's Companion CD.
I found a design paper I liked & printed it off at A5 size. Followed the instructions for the dress - which were really good. I inked around the dress edges using tattered lace Distress Ink.
I picked out a co-ordinating paper & matted this onto some white card, inking around the edges of the card with tattered lace.
I cut a small strip of the co-ordinating paper to make a belt for the dress. Adhered some tiny pearls onto the bodice. Attached the dress to the card.
Stamped the Crafter's Companion sentiment onto white card, matted this onto the co-ordinating paper then onto more white card. Inked around the edges. Adhered this to the card.
I think it turned out ok - the papers really suit what I was trying to achieve.
Hope you haven't got too wet this weekend - still an excuse to stay in and craft (as if we need one!).
Thanks for stopping by,
Bev x

Monday, 23 June 2014

Halcyan Days by Crafters Companion

 Hello everyone..Genny here.. with my latest cards using the fabulous new cdrom from Crafters Companion. I am still in love with this cd, as you can probably see from the amount of cards that I'm making! The first card uses this delightful image showing the lighthouse and the beach huts. I have edged the image with some fabric braid. I also increased the beach area using some pearl paints and adding a diecut seahorse and starfsh.
This next card I edged the image with some funky braid and used a diecut ships wheel and anchor. It has such a lovely sunny image..it is so hard to imagine the amount of work that went into the image..using all the different materials. I feel it has such a nostalgic summer feel. It reminds me of sunny days as a child on the beach. I can almost feel the sand between my toes, building sandcastles with my Gran.
I decided to make my next card a very simple one. I've just added some diecut fish, a metal charm and a bow.On this card I've picked blue as the background colour but I could easily have picked up on the pink or the purple in the image and that would have changed the whole look. I think that's another thing I adore about this cd is the ways that you have such a wide choice of colours..which enable you to make the card for a man or a lady or to even to bring in the favourite colours of who you intend to send it too.

My last card is one that I really enjoyed playing with. I edged the image with some natural twine and added some diecuts. On all the cards that I've made for today, I haven't put a greeting on any. The second card says have a fabulous day and I thought that these are the type of card that you could send for most reasons..but how lovely just to send a card to let someone know that you're thinking of them. I hope that you like my cards and that you will consider adding this cd to your library. If you are in the need of any embellishments to go along with your cards, please pop over and speak to Julie. I have bought some fabulous embellishments from her and she stocks some amazing goodies. So until the next time..take care and happy crafting

Sunday, 22 June 2014

DT post using Crafter's Companion vintage floral


Hi - thanks for stopping by.
I decided to make a scrapbook page using the Crafter's Companion vintage floral collection. I decided to use Craft Artist as have not been at home much but had my laptop with me.
The images from the cd were easy to import into CA & once there I could build my page.
I had a photo of my Mum, Dad & me taken at their Golden Wedding party - the last photo we had together - it was taken in December 2005. Mum died in December 2008 & Dad in February 2012 - how quickly circumstances can change. I did shed a few tears making this page, but also remembered happier times.
I used an accent paper, embossed paper & elements from the vintage ephemera sheet.
All the elements on this cd are lovely & they print out well.
Have a good week whatever you are doing,
Bev x

Wednesday, 18 June 2014

Happy times (dt post)

Good Morning everyone!

Last week I received a gorgeous floral embossing folder and sentiments from the Crafters Companion Vintage Floral Collection. Ive not had a 6x6 embossing folder before so I was definitely excited to use this! Unfortunately I have been a bit poorly this week so attempting something new might not have been the best idea for me :P.


I had these Tim Holtz diffusers in my stash for a while and had yet to use them so I thought they would work great with the Flower Garden embossing folder. I had to take a couple of goes to get it straight and in the end I still didn't and had to cut it down but with a little masking tape I got it close enough. I used the oval diffuser and ran it through my big shot with some pearlescent card. I was quite pleased with the effect though I decided to take it further.

I have some pots of glitter which have been sitting on my desk for a little while and I thought I would see if I could 'glitterize' the embossed areas of this card. Now if you attempt this please be sure to prep your cardstock thoroughly with baby powder or similar so that your results come out much cleaner than mine.

I ran my embossing ink over the embossed areas and poured heat and stick embossing powder over top. Once I had melted that, I covered my card in purple glitter and pressed it in. As you can see I did not achieve a very clean result as my glitter was so fine, it stuck to everything! I used a dry paint brush to remove as much of the excess as I could but was still left with a bit of a mess.

Even so, I decided to continue and used the blank space in the middle for my sentiment. I am using Crafters Companion Sentimentals stamp set - Vintage Floral - Phrases. I believe this stamp set coordinates with the Vintage Floral collections but don't quote me on that!

I stamped my sentiment in the centre but with my very large open space it looked very lonesome so I sketched in a vintage vine frame around it with a fine line black felt pen. I mounted my embossed piece onto a piece of black cardstock which I then stuck to my 6x6 card base with foam adhesive.

Even if the finished result isn't as pristine as I would have liked, I like the idea that came out of this and may give this card another go with a few adjustments.

I hope you like this card and be sure to check back next week for more vintage goodness!

Sam.

Monday, 16 June 2014

Halcyan Days from Crafters Companon

 Hello everyone..Genny here. Sometimes when you are on a design team you get to work with a product that in the normal run of things, you wouldn't pick because you think (wrongly) that it wouldn't suit your crafting style or necessarily inspire you. How wrong was I. I absolutely love this cdrom from Crafters Companion. There is something so very nostalgic about all the images on this cd and once I started crafting with it...I just couldn't stop. As you will notice over the next few weeks...lol Above is one of my favourite images... the hare. I'm calling it a hare because of it's long ears. As most of you know I live in the countryside and this has a very 'country' feel to it. I love the gingham papers and they will always come into use in all your other crafting. I'm thinking of using this image for a picture in my kitchen.
 All of the images on this cdrom are of the work of textile artist Abigail Mill. As I've said the images have a very nostalgic feel, very whimsical and calm. There is not one image on this cd that I couldn't use. There are also lots of images of beach huts and seaside views. Pictures that make me think of childhood holidays and lazy summer days. My head is still so full of ideas that I aim to share with you all.
 These four cards are my first selection and are really easy cards to make. I have mounted the image onto a toning cardstock and then I embellished with fabric based flowers and different braids from my stash. If you are in need of embellishments please get in touch with Julie here at jb-crafting supplies. A lot of the ones that I have used come from Julies shop. There really is something magical about this cd and it is the perfect excuse to get out all your braids, ribbons, lace and flowers. The imagery of the sewing is so good it feels so right to add the texture that the flowers and ribbons bring.
I have to say that this cd has inspired me to get out my sewing machine as well.The images are made using layers of fabrics and lace,defined by the use of freehand machine embroidery. If you have any questions about any of the cards that I have made..please get in touch. I hope that this cd will inspire you as much as it has me. So until next time..take care and happy crafting.

Sunday, 15 June 2014

Vintage Floral - DT post


For my DT piece this month I was sent Crafter's Companion Vintage Floral CD, Embossalicious embossing folder - blooming wonderful & a set of Crafter's Companion rubber stamp set - sentimentals, vintage floral verses. These are all available in the shop - pop along & have a peek.

I thought I'd use a bit of everything today.
I used the embossing folder to emboss a piece of white card.
Printed a design sheet & a sheet of designer 3D bows.
Stamped the sentiment using crushed olive Distress Ink.
Cut the design sheet to a square shape, matted this onto the embossed white card. Went around the edges of the white card with tattered lace DI, to highlight the embossing.
Die cut 2 tags, one on the embossed card & one centering the sentiment. Went around the edge of the smaller tag with tattered lace DI. Matted the smaller tag onto the larger one, attached these to the card using foam pads.
Made up the 3D bow & adhered to the top of the tags.

Hope the World Cup is not getting you down too much - my living room has a definate green hue! Still lots of uninterrupted crafting!

Bev xx

Monday, 9 June 2014

One Summers Day from Joanna Sheen

 Hello everyone..Genny here. It seems an age since I last posted but I'm so happy to be back. Todays cards are from the new Joanna Sheen cdrom. It's called One Summers Day and features the fabulous artwork of Barbara Mock. The cdrom is available from Julie here at jb-crafting and is a great one to add to your collection
 There are so many toppers on this cd that really would be useful all year round.I just love the floral and china images. I could use them in so many ways...birthdays,anniversaries,get well soon. Or even just a card to say that you're thinking of someone. There are as usual some gorgeous backing papers which could be used in all your other cardmaking. The cd also includes decoupage, bookmarks and inserts to name a little of what else is on the disc.

I have so enjoyed working with cd and hope that you will take a look. So until the next time take care and happy crafting

Wednesday, 4 June 2014

Write soon (dt post)

Happy Wednesday everyone!

I thought last week that I wouldn't have anymore to show you with this lovely stash I have but it seems that inspiration comes unexpectedly! I really wanted to use the pen nibs from Indigo Blu 'Take the Time' stamp set but I had the hardest time thinking of something. I was inspired by the vintage look of this Graphic45 paper (French Country Collection) and the writing hand stamp as well. I was also lucky enough to have a small script stamp in my stash that complimented this set perfectly.

I cut my patterned paper with my tag die and adhered it to my tag. I then inked the edges with a bit of walnut stain and vintage photo distress ink. I then stamped my pen nibs down the side of the tag with embossing ink and then heat embossed with some antique copper, gold and silver embossing powder.

I stamped my script stamp onto a sheet of white cardstock which I then inked up with old paper distress ink, then I tore and scrunched it up and inked over it again with the same old paper ink and vintage photo distress ink.

I created a small envelope (measurements were not exact at all and it took a lot of trial and error. I suggest googling how to make a tiny envelope if you want to try this) and aged it with the same inks. I wanted it to have a wax seal but unfortunately I don't actually have any wax in my crafty stash so I had to improvise. I used the faux metal technique and heat embossed my gold embossing powder several times into a small puddle. When I had a good thickness of embossing, I quickly stamped a button into the still hot powder to leave a sort of emblem impression.

I also stamped my writing hand stamp and the 'write soon' stamp onto white card. I coloured in the hand and aged the sentiment.

Now that I have all of my pieces stamped out I arranged them all on my tag. To fill in spaces and finish off the look, I added some flowers, a metal embellishment and some vintage cream lace. I am not entirely happy with the lace at the bottom but perhaps at some point I will find a way to fix that. Even so, I do like the aged look of this tag, and I hope you do as well!
 
Happy Crafting!
 
Sam

Sunday, 1 June 2014

Another make using IndigoBlu stamp


Hi everyone - hope you are making the best of the weather in between the rain.
Another make using the Elizabeth Bennet IndigoBlu stamp.
Painted a chipboard tag with white gesso, dark acrylic paint, crackle medium & finally a coat of white acrylic paint. I had left a space on the tag without the crackle medium - hopefully where I would stamp the face.
Stamped the image using black Archival ink, then went around using various colours of gilding wax.
Hope you like it. Bev x